My Latest Chessboard
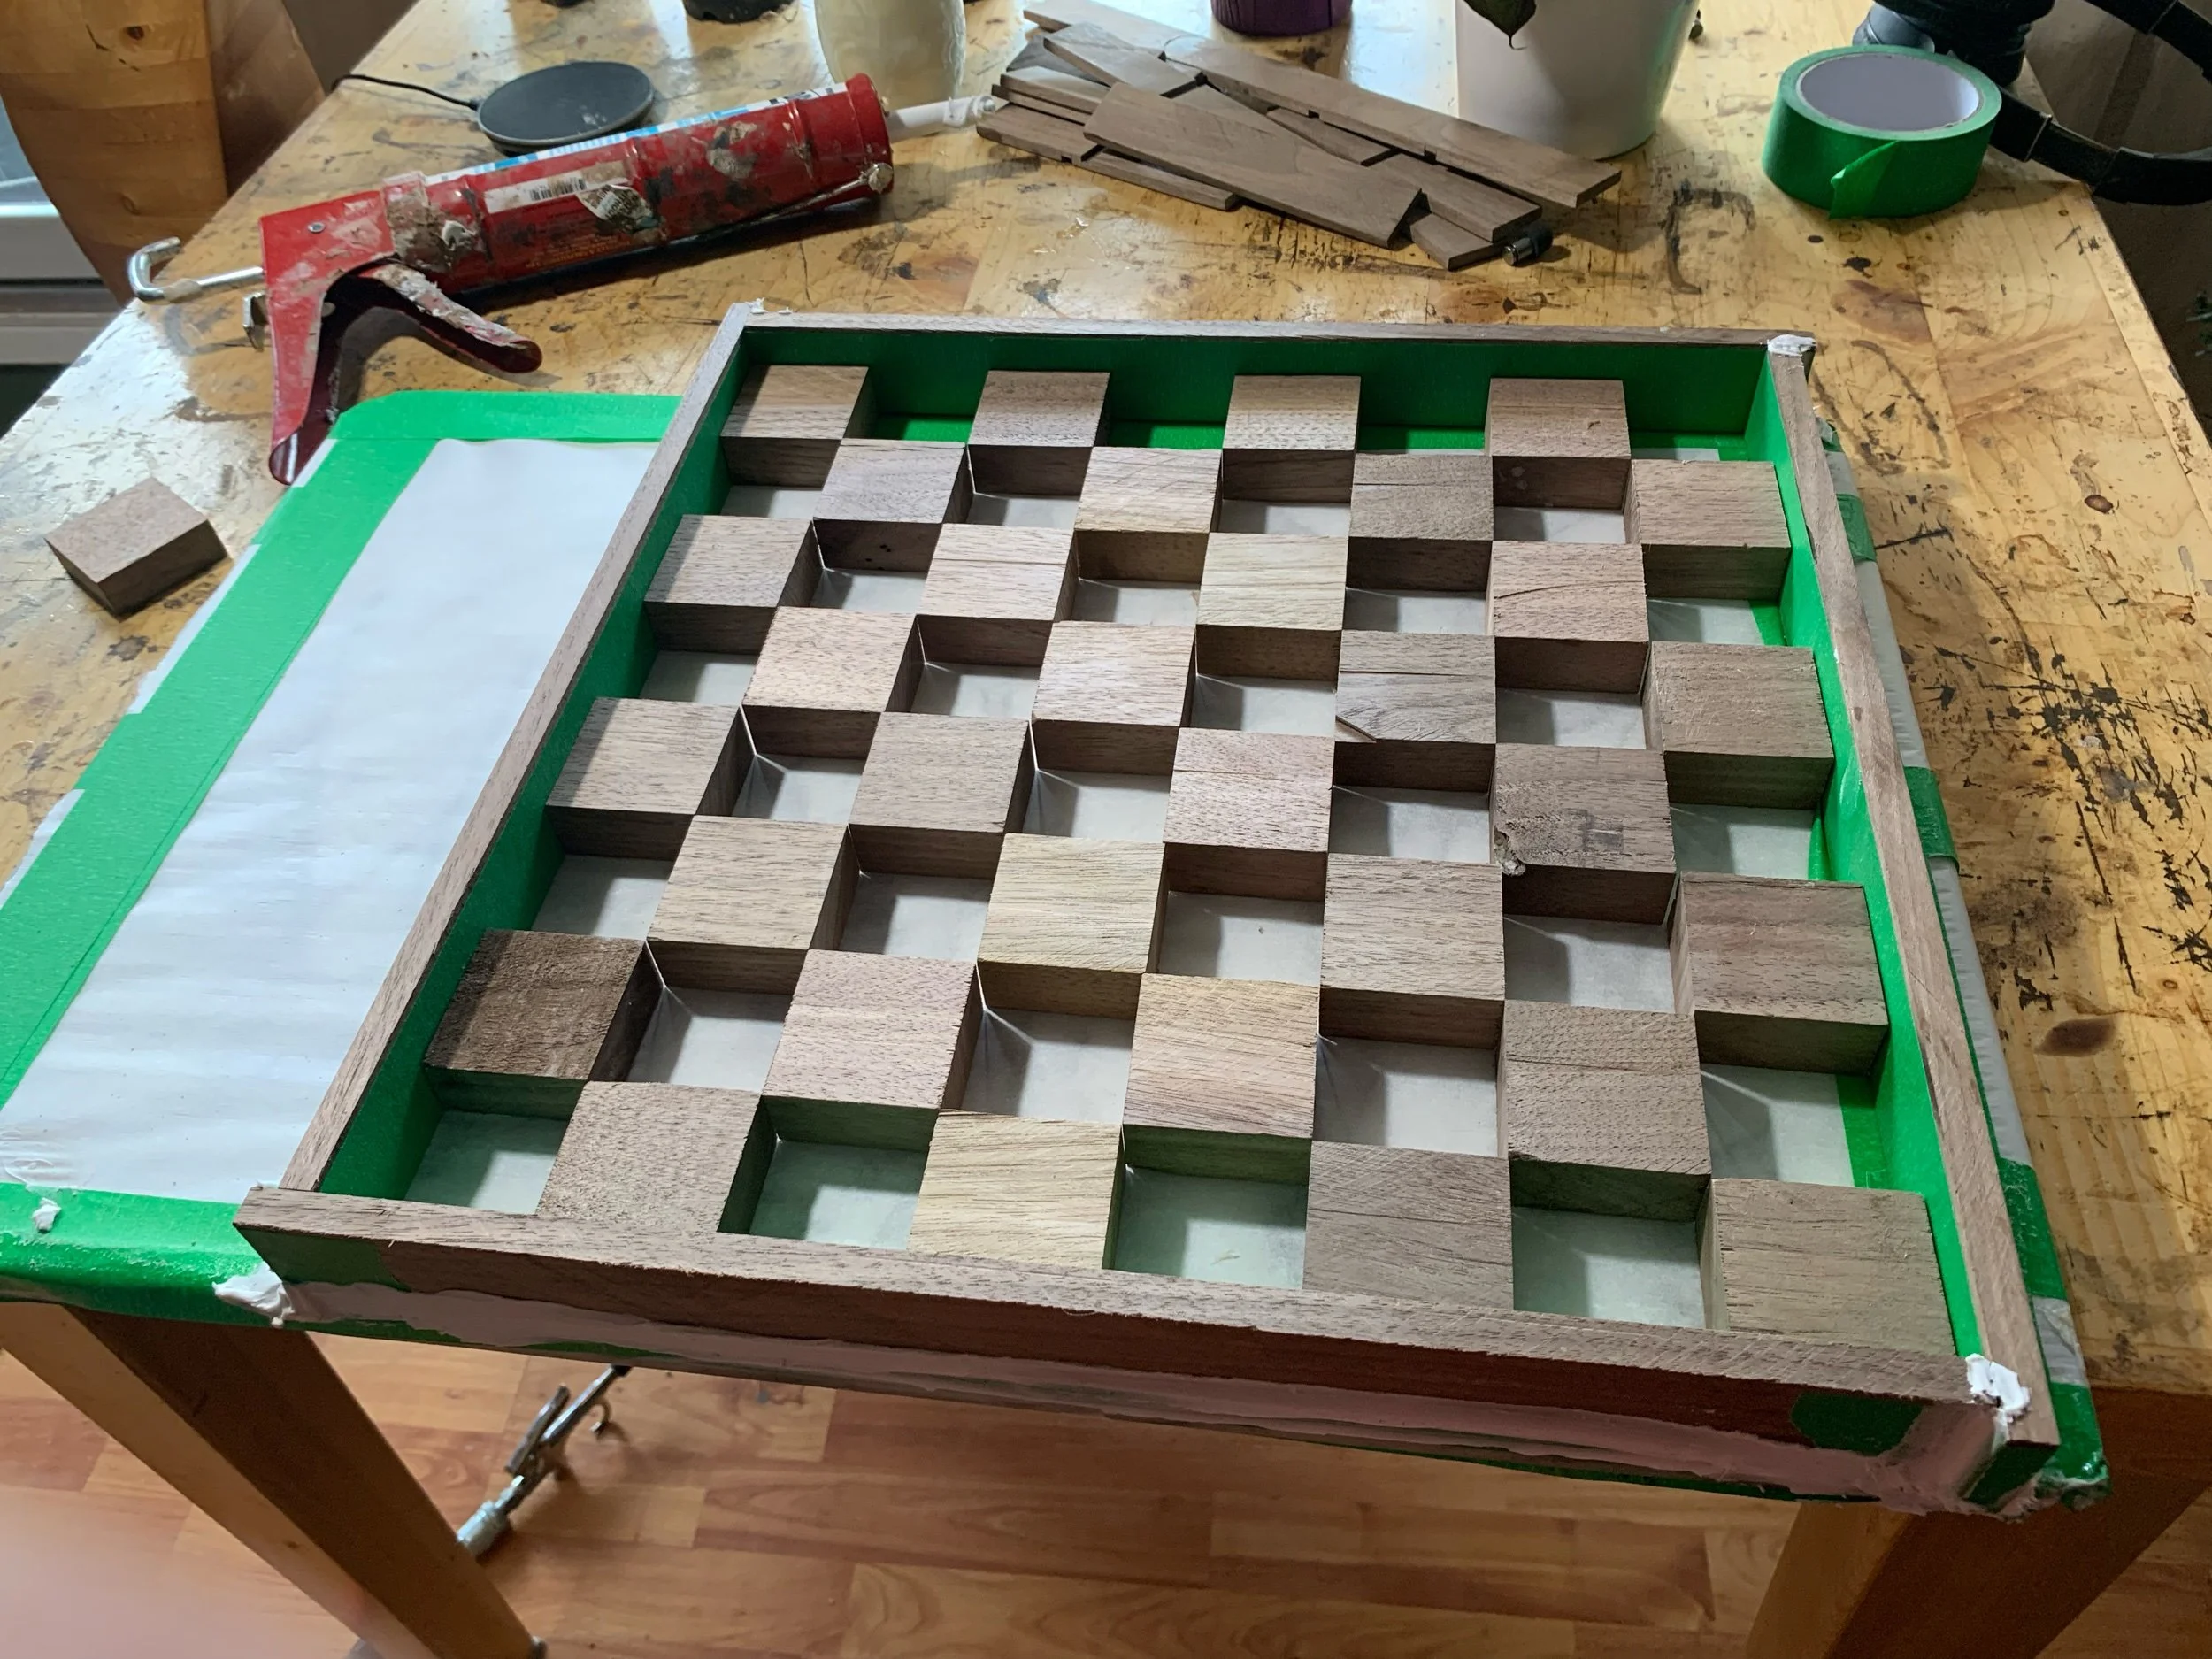
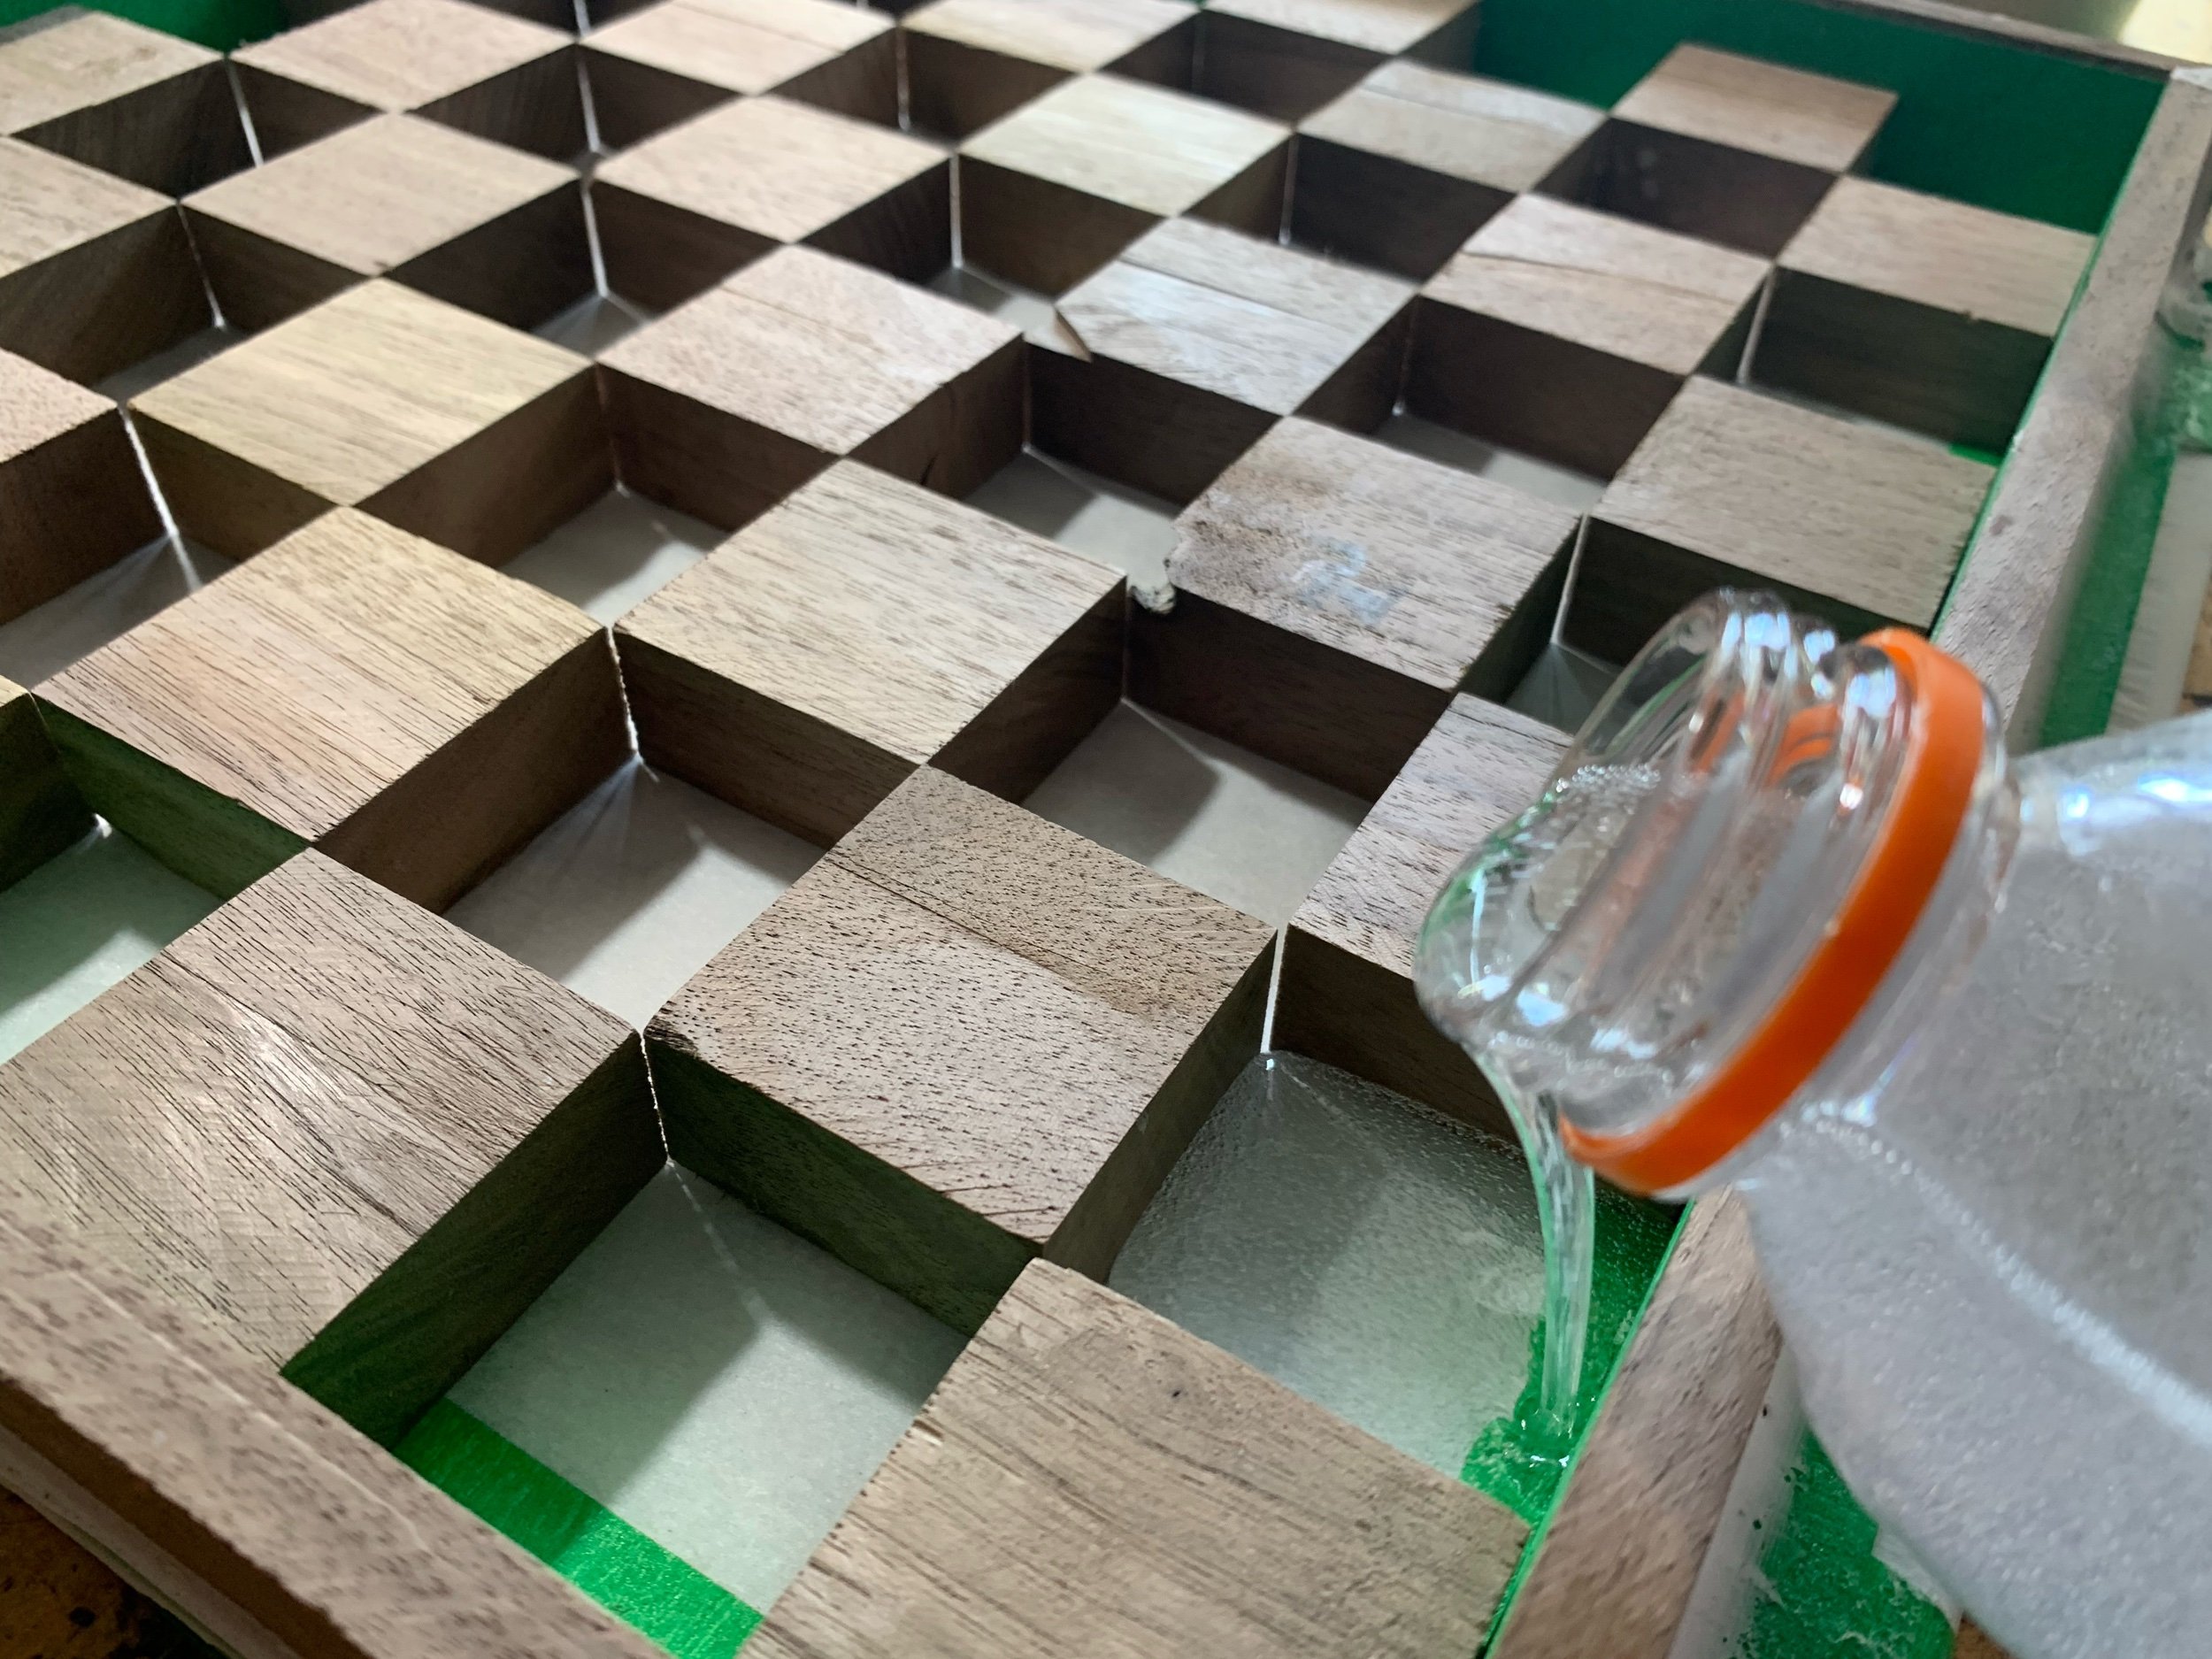
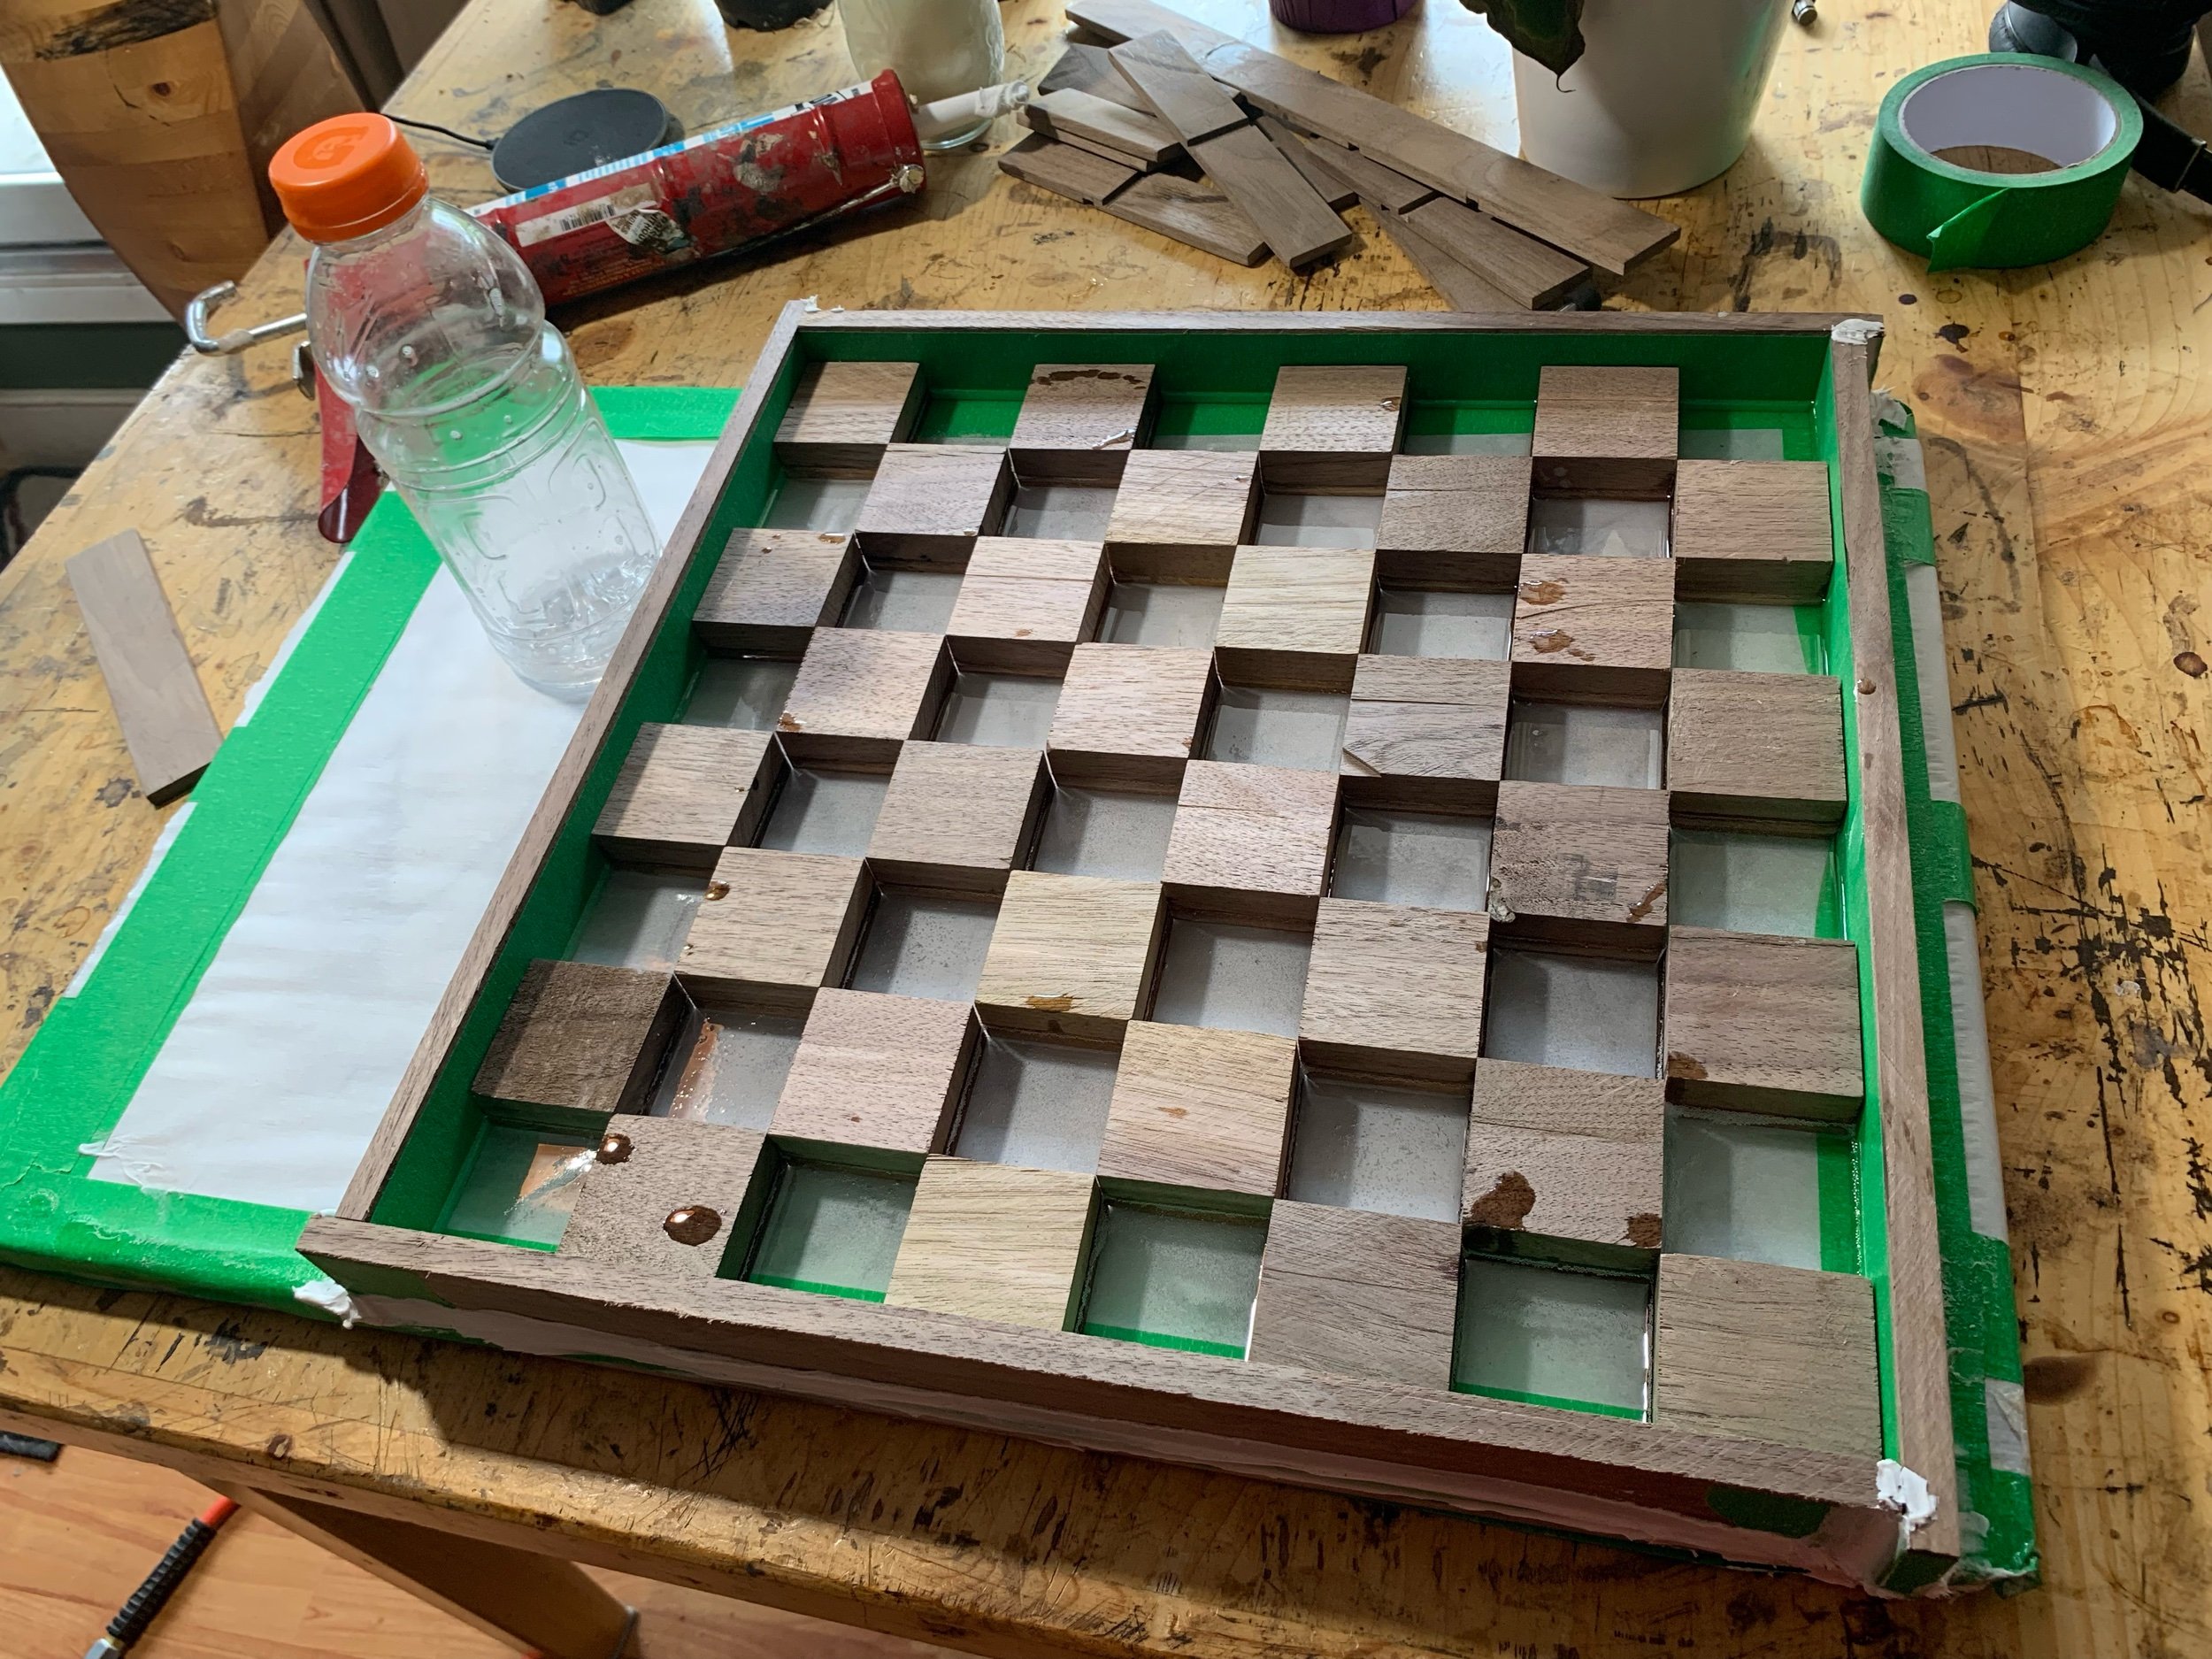
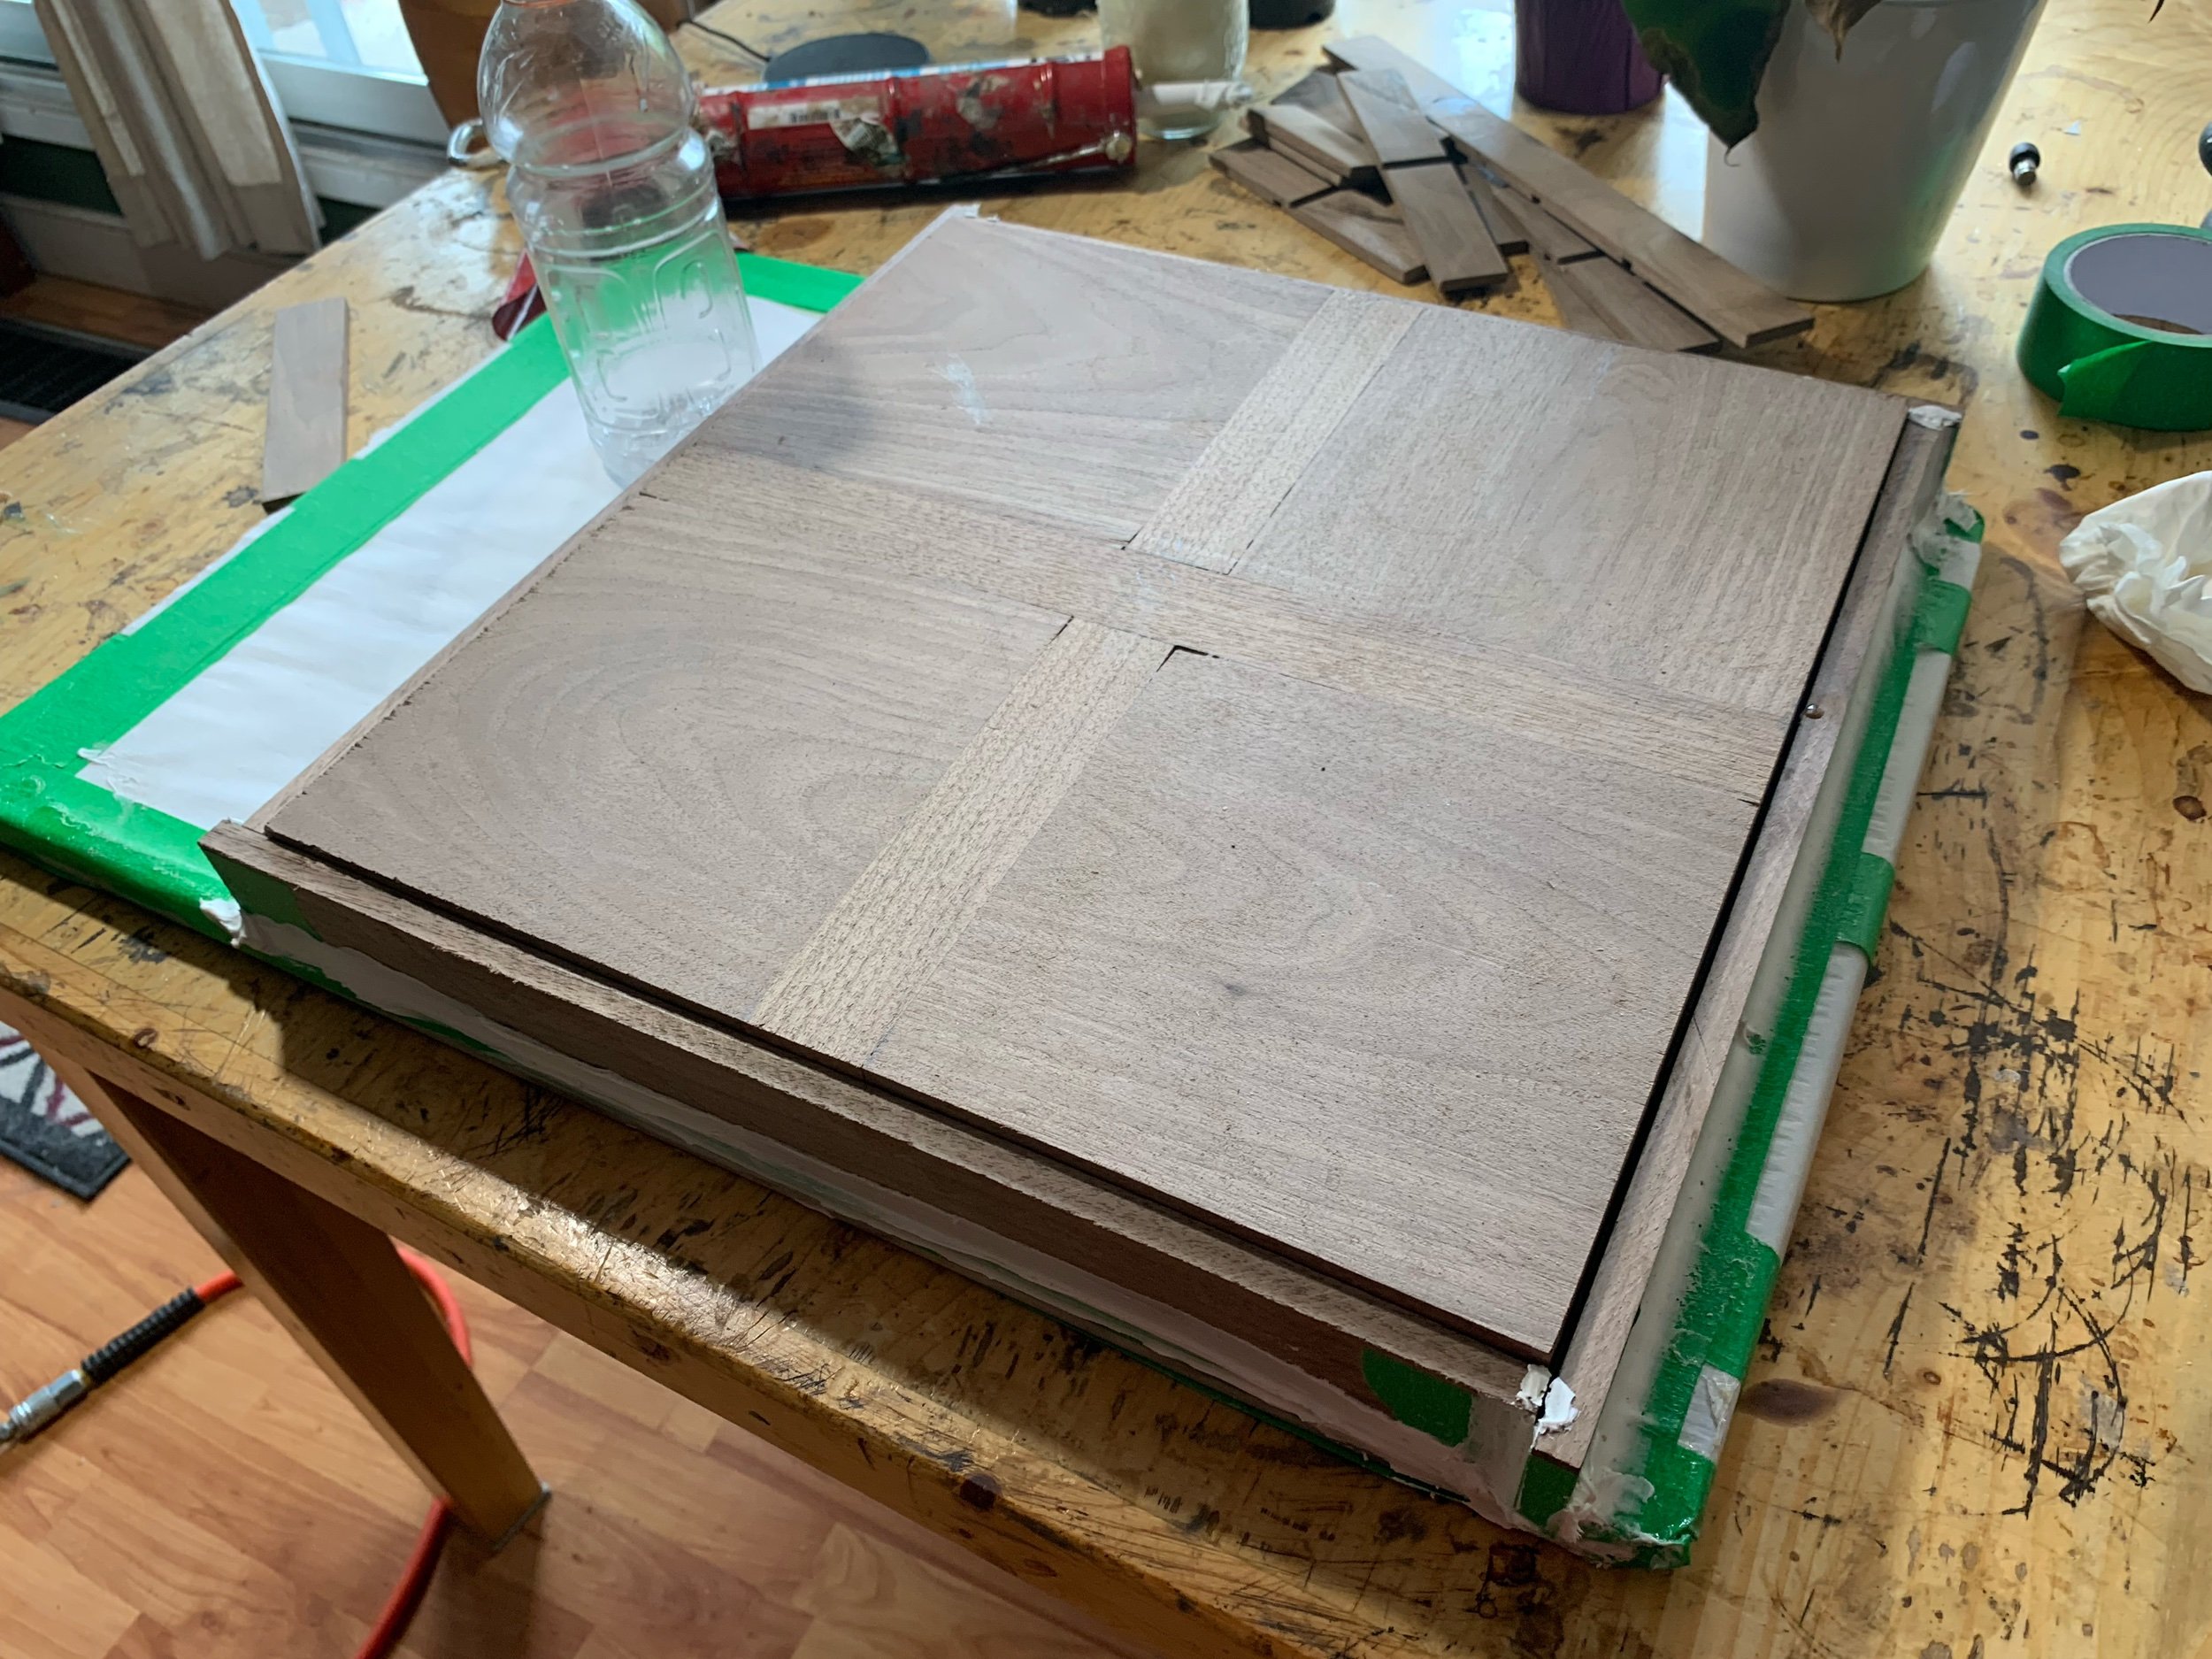
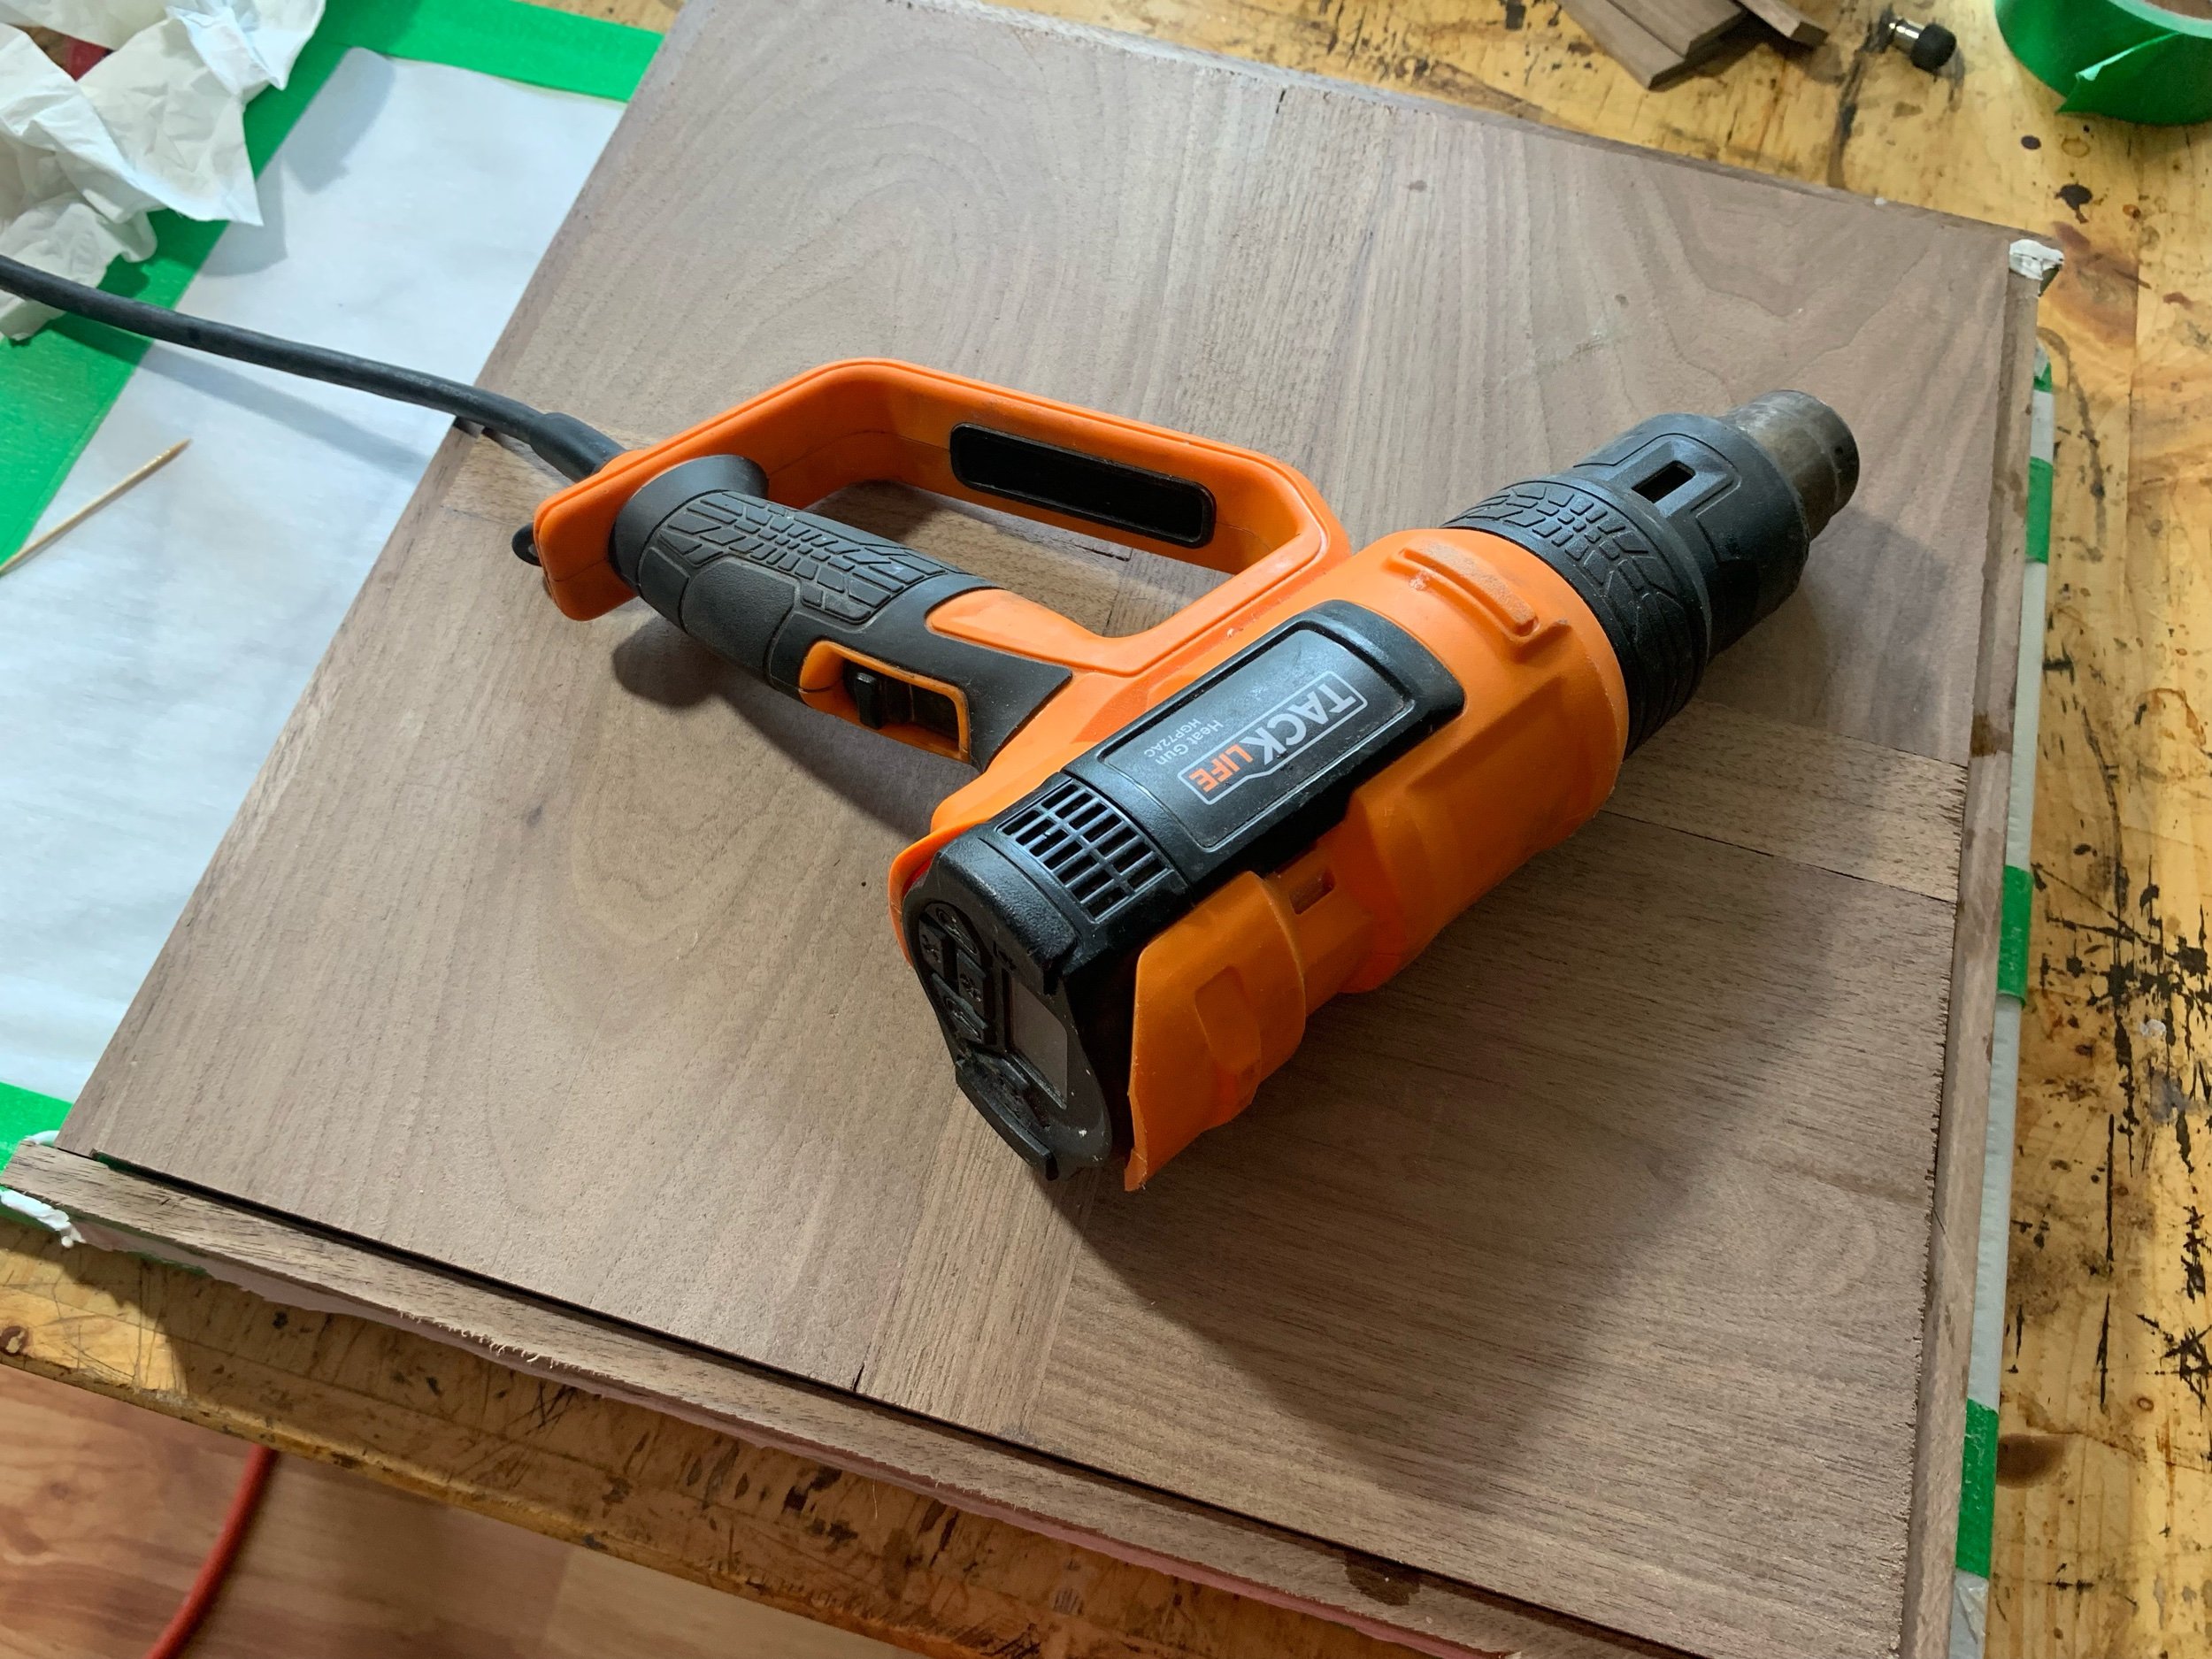
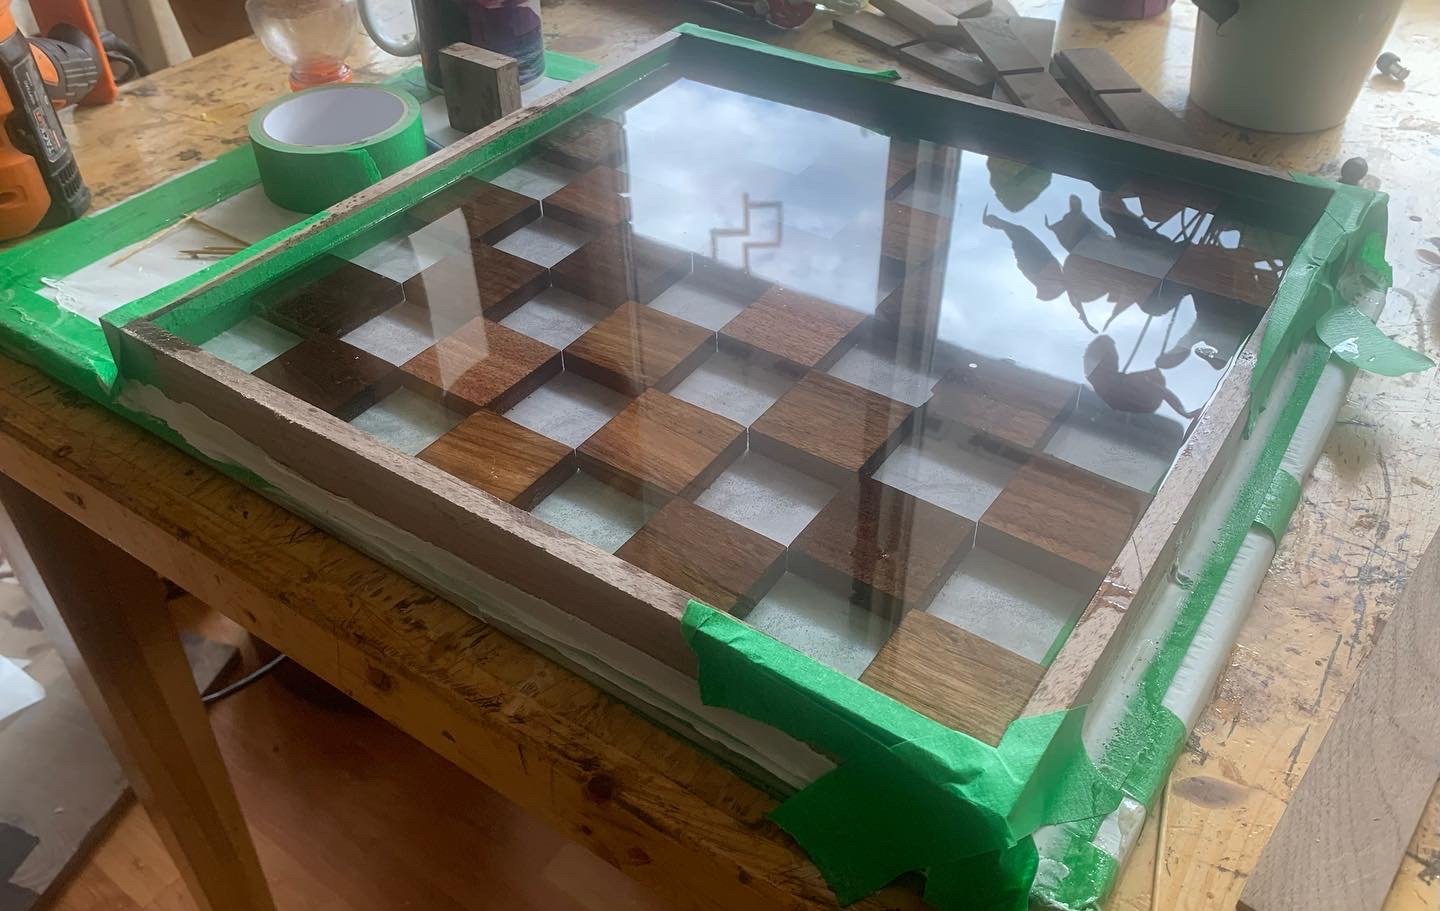
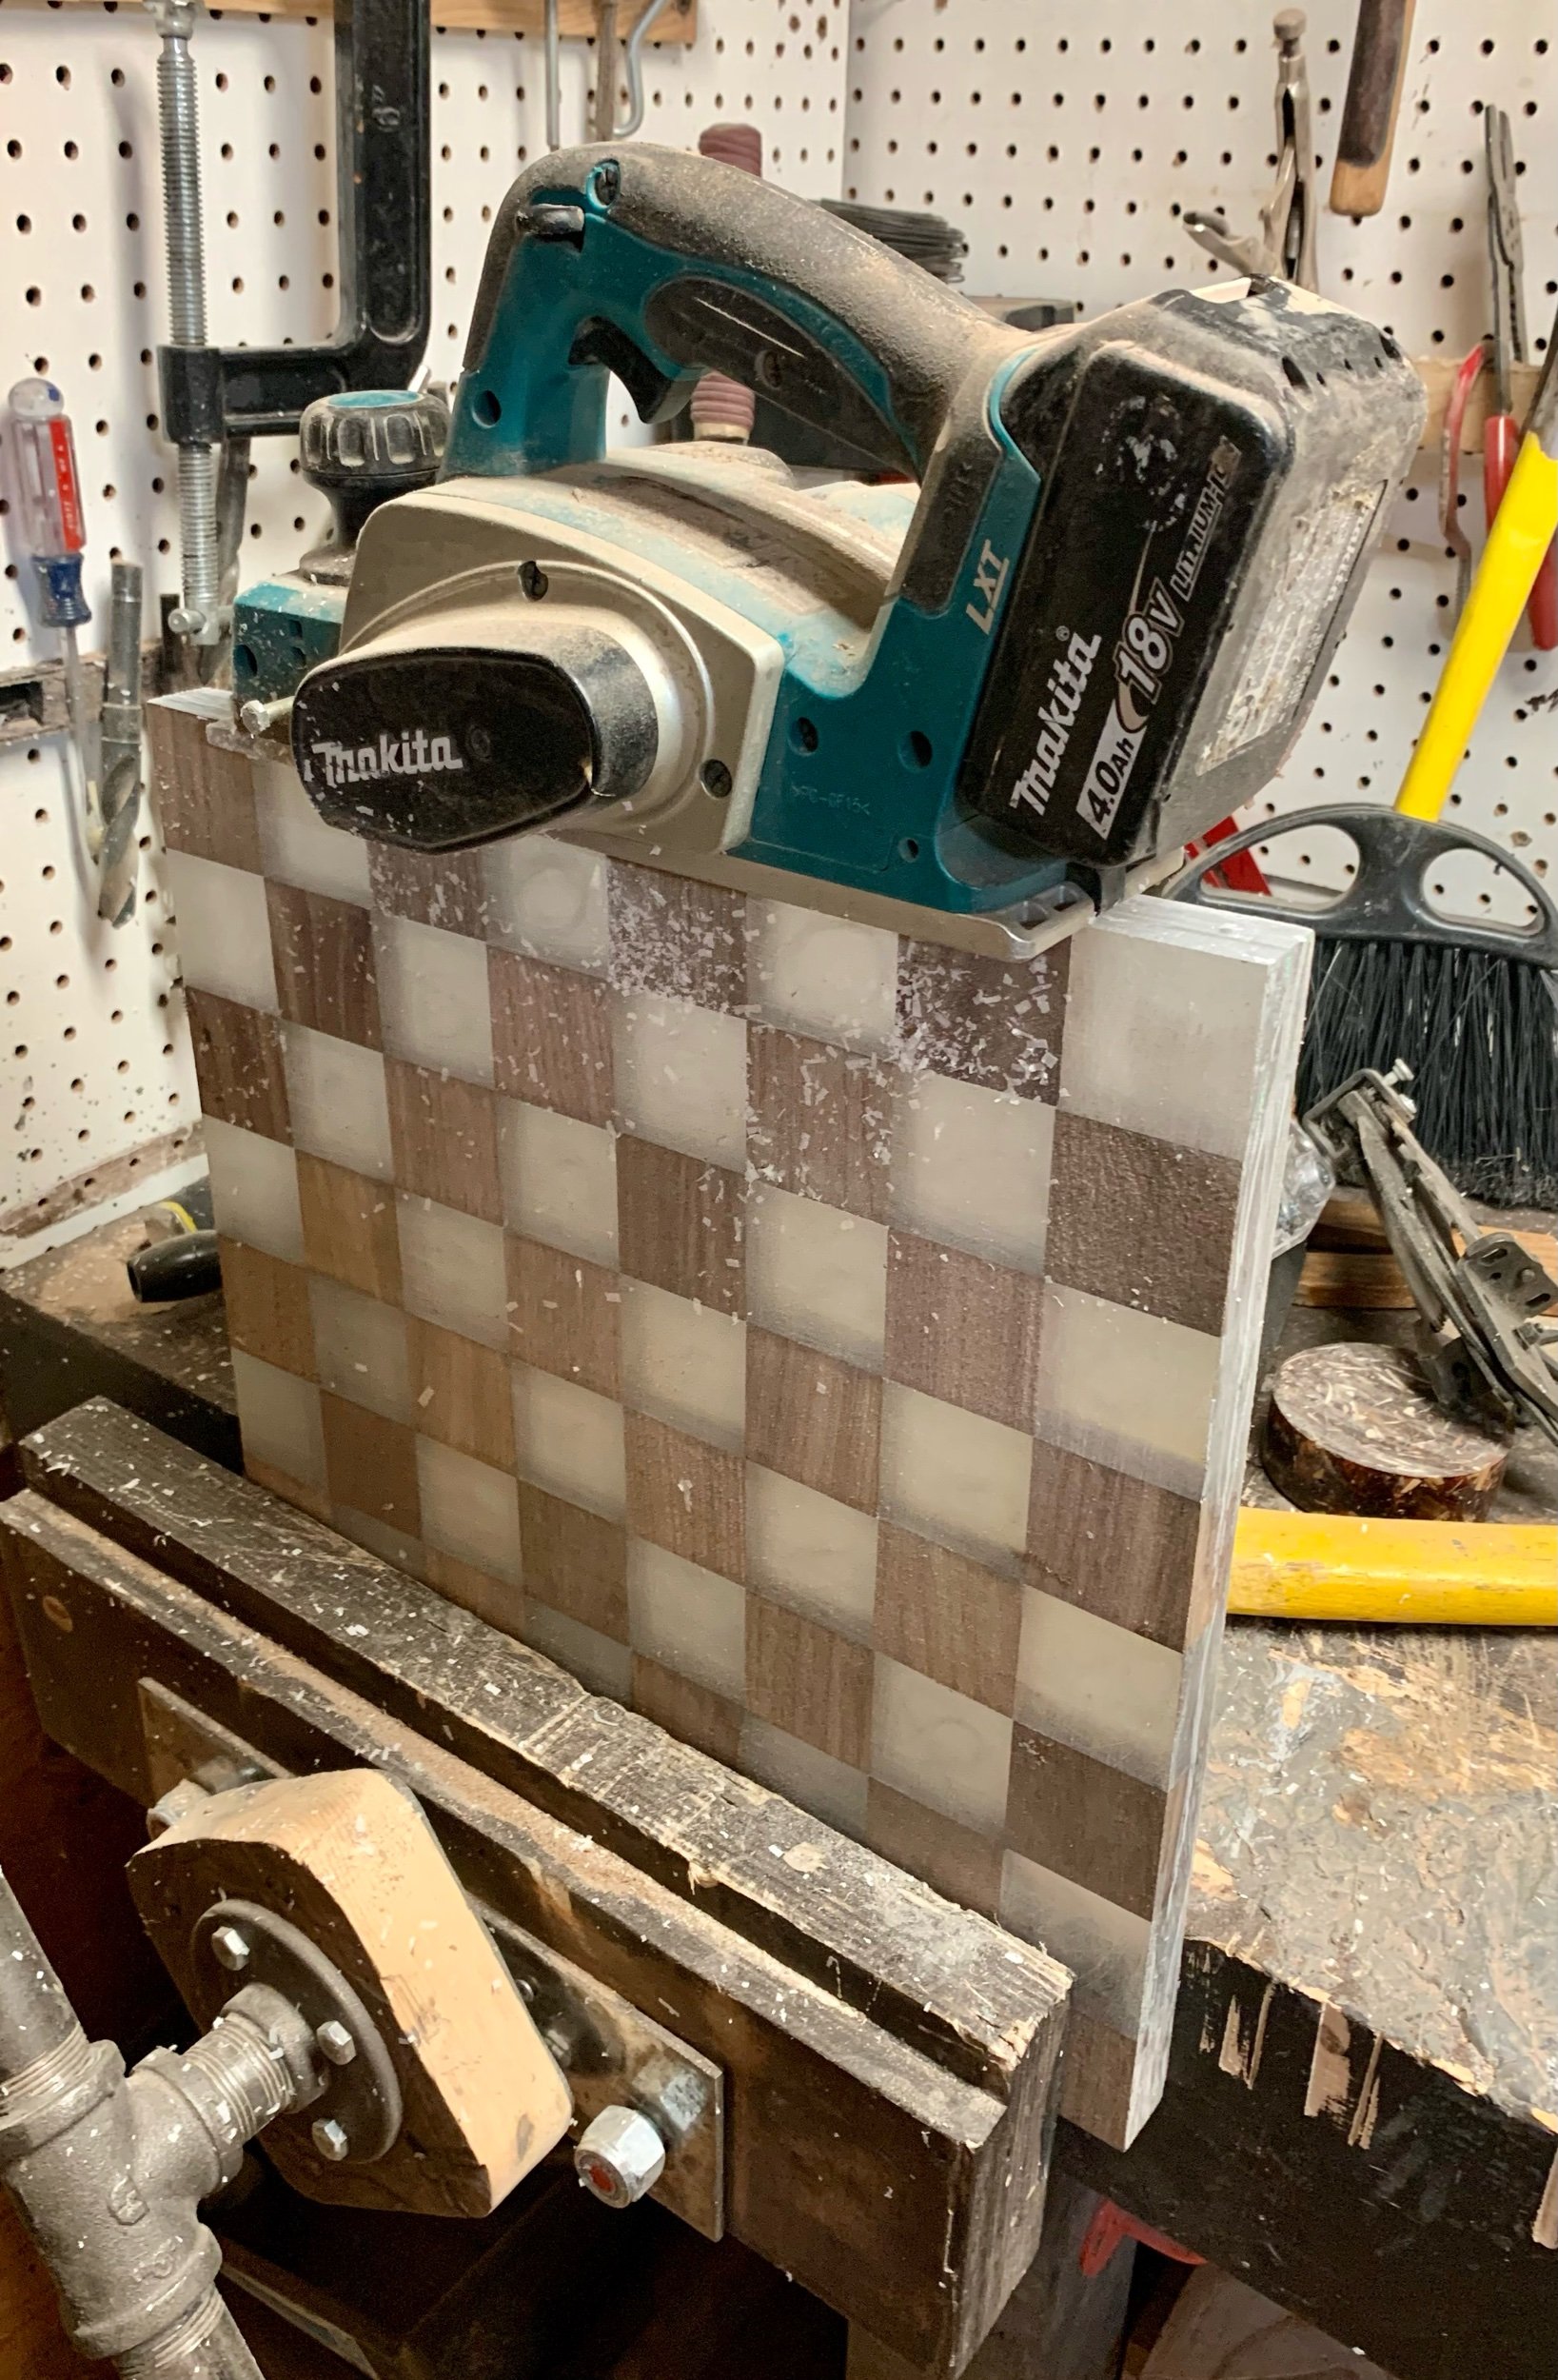
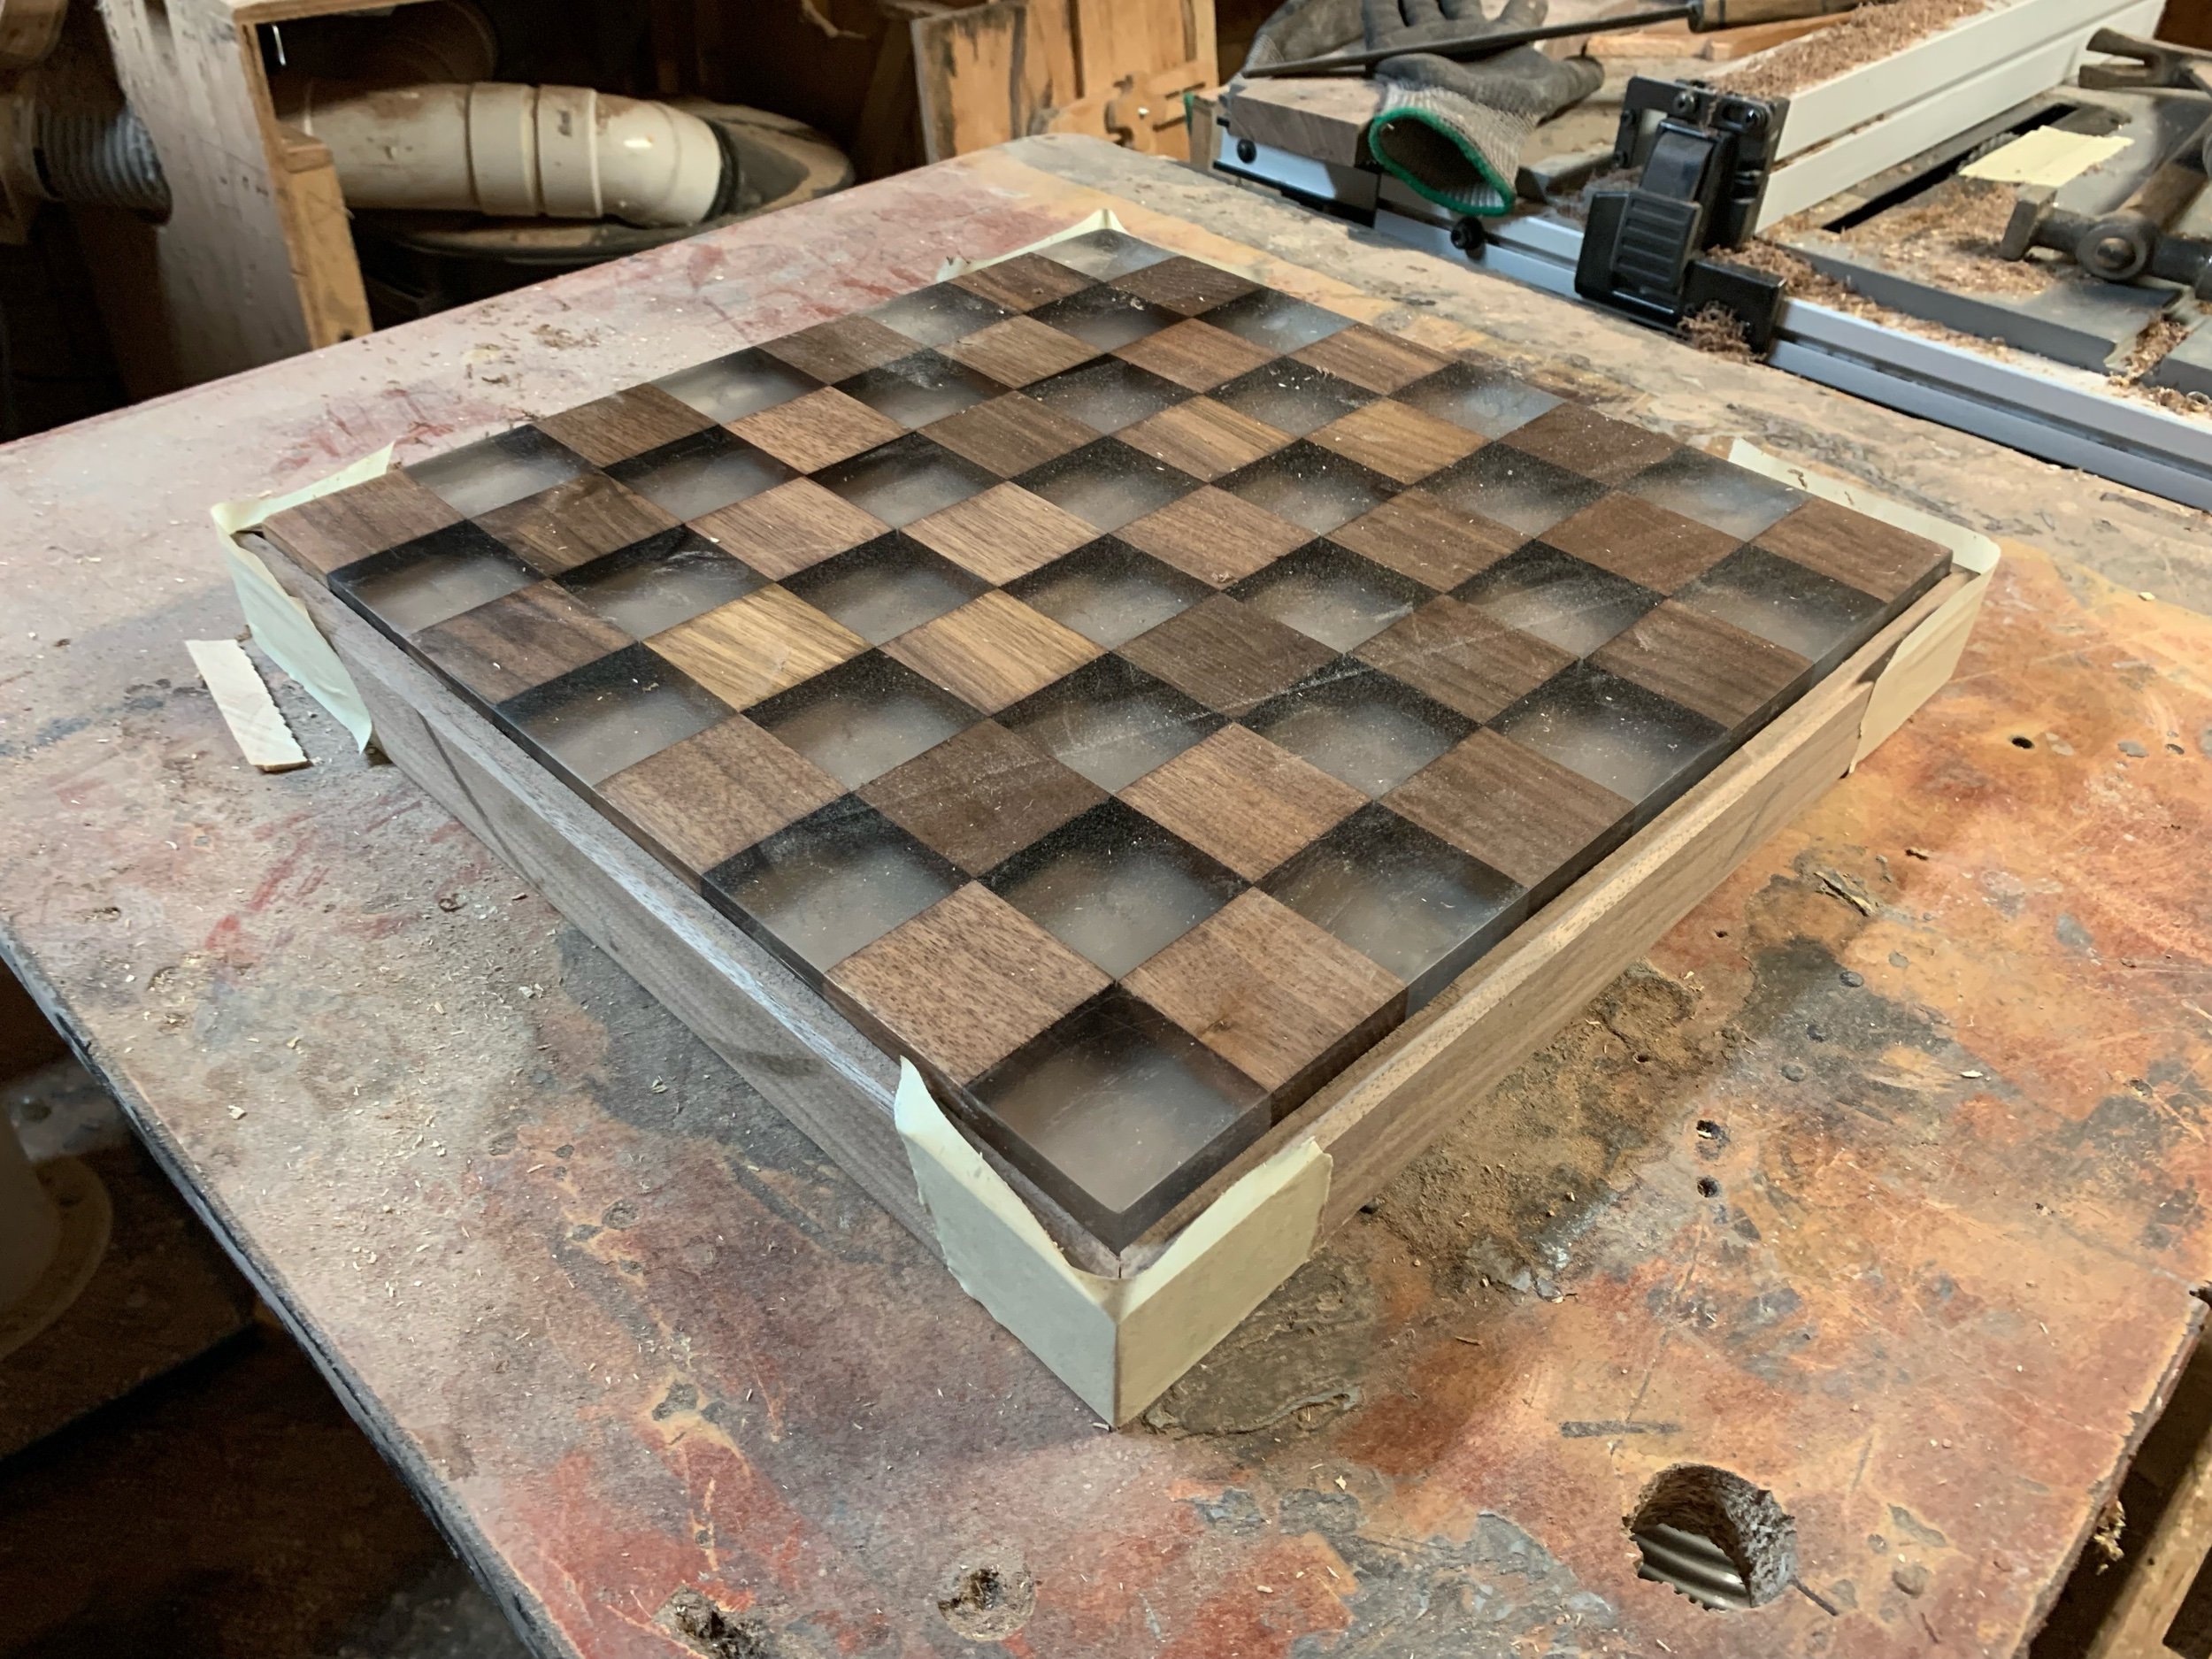
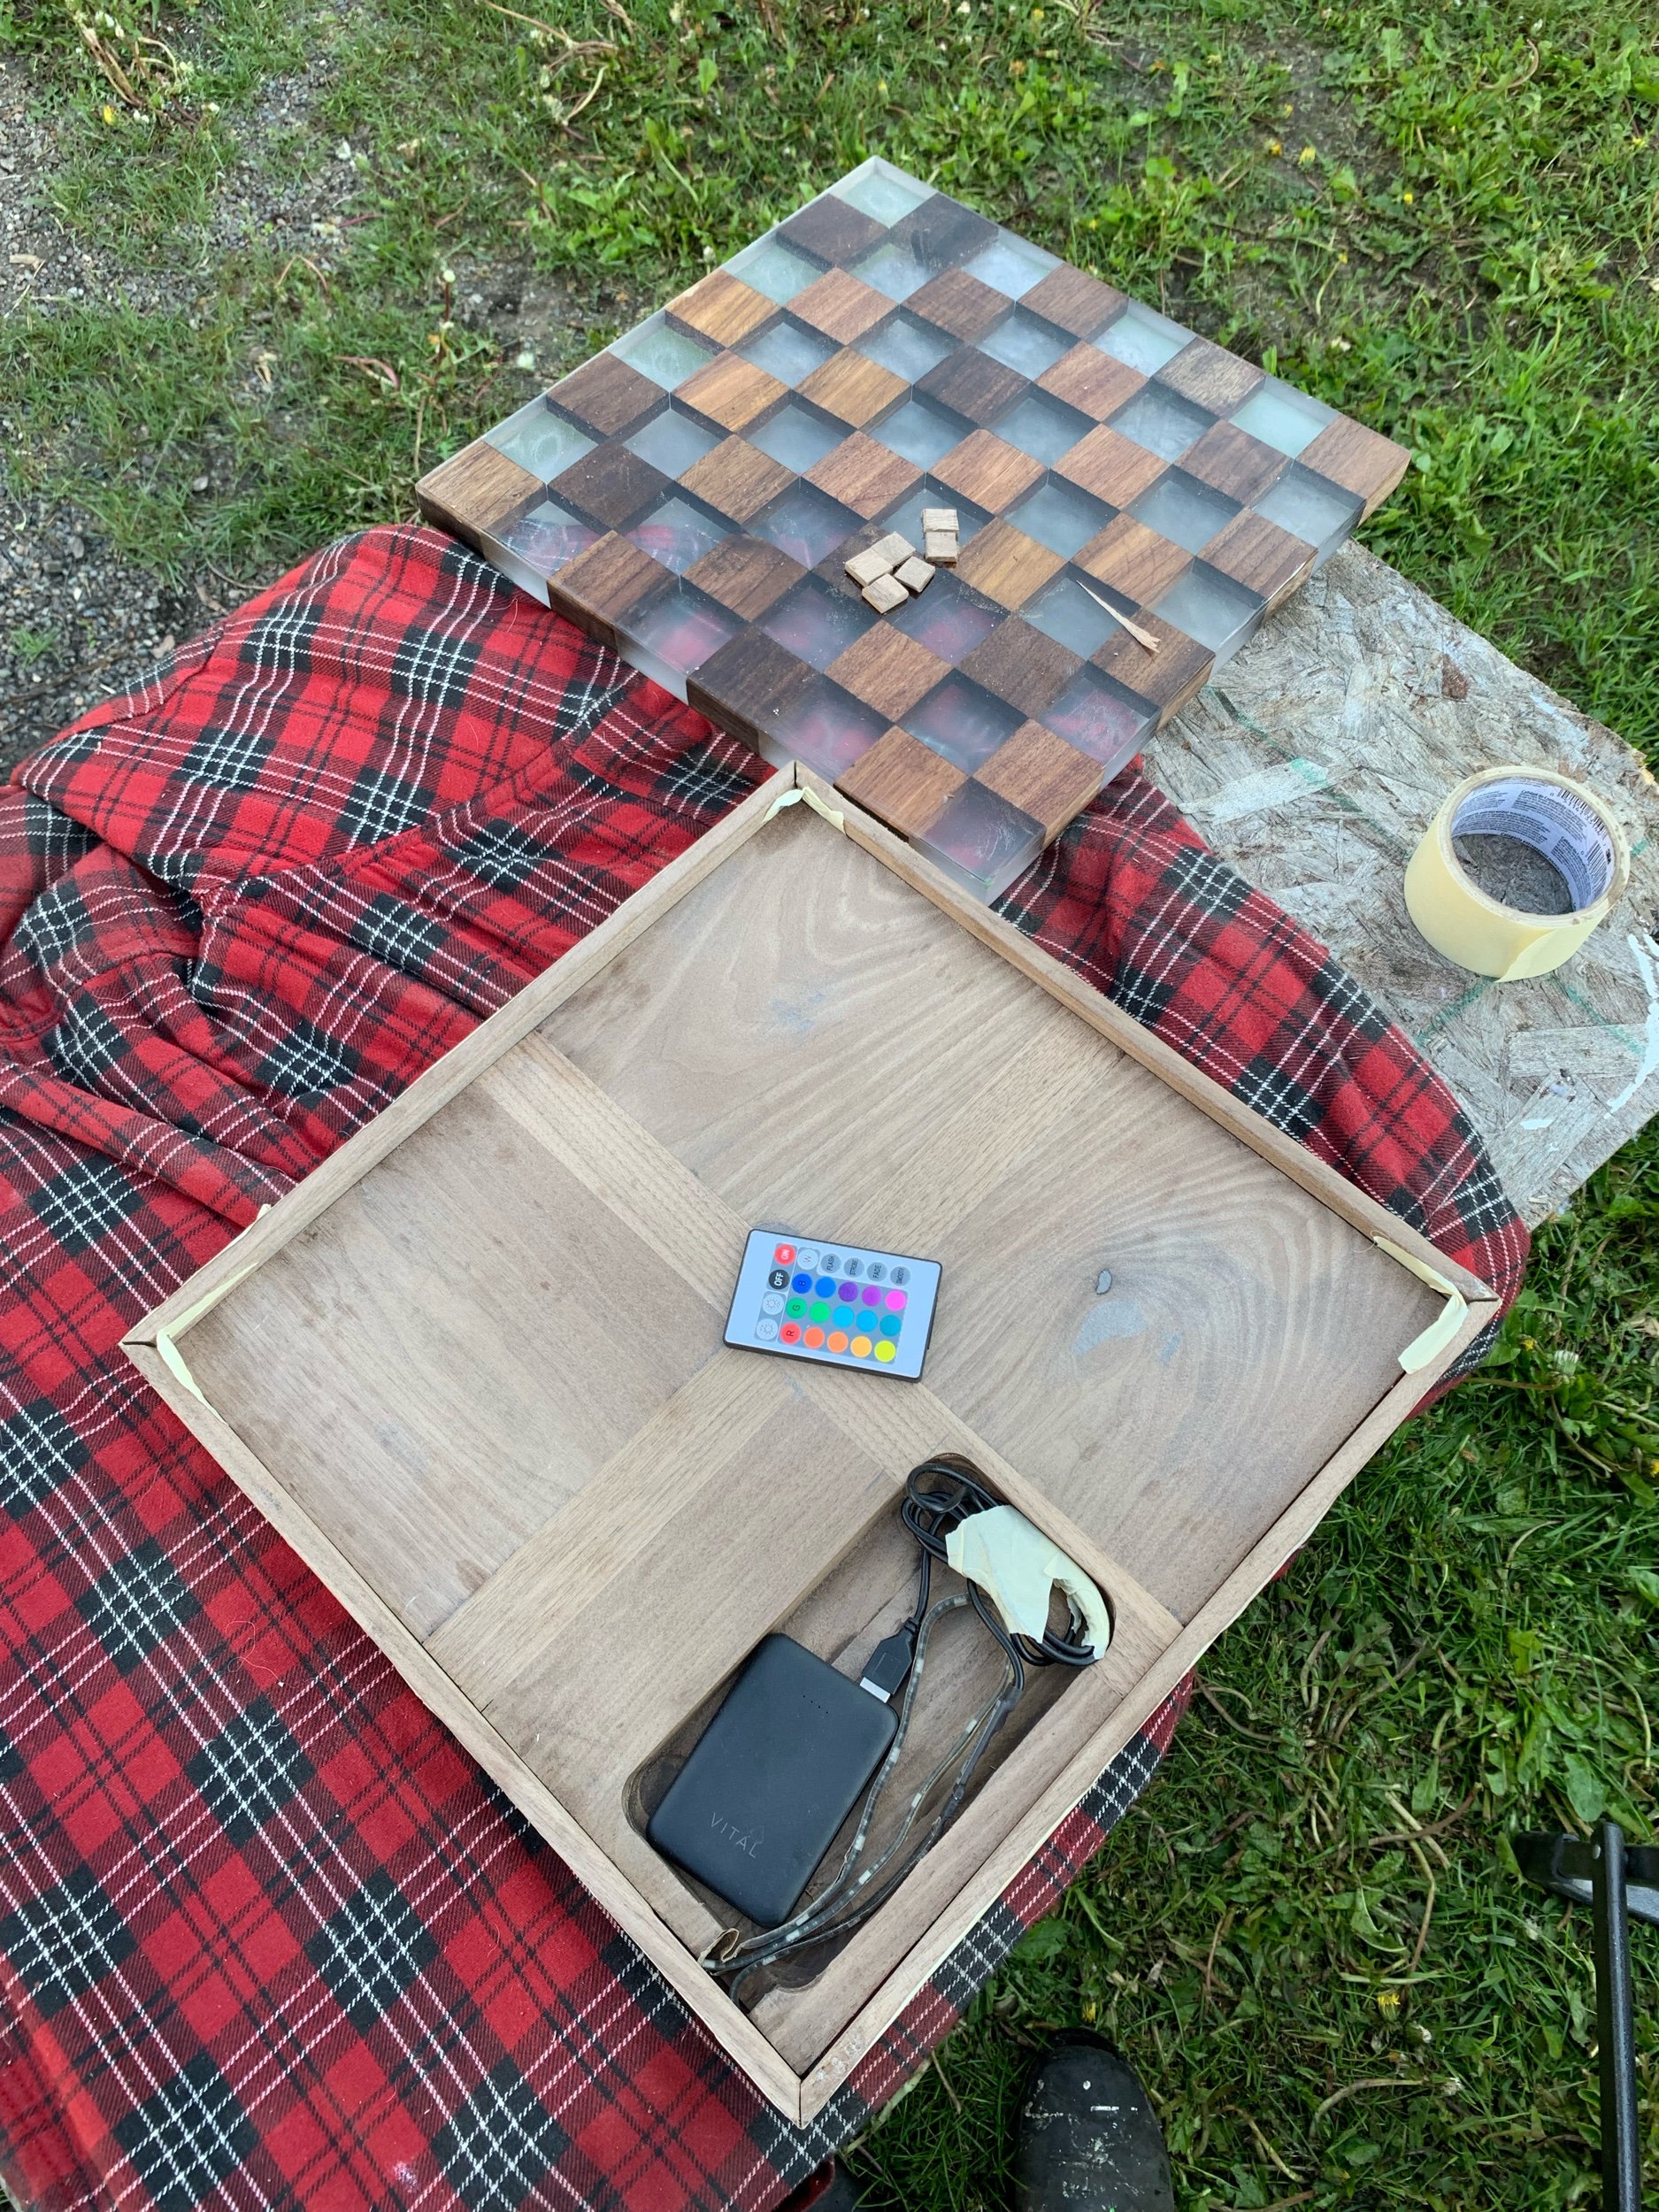
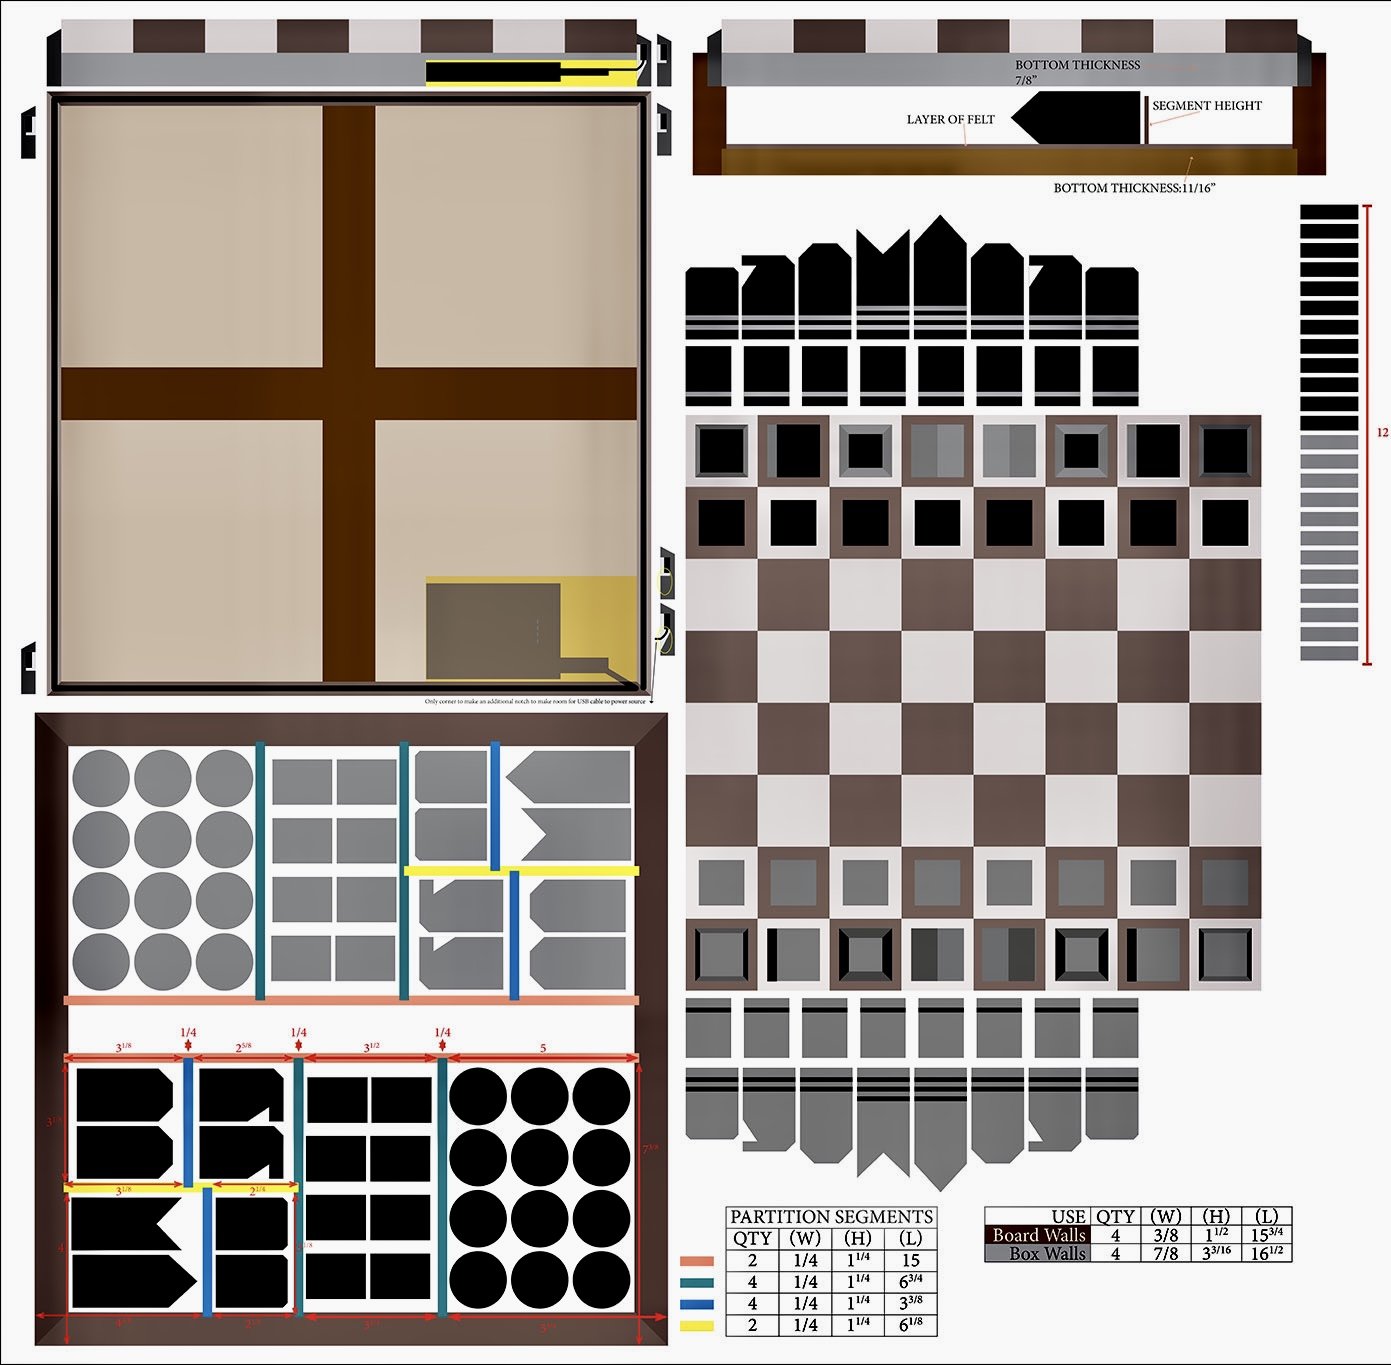
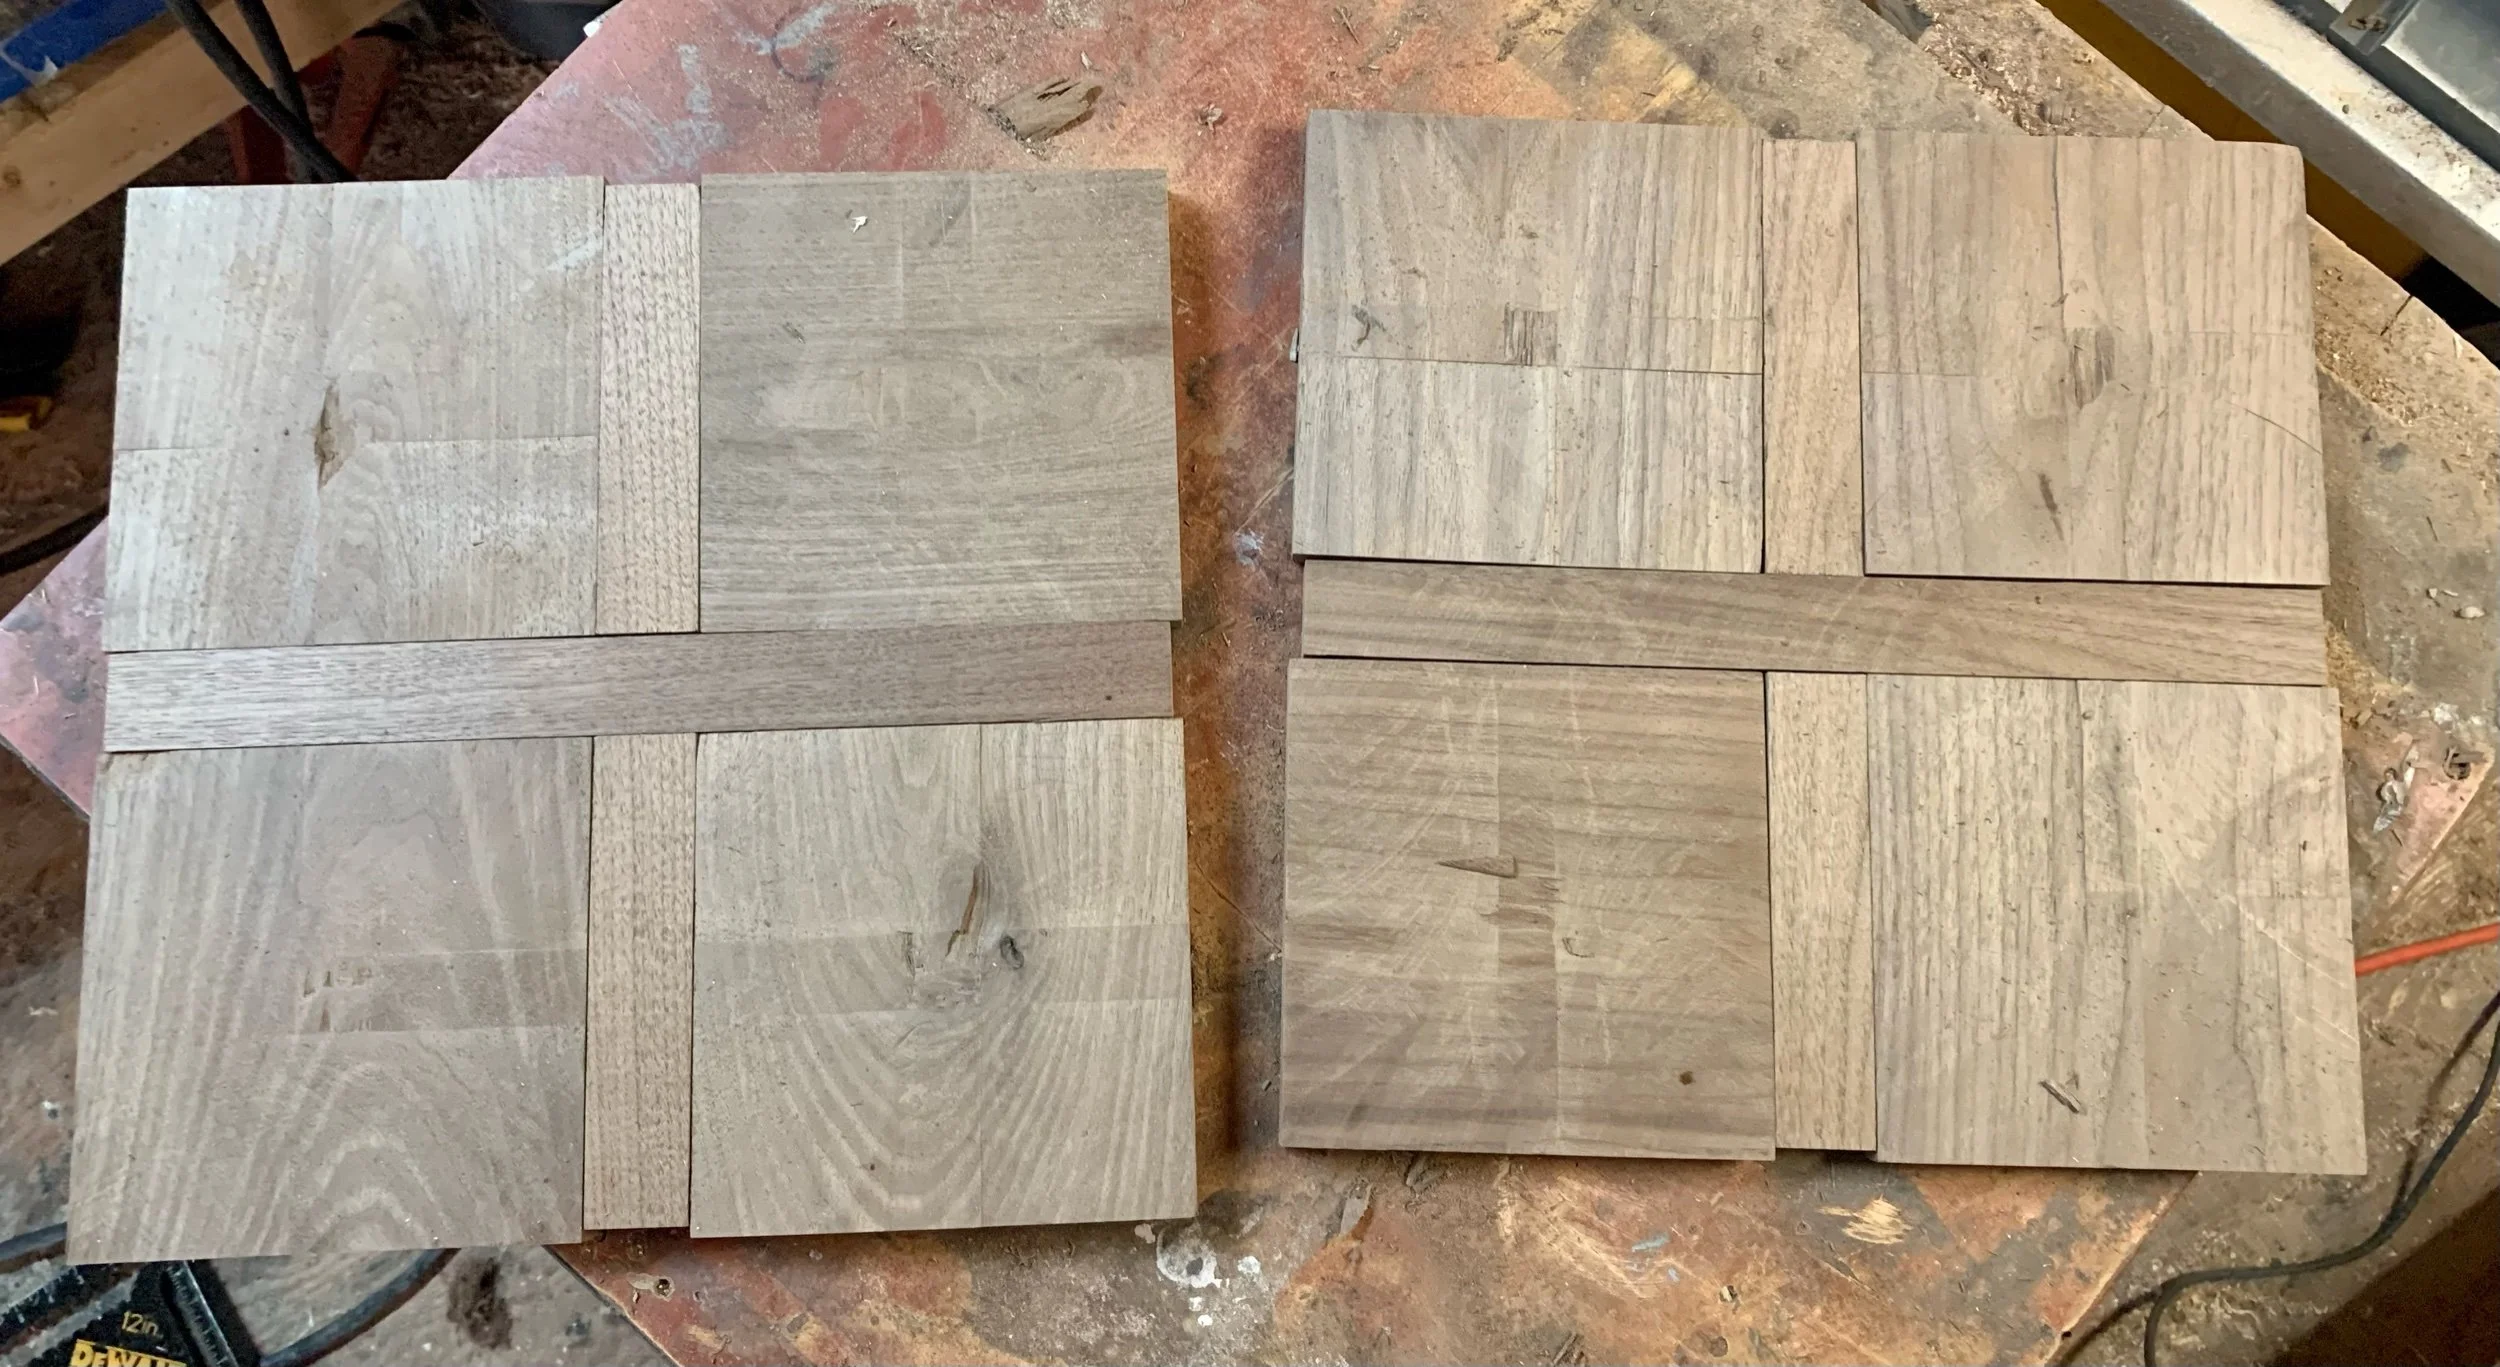
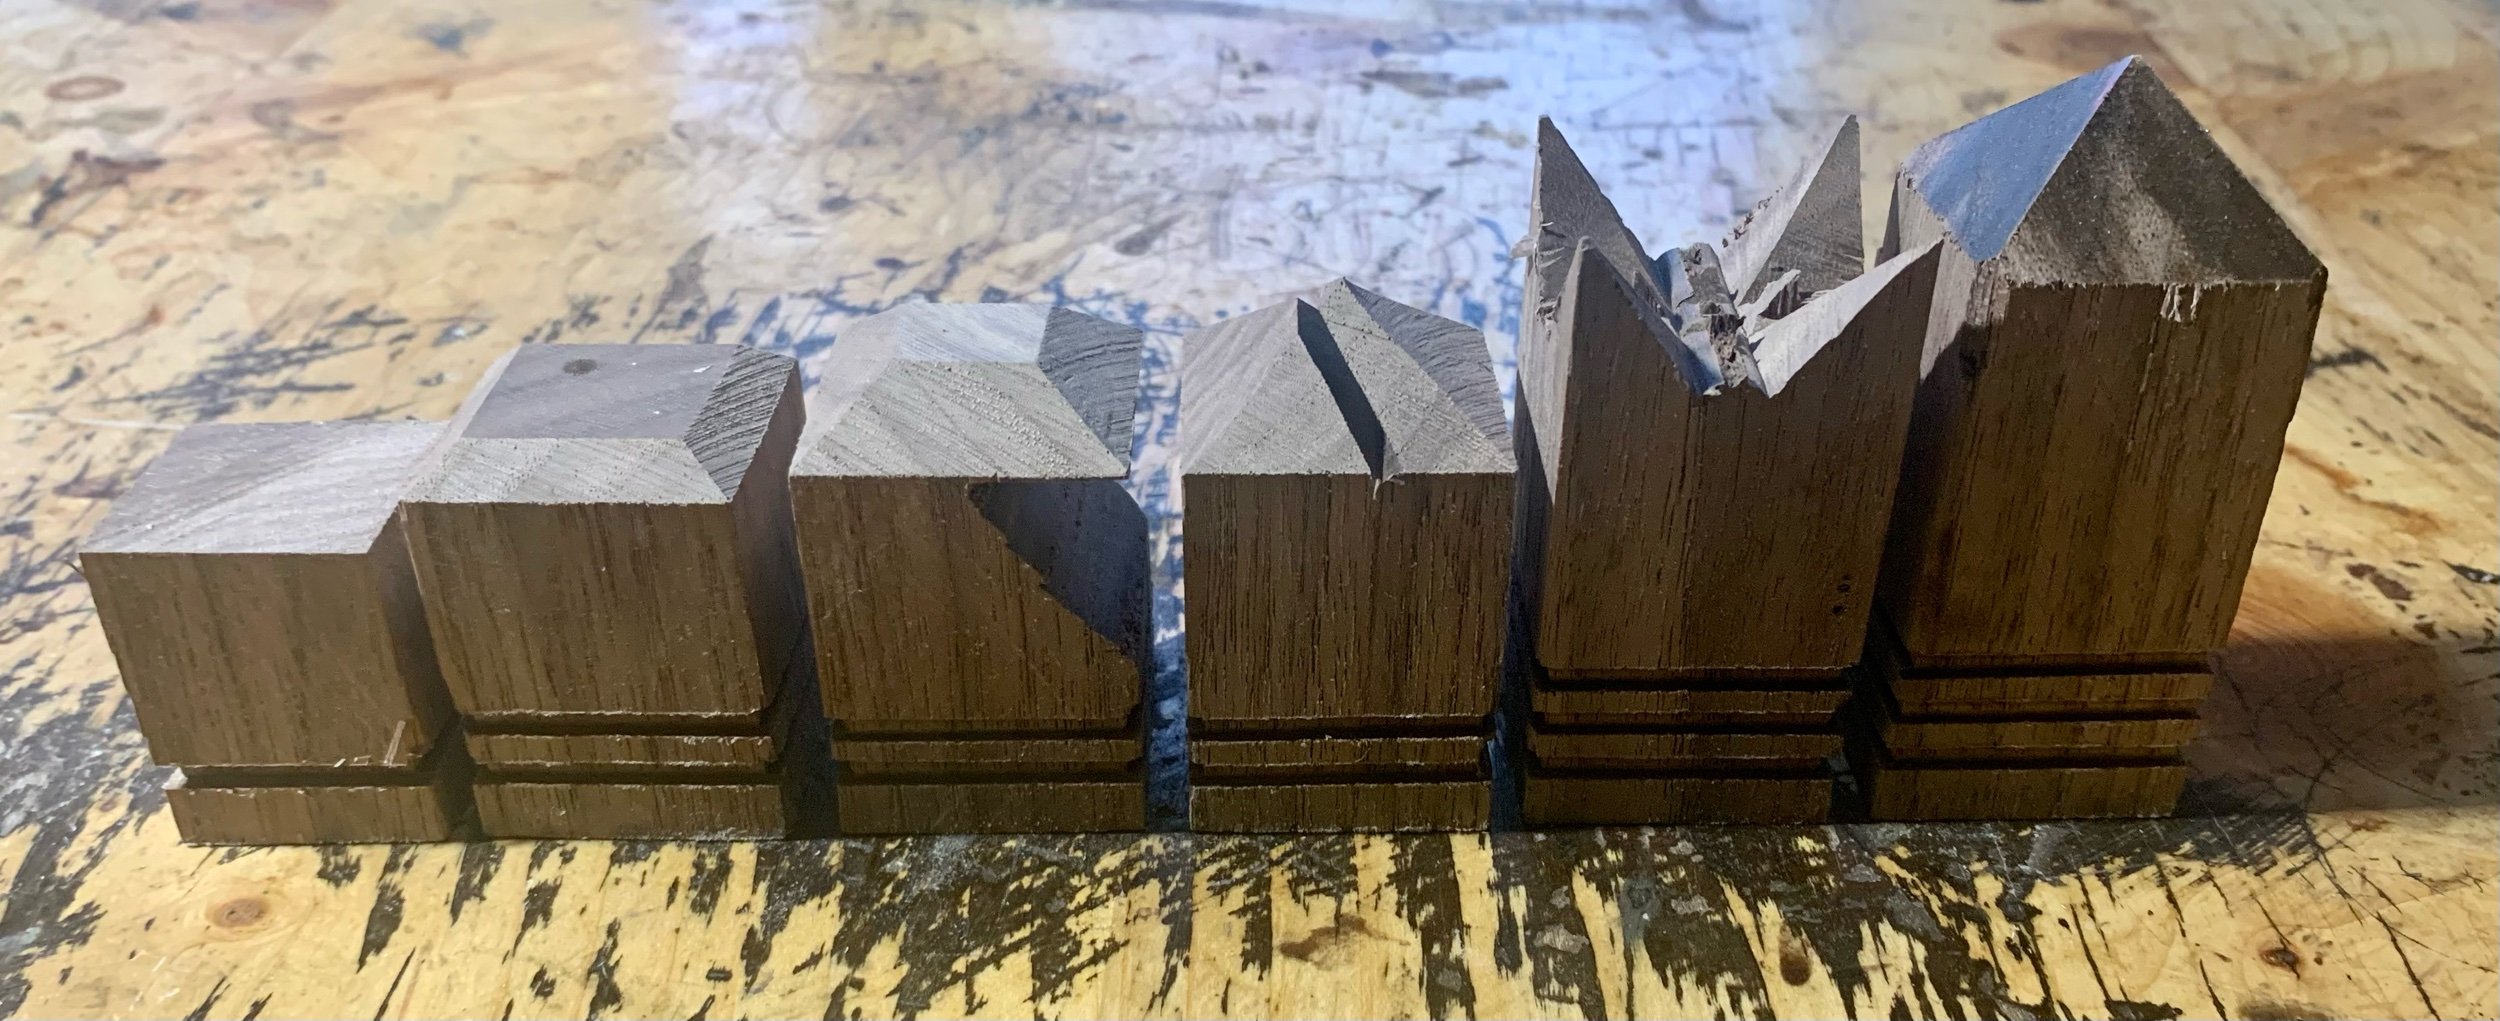
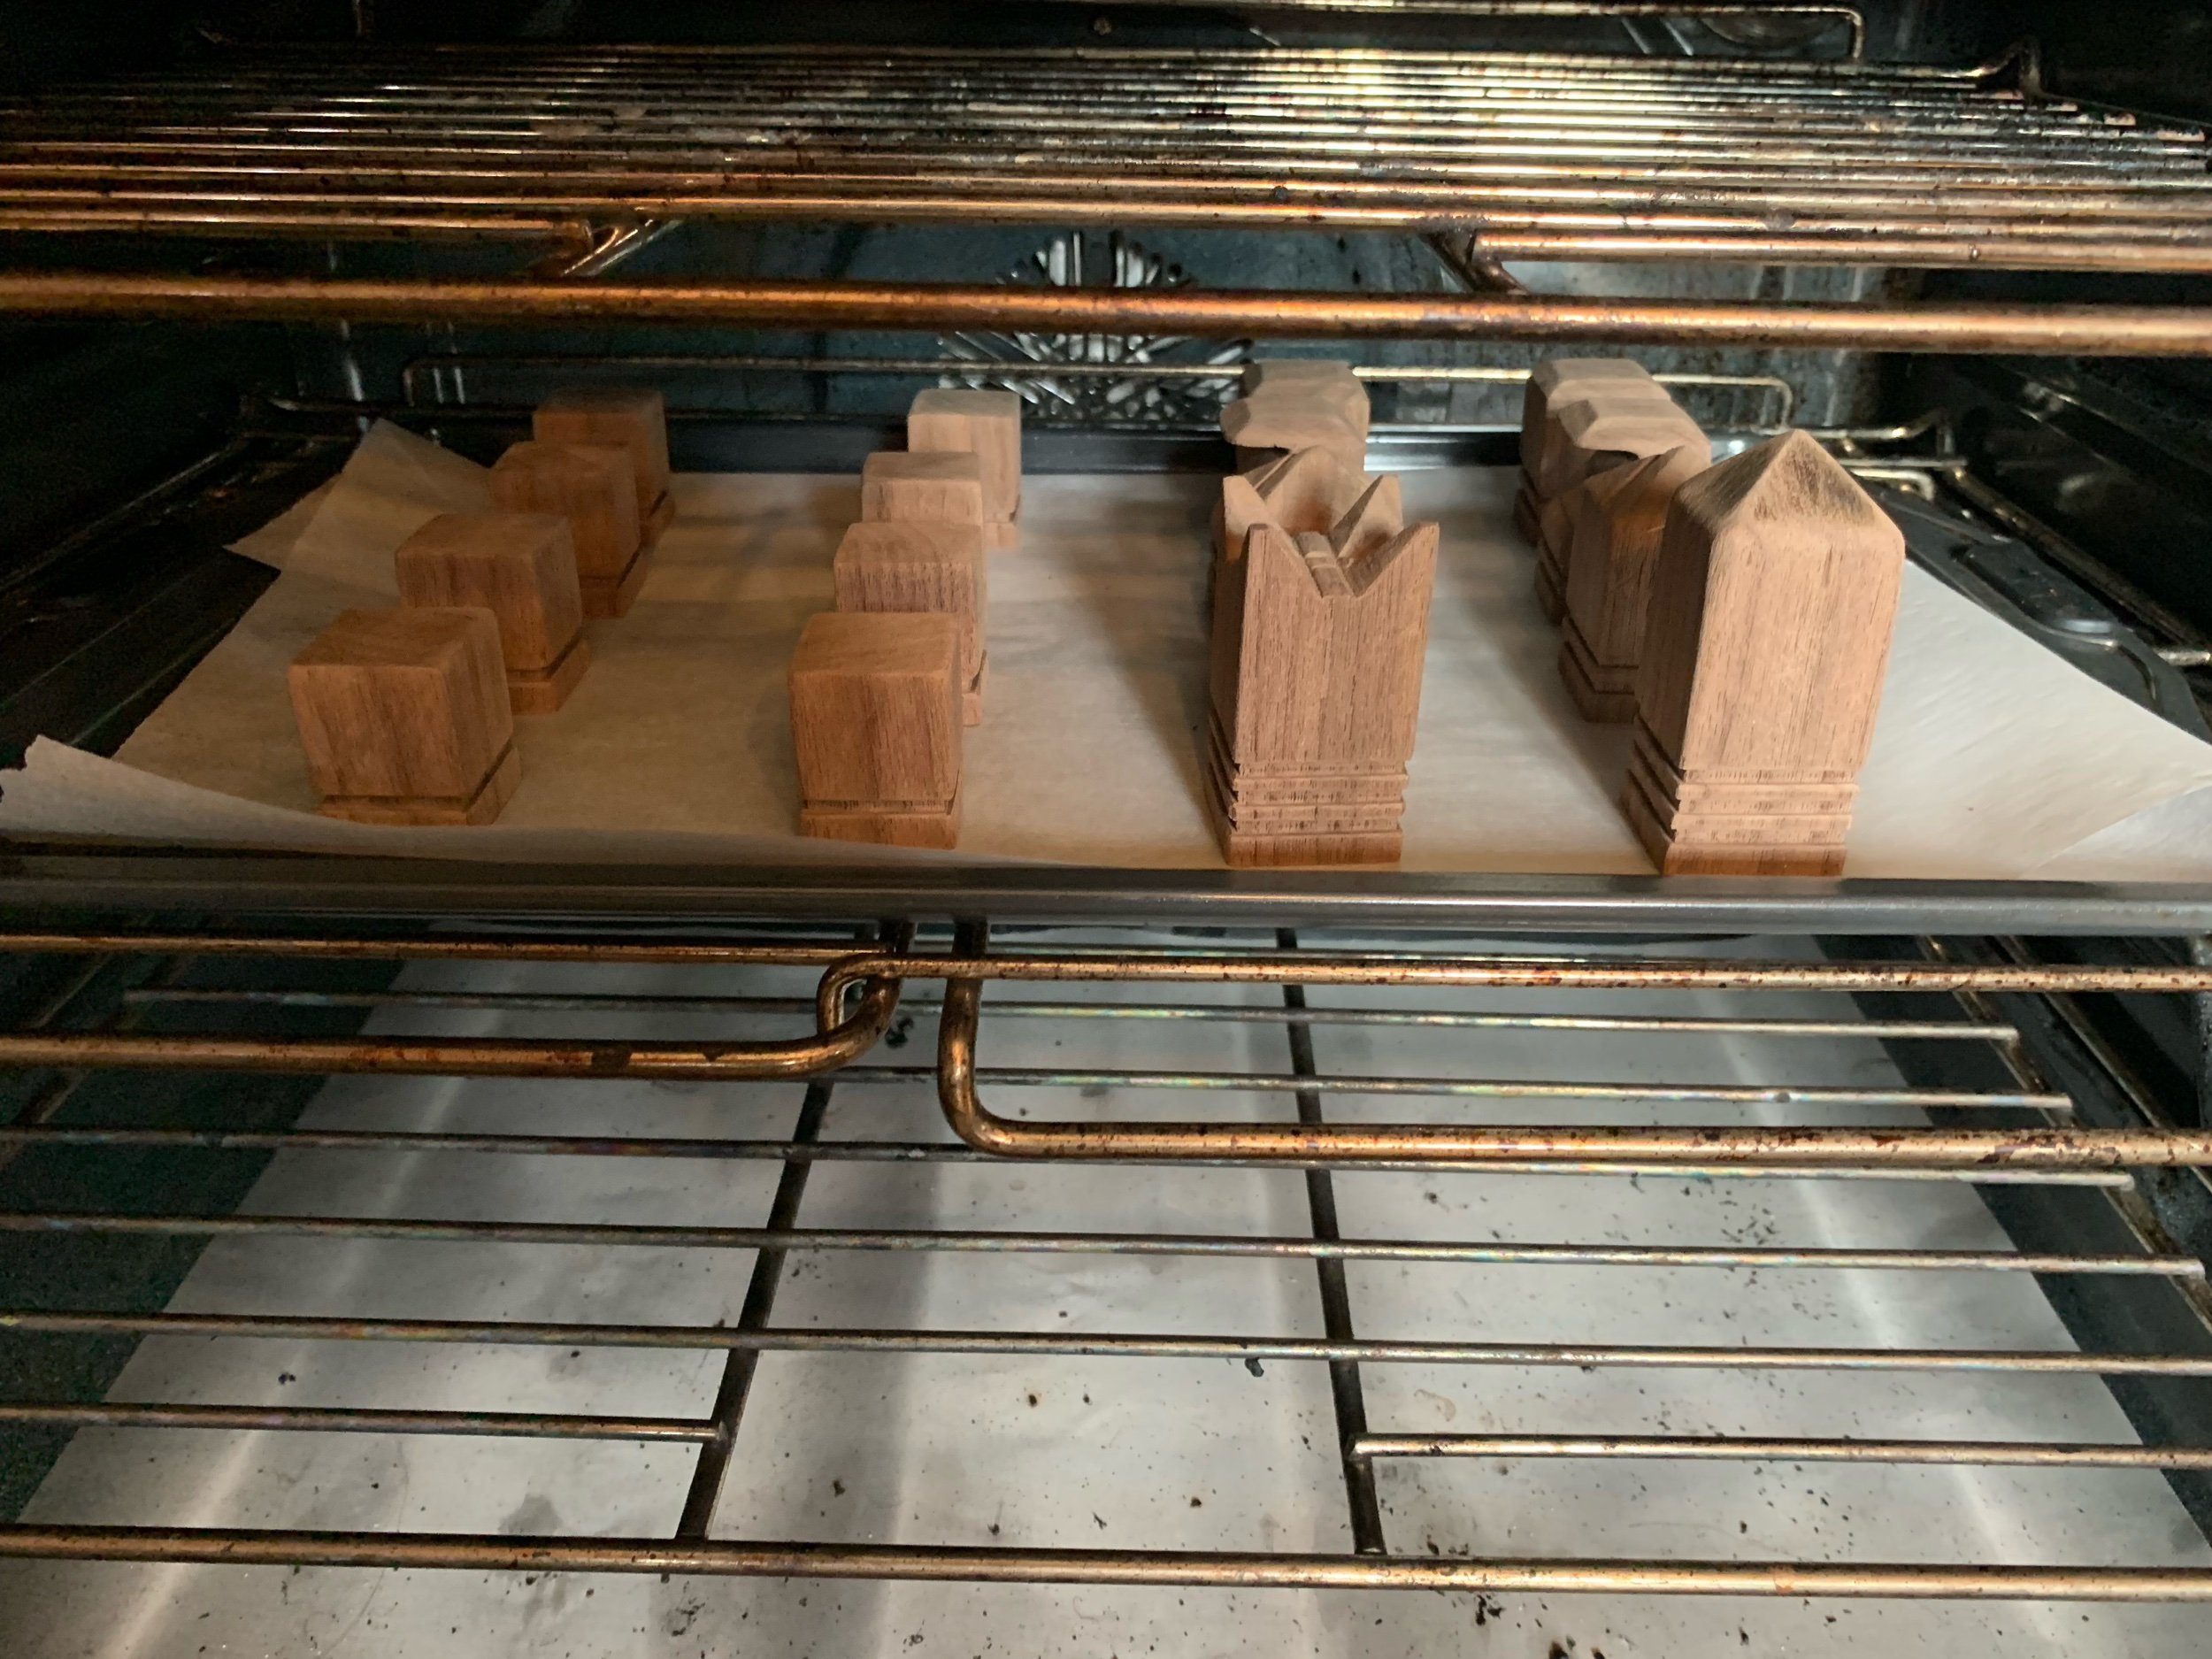
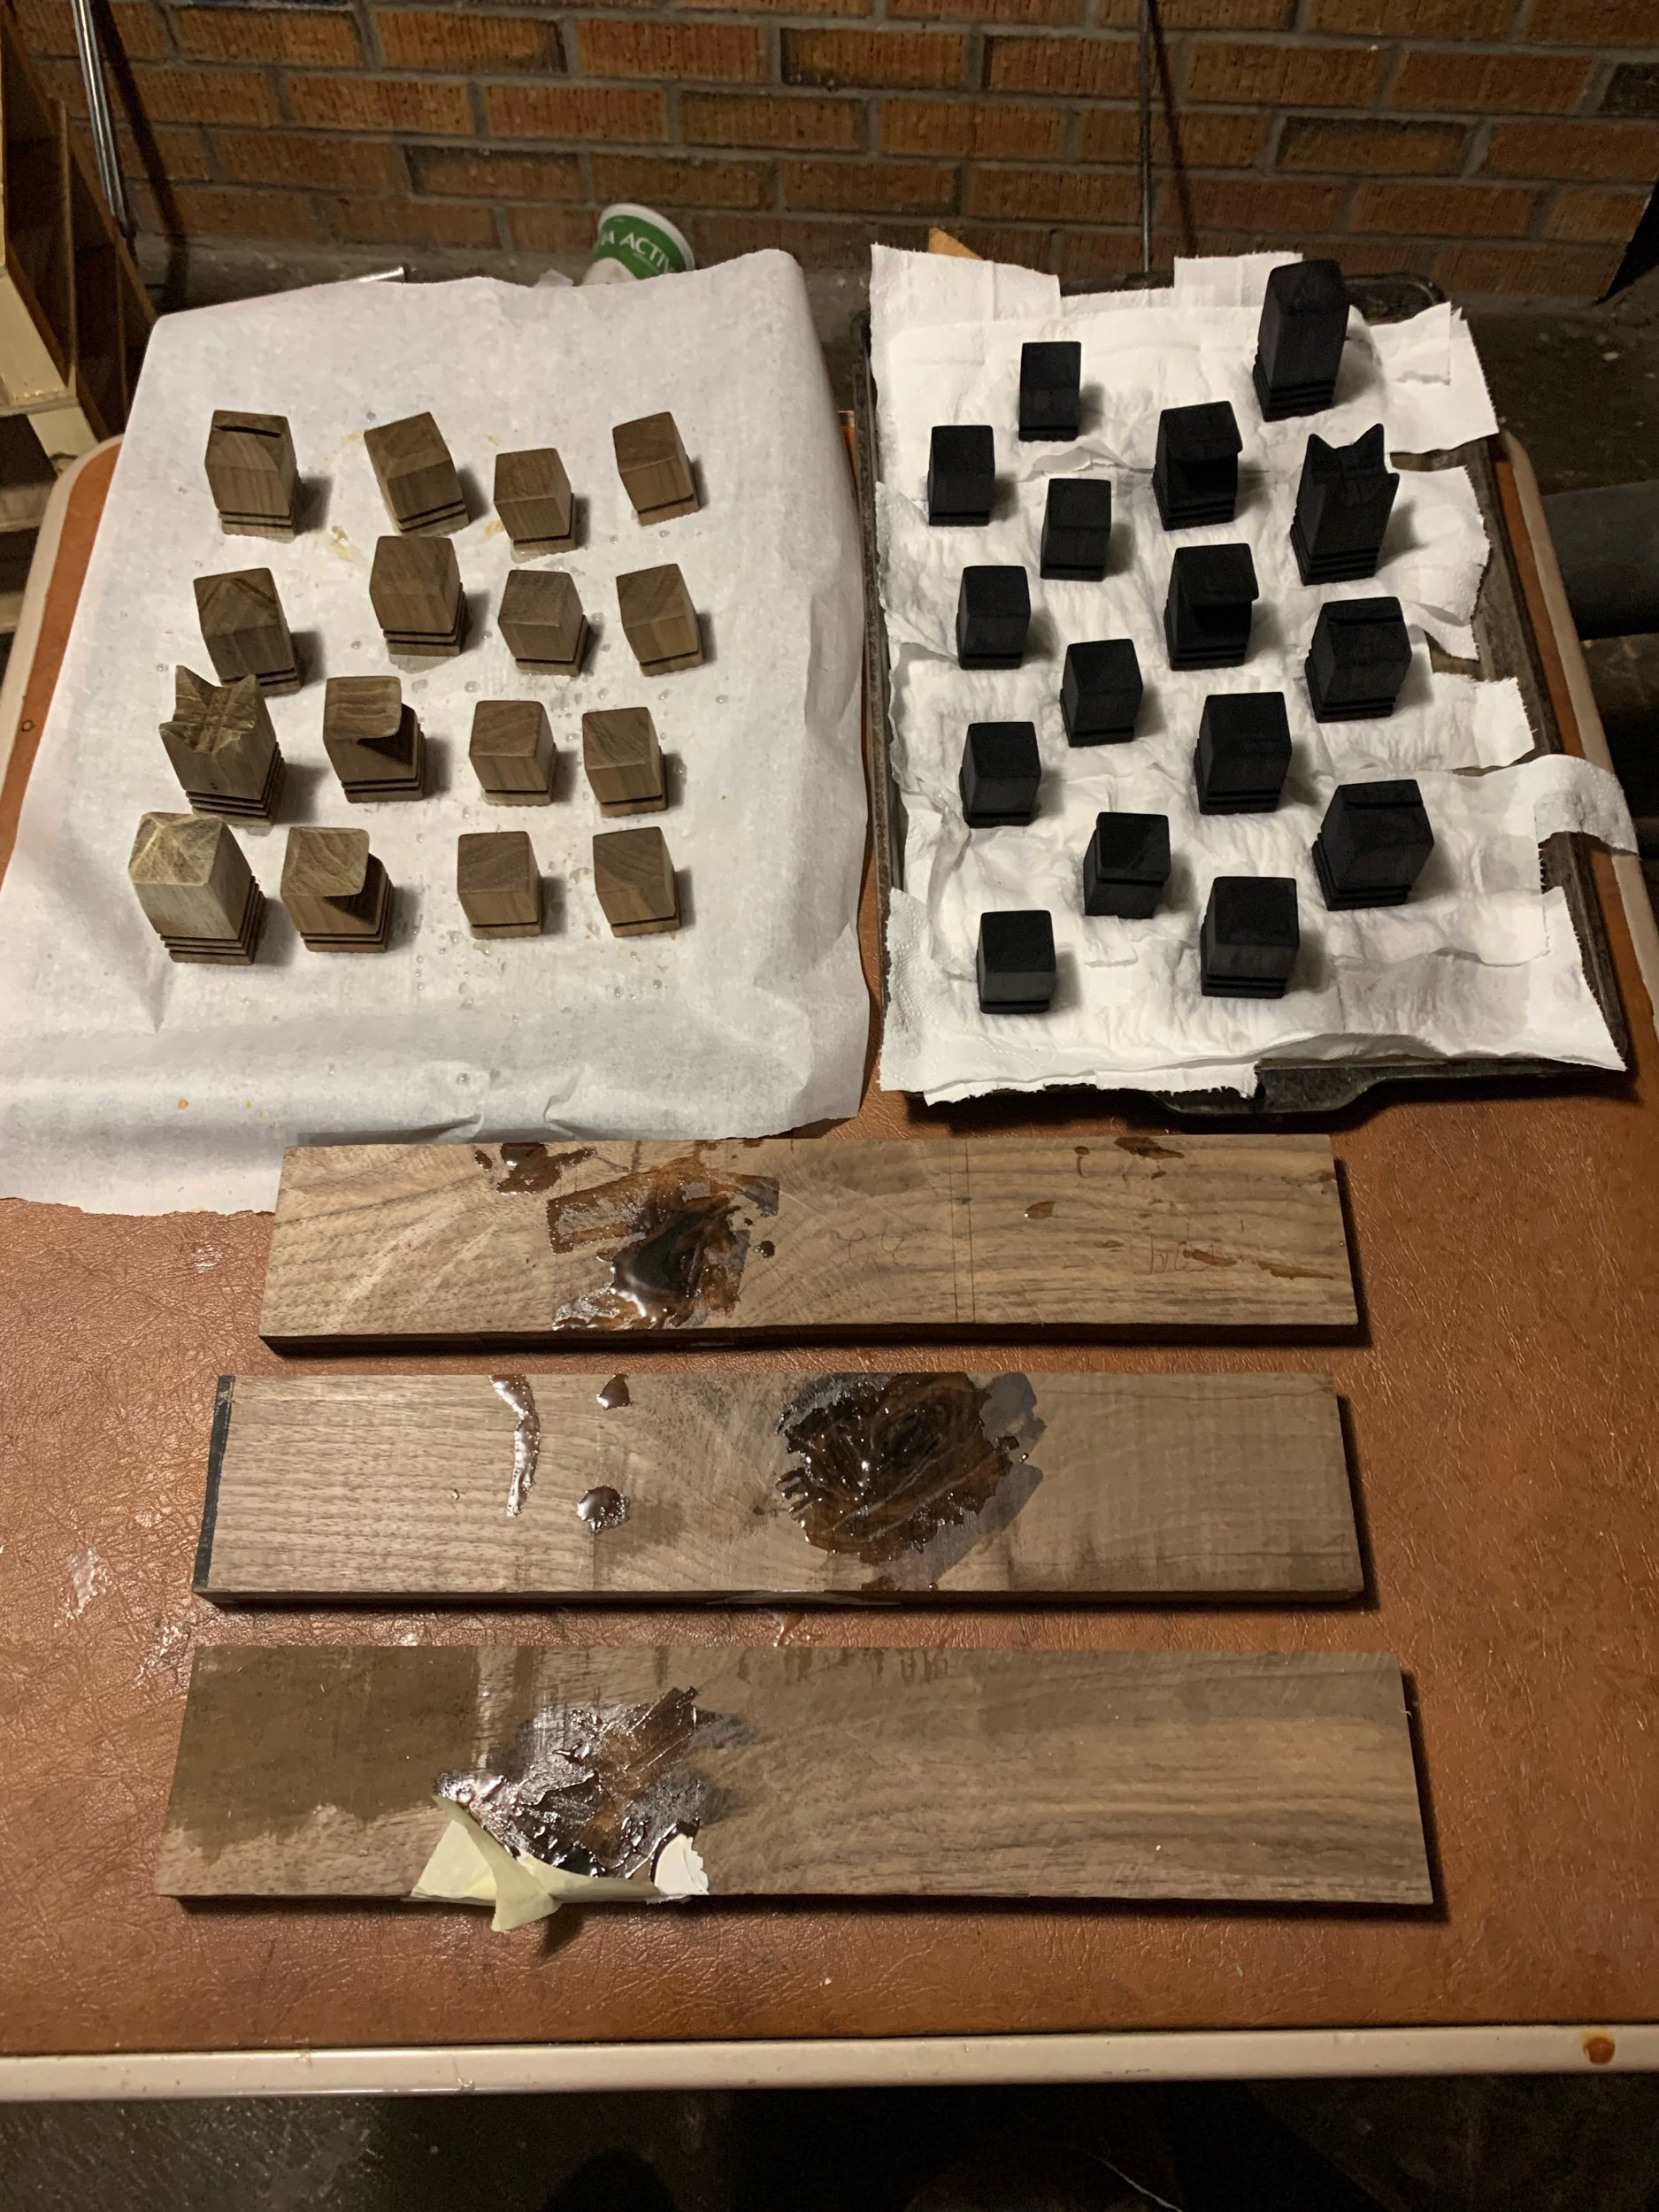
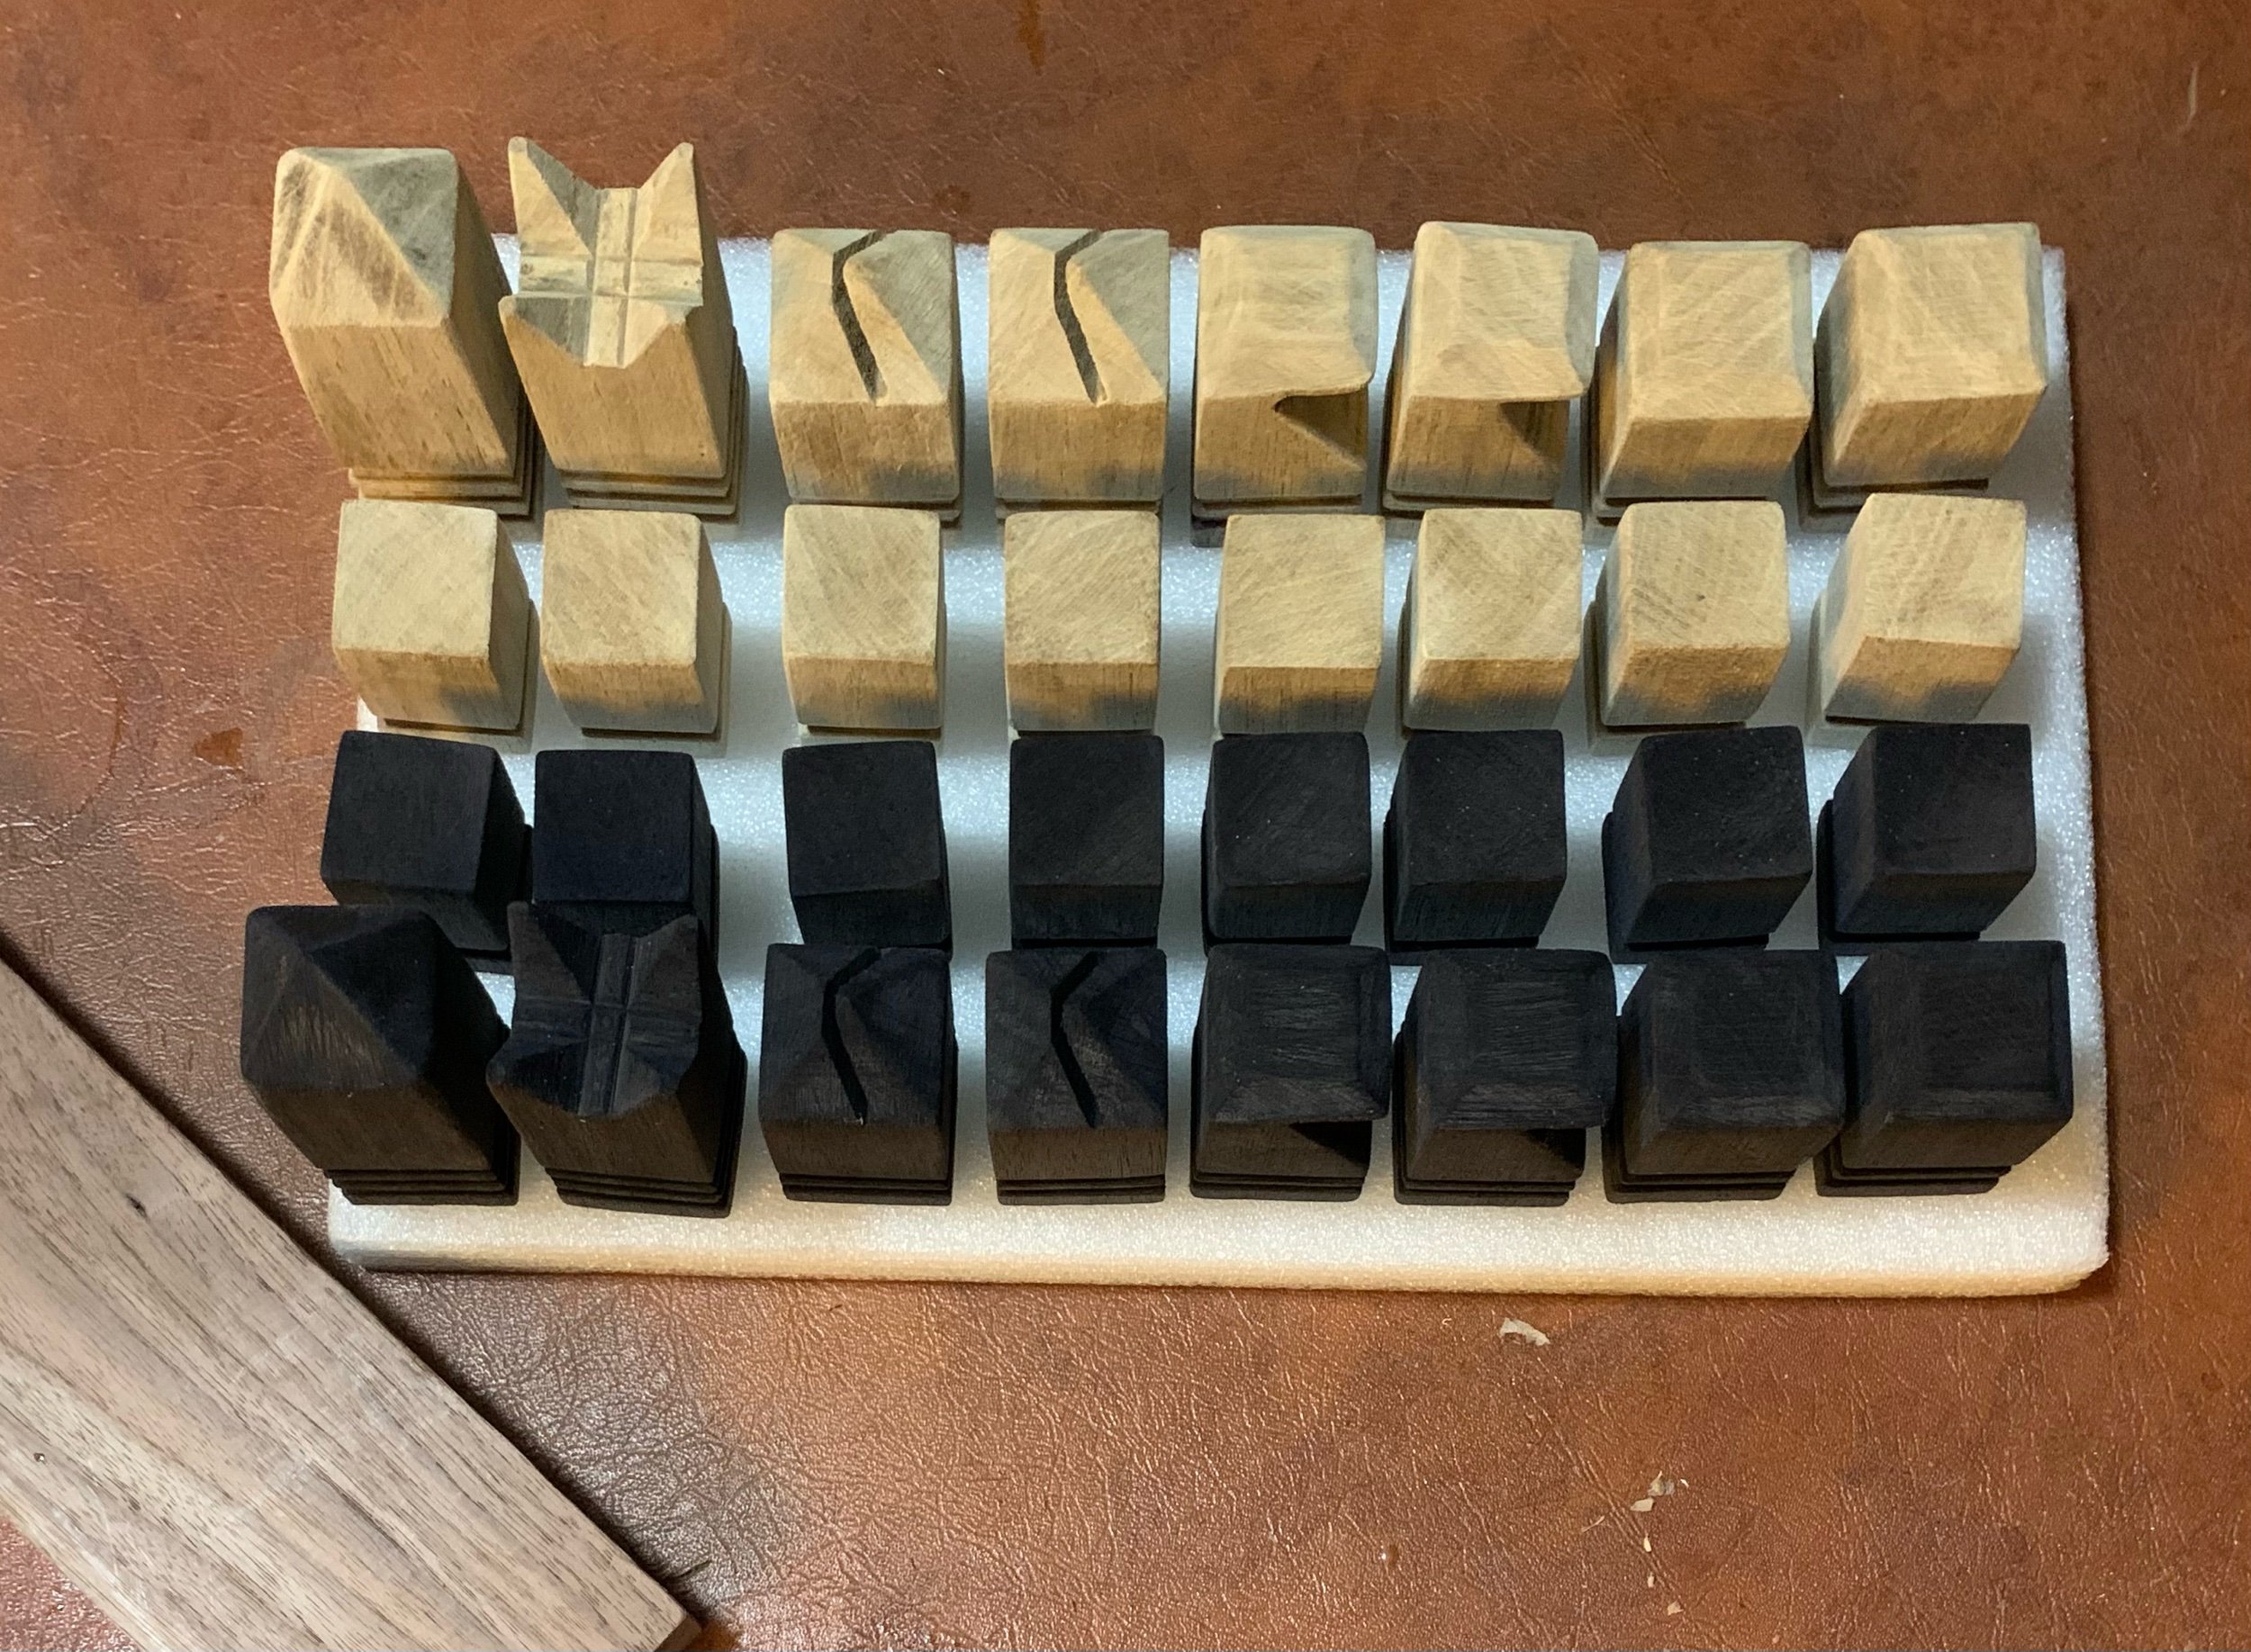
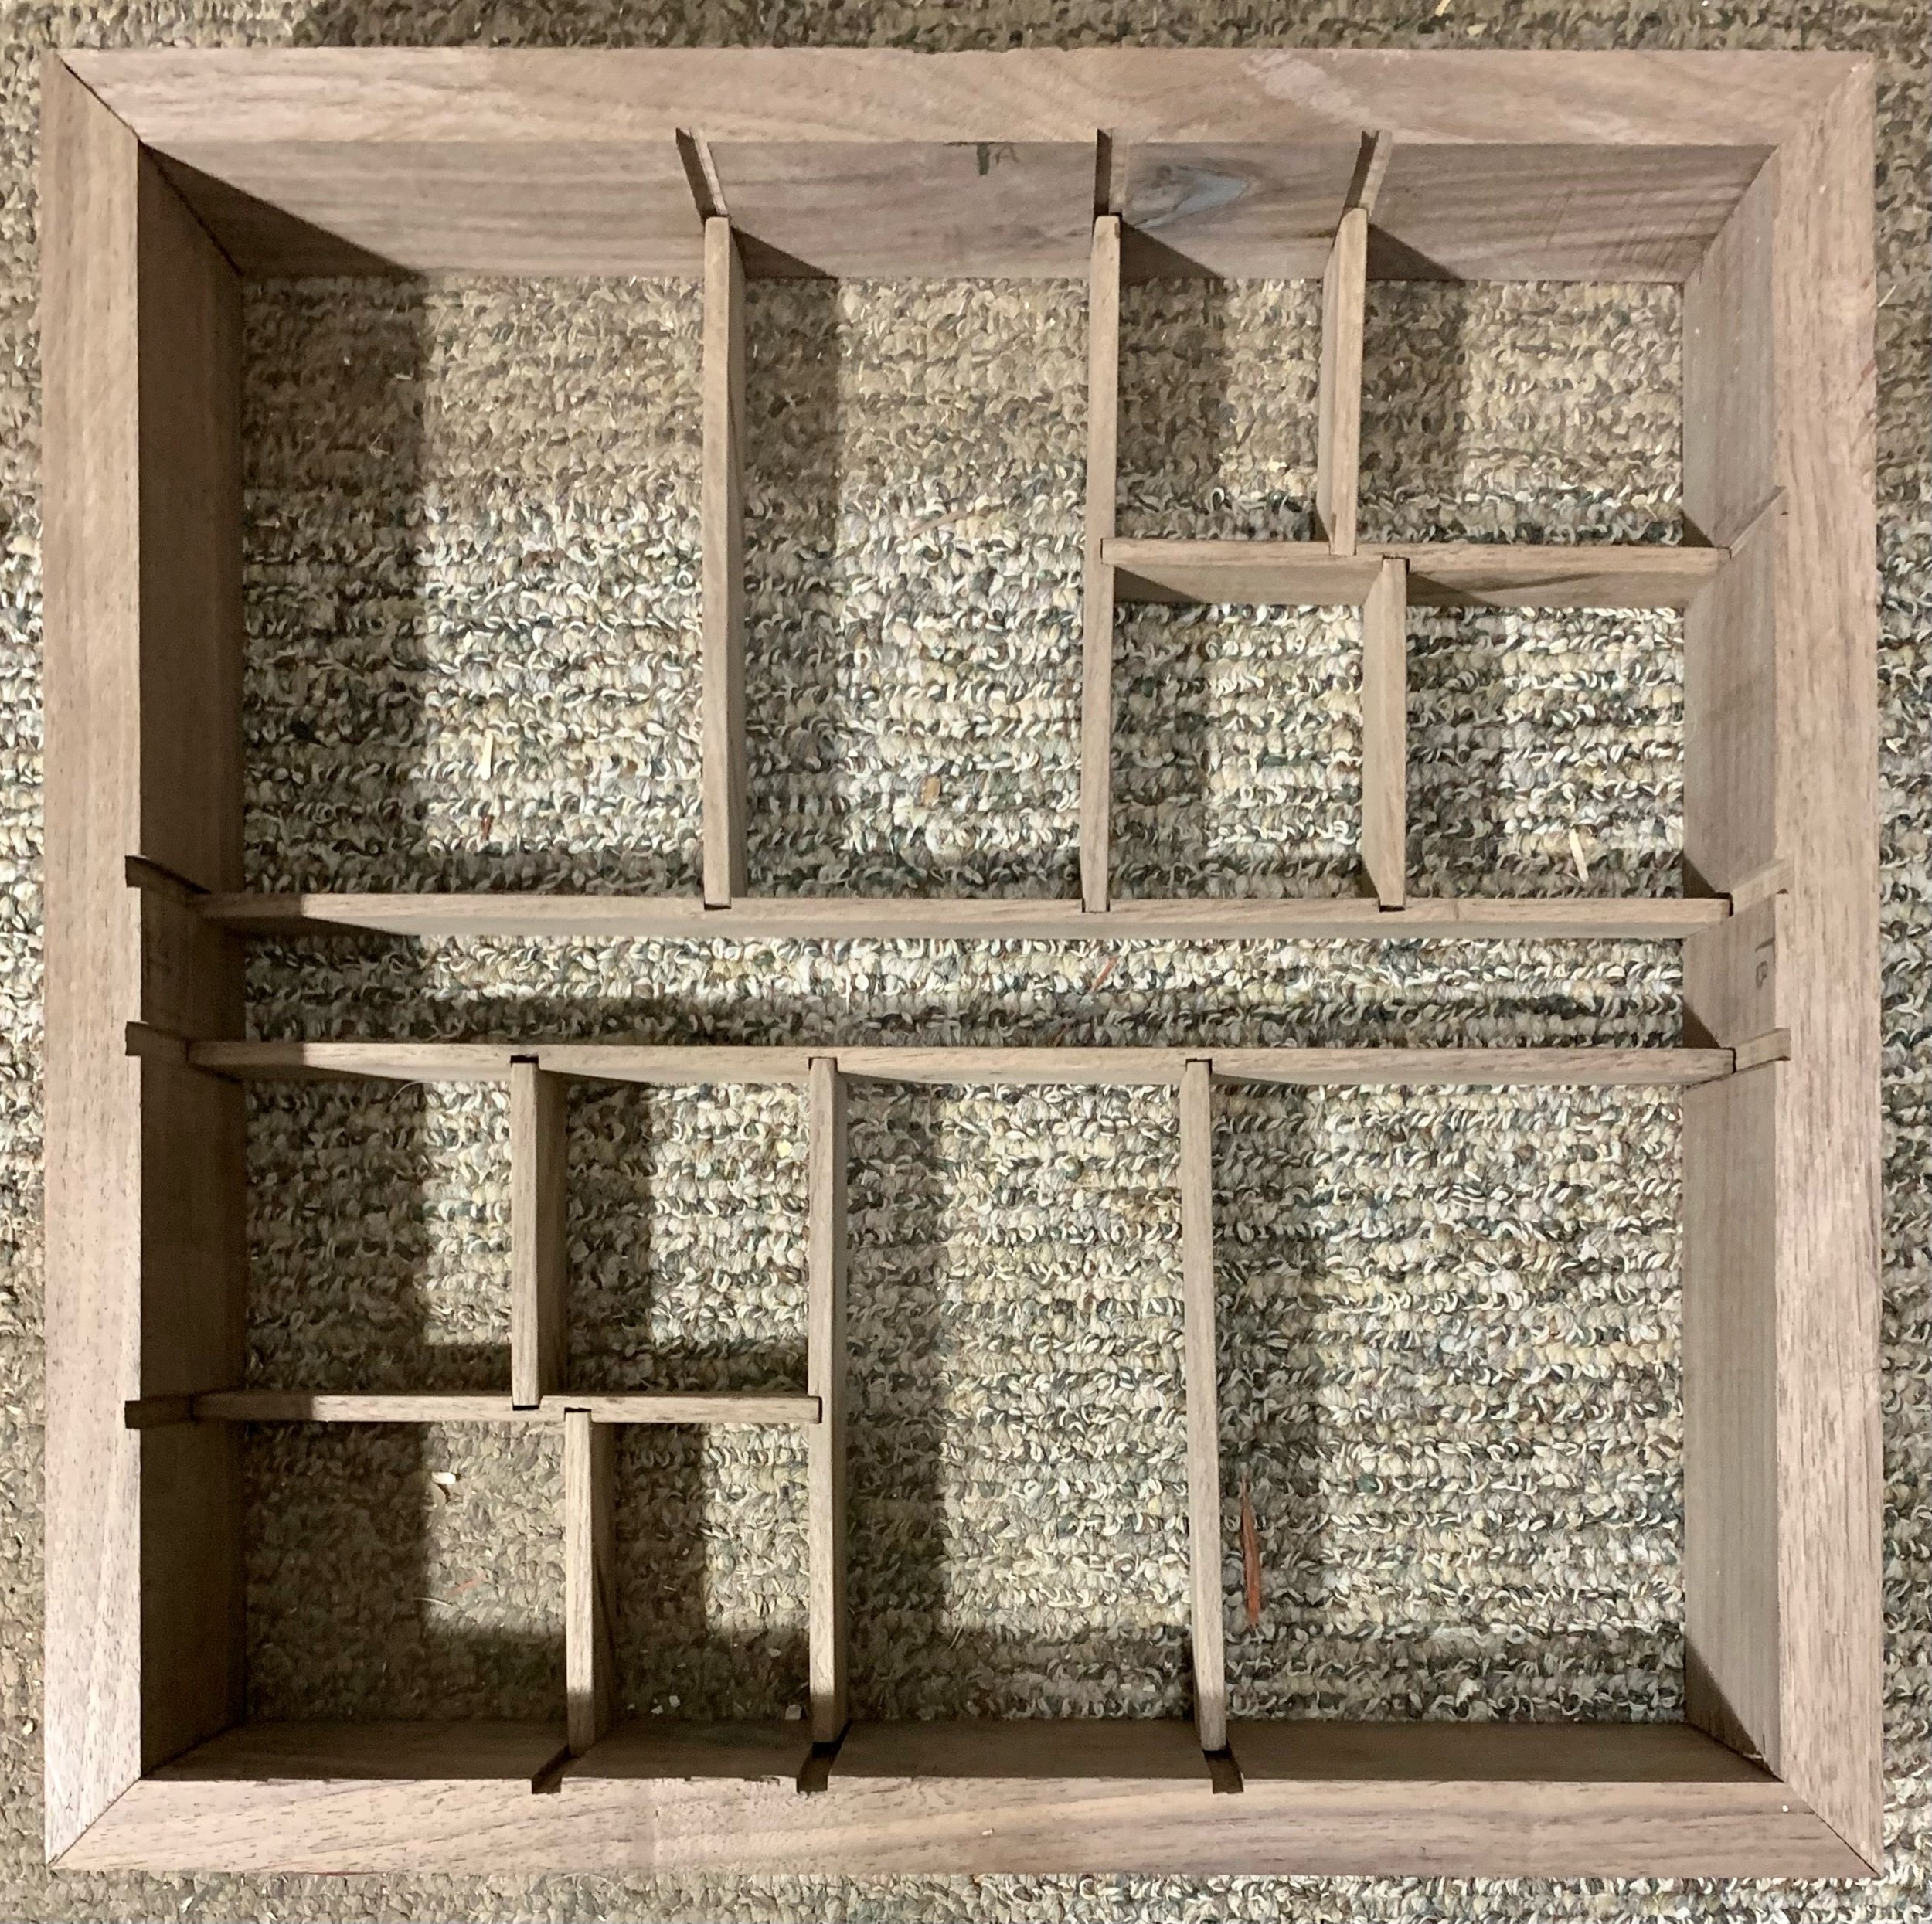
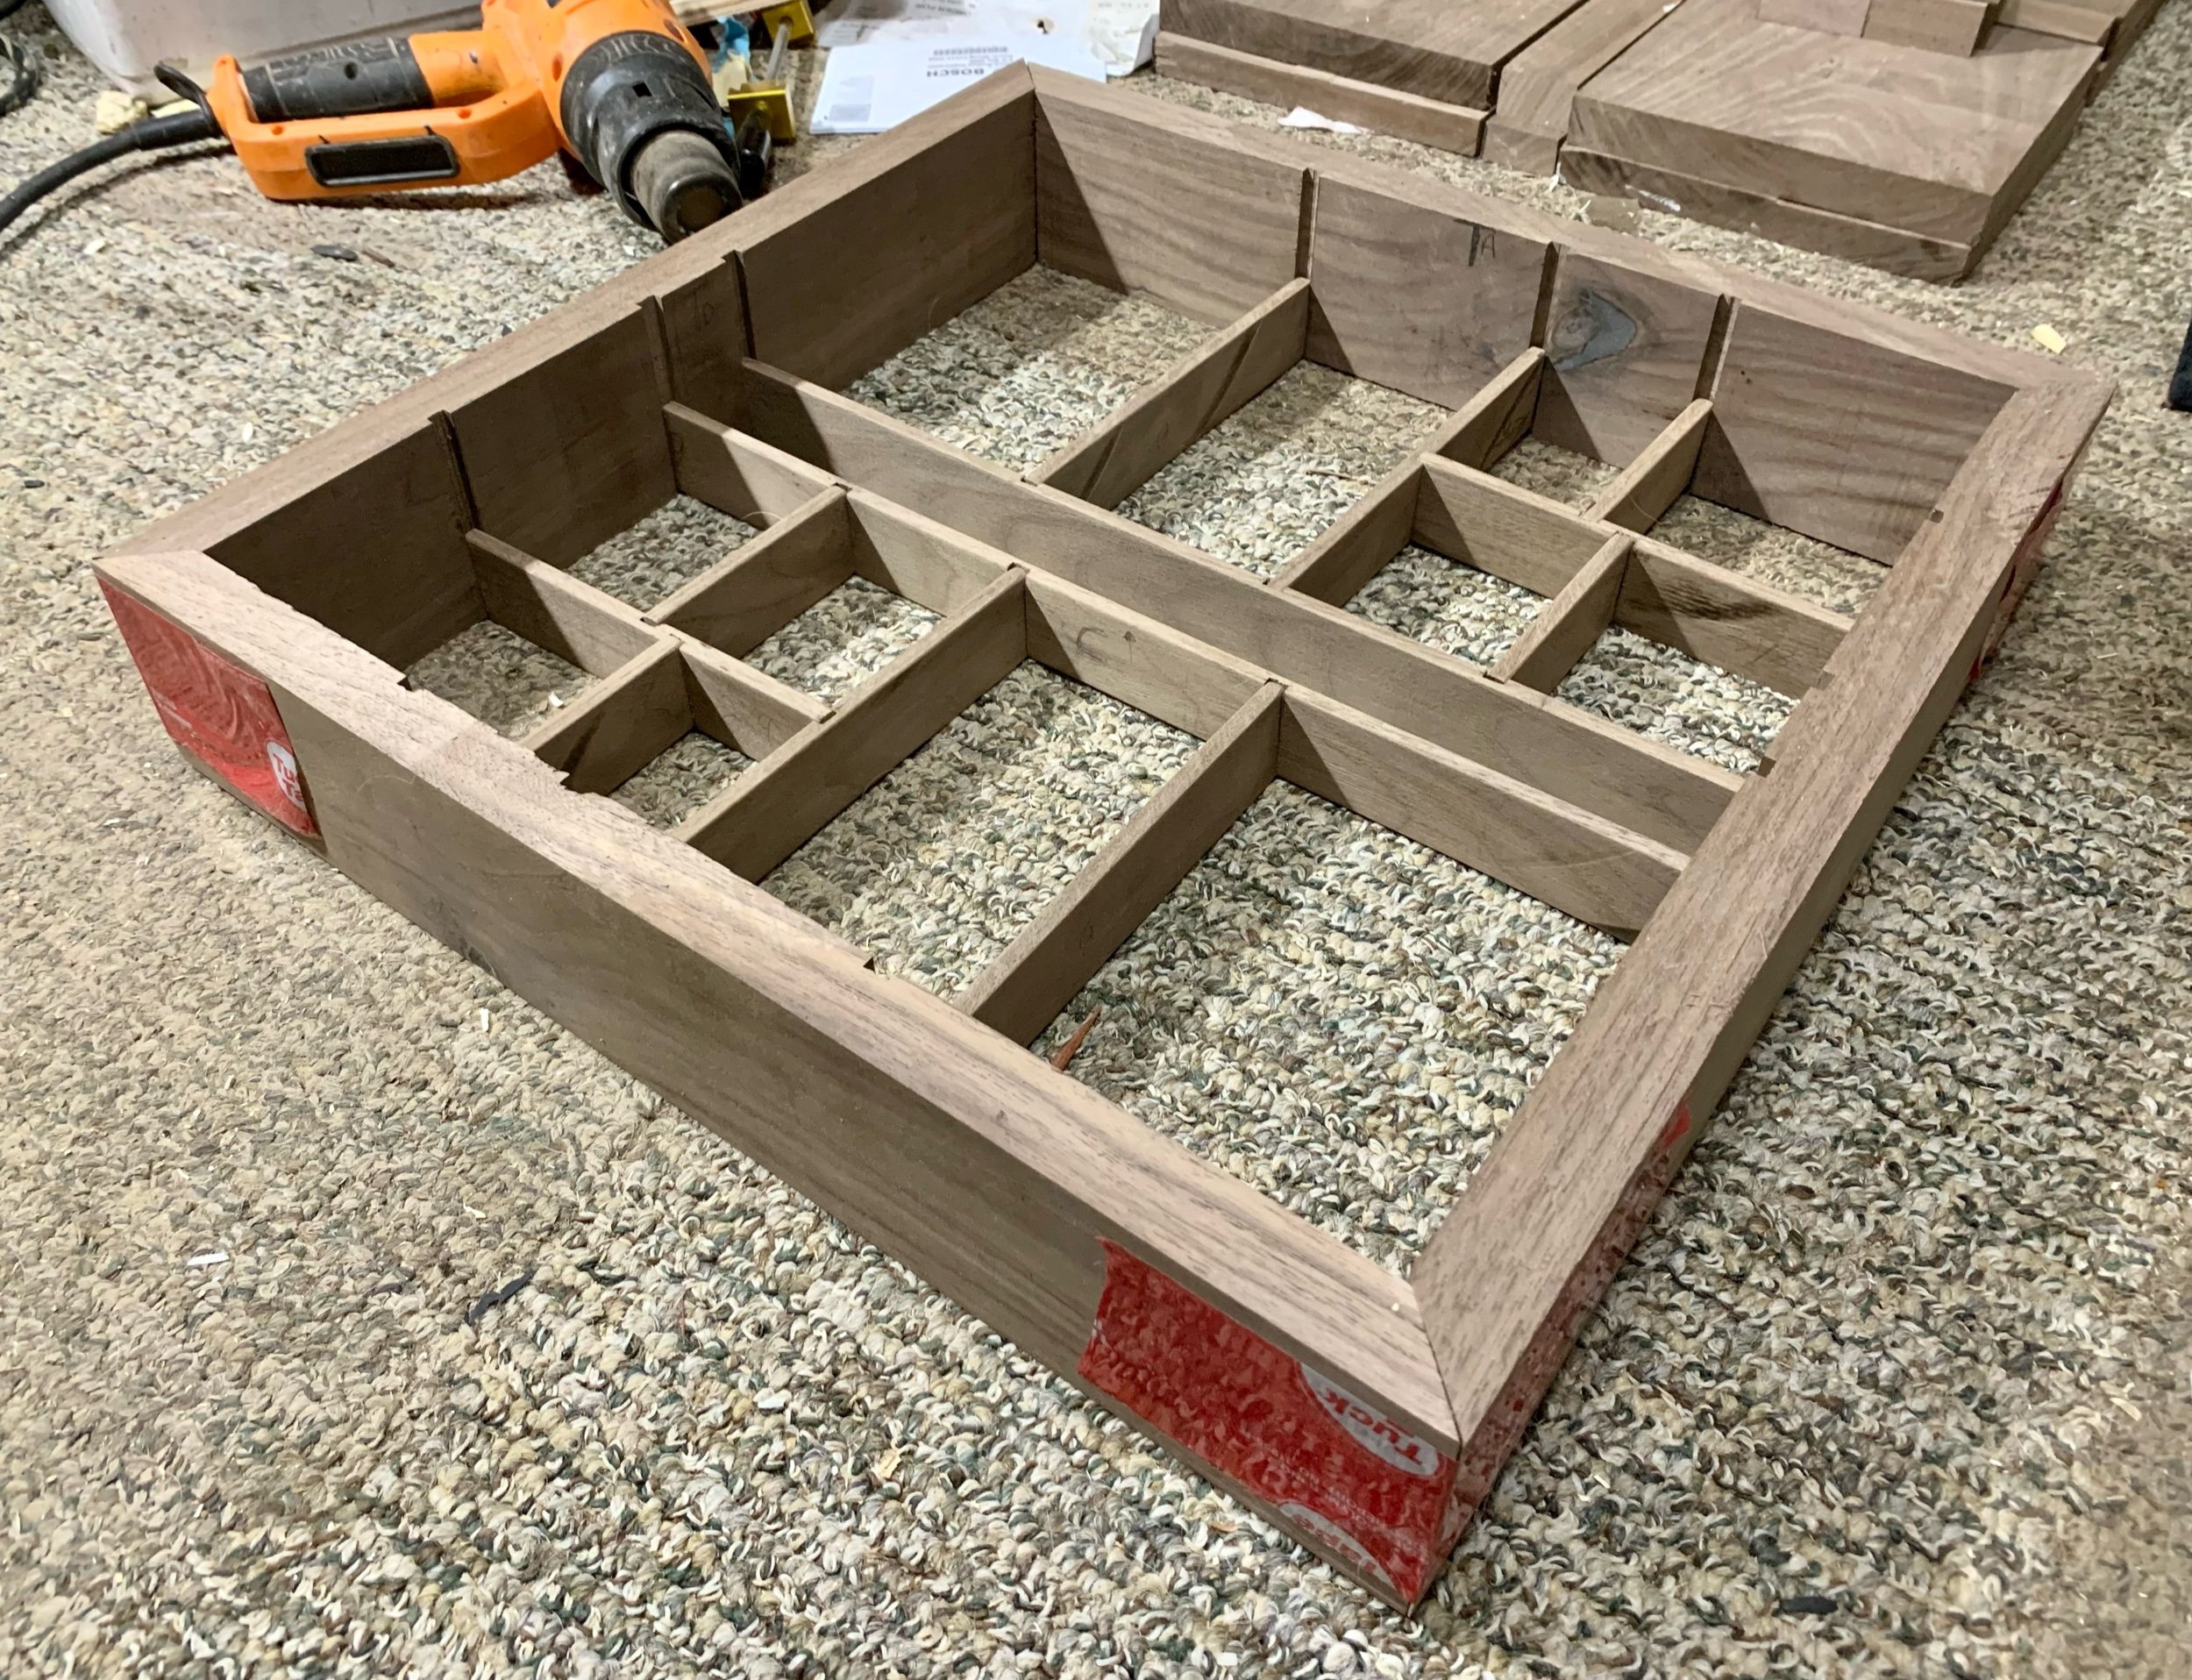
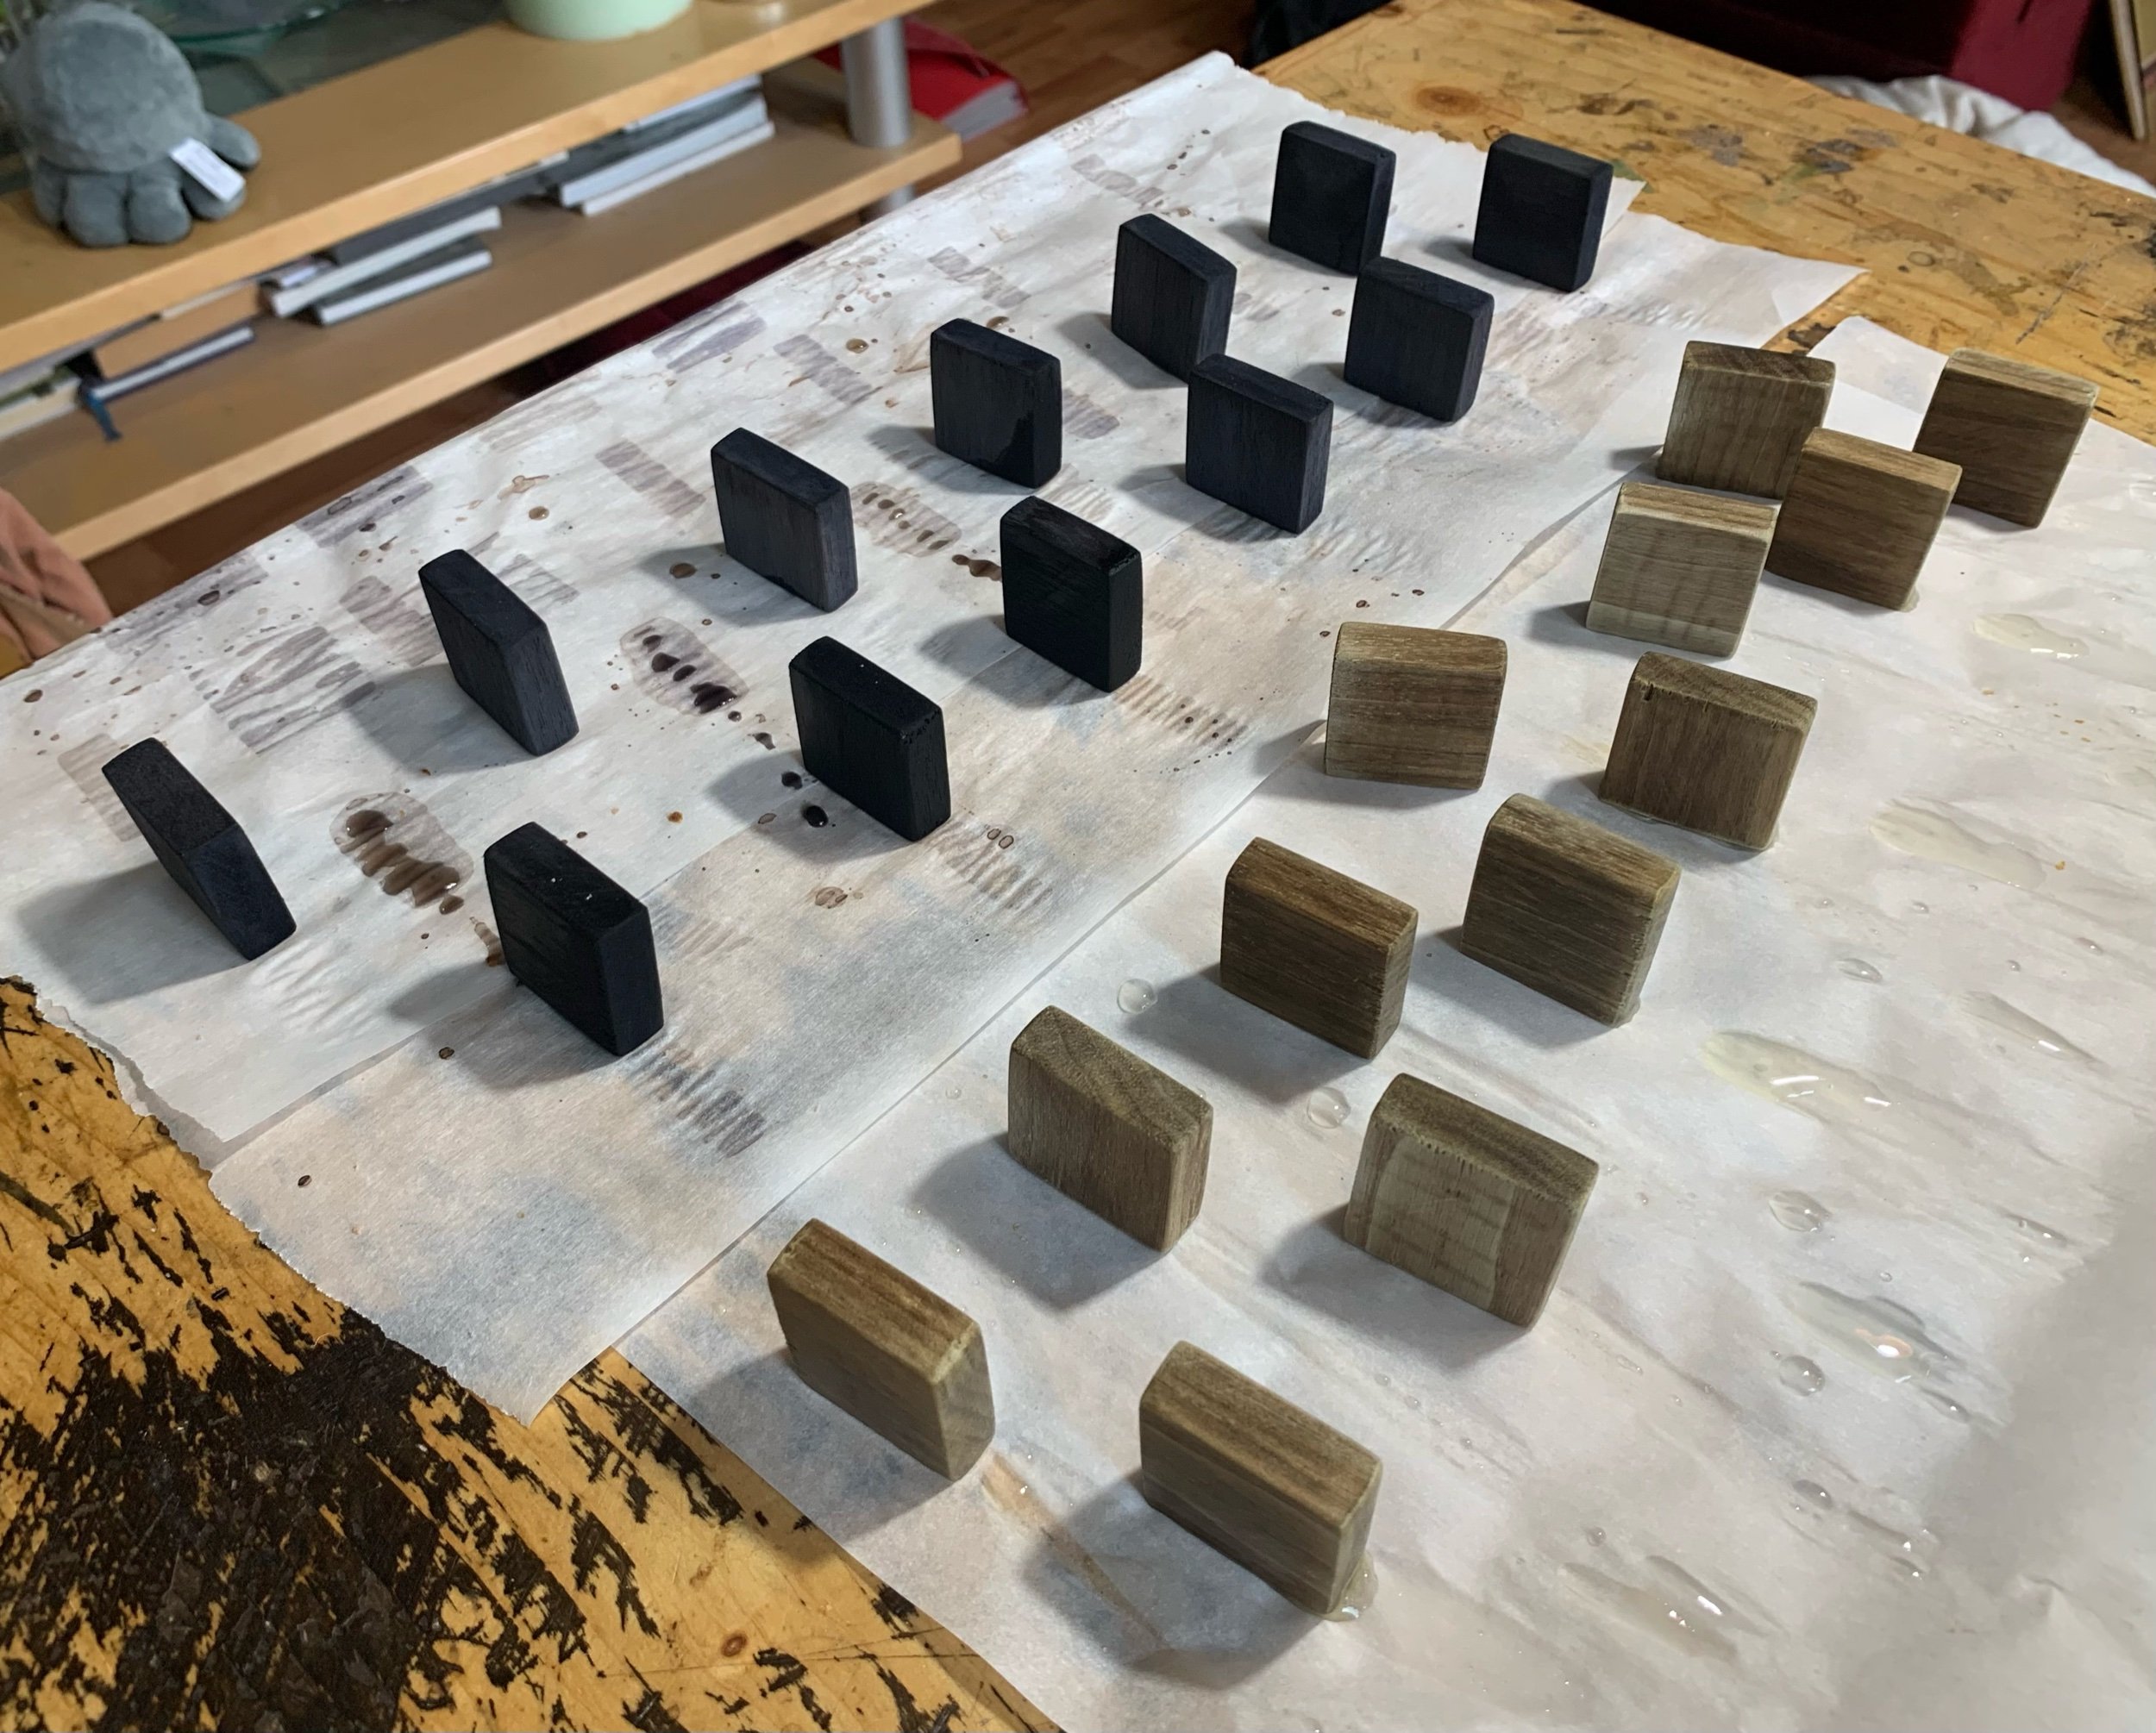
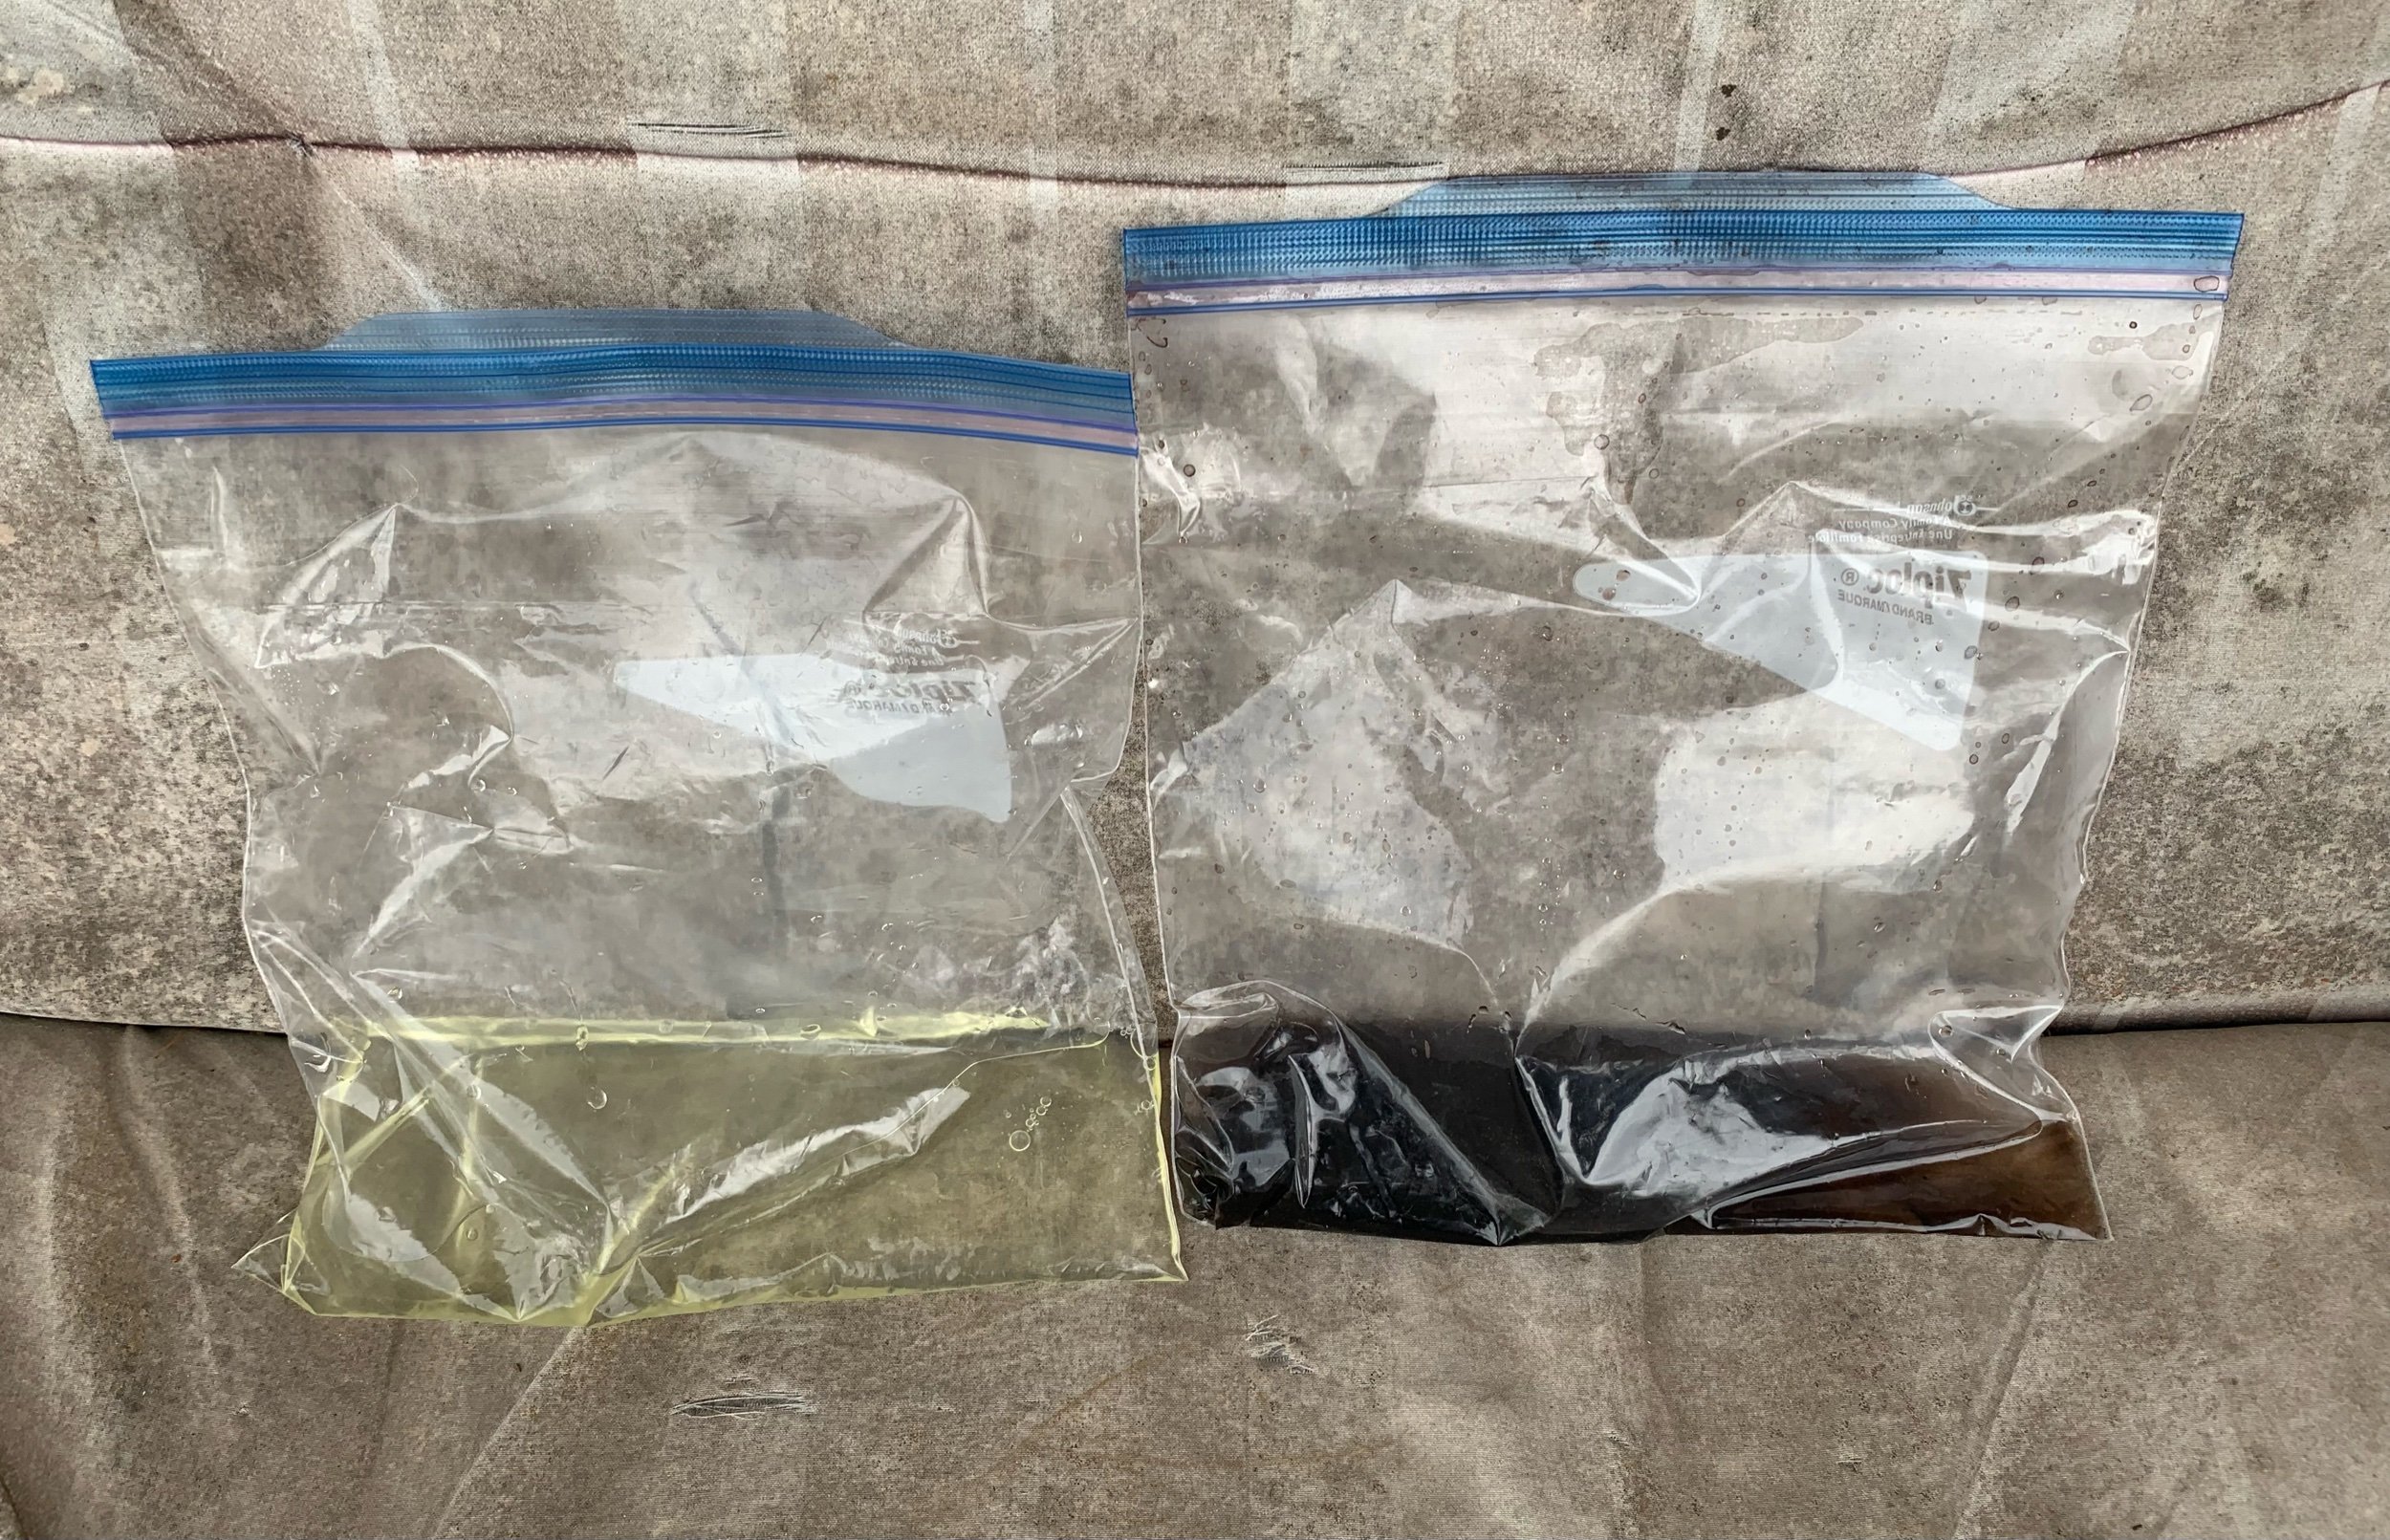
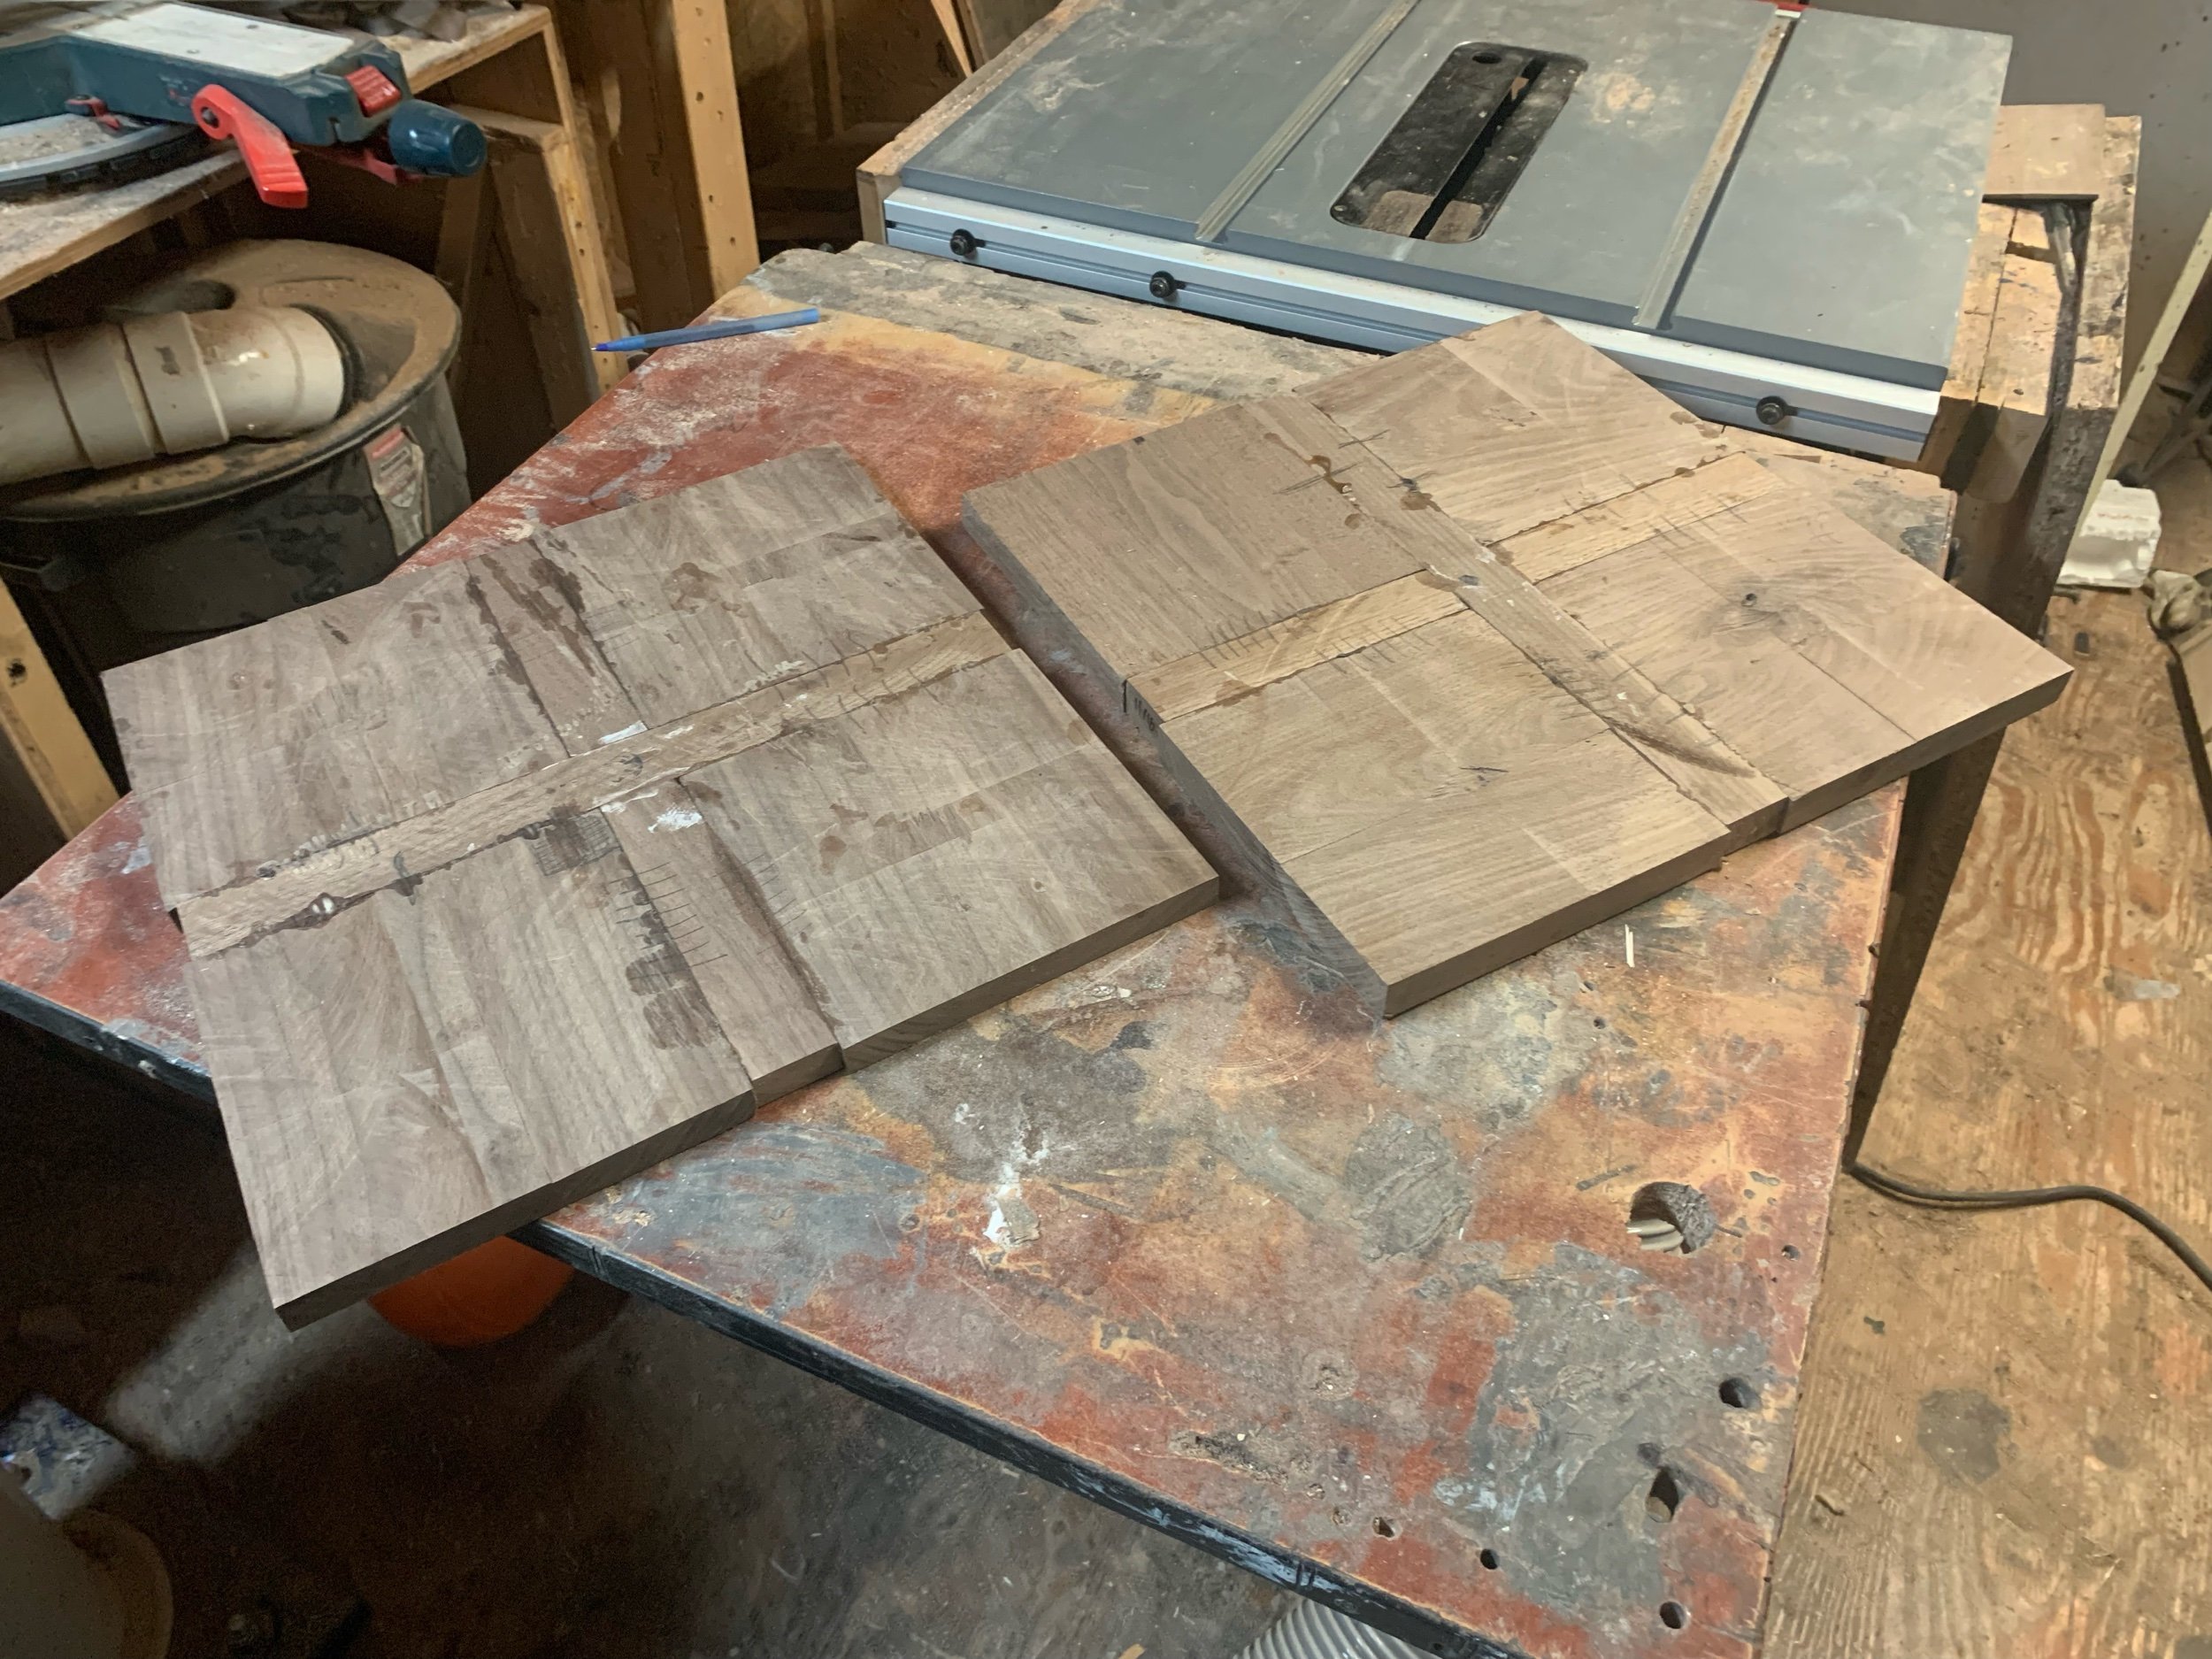
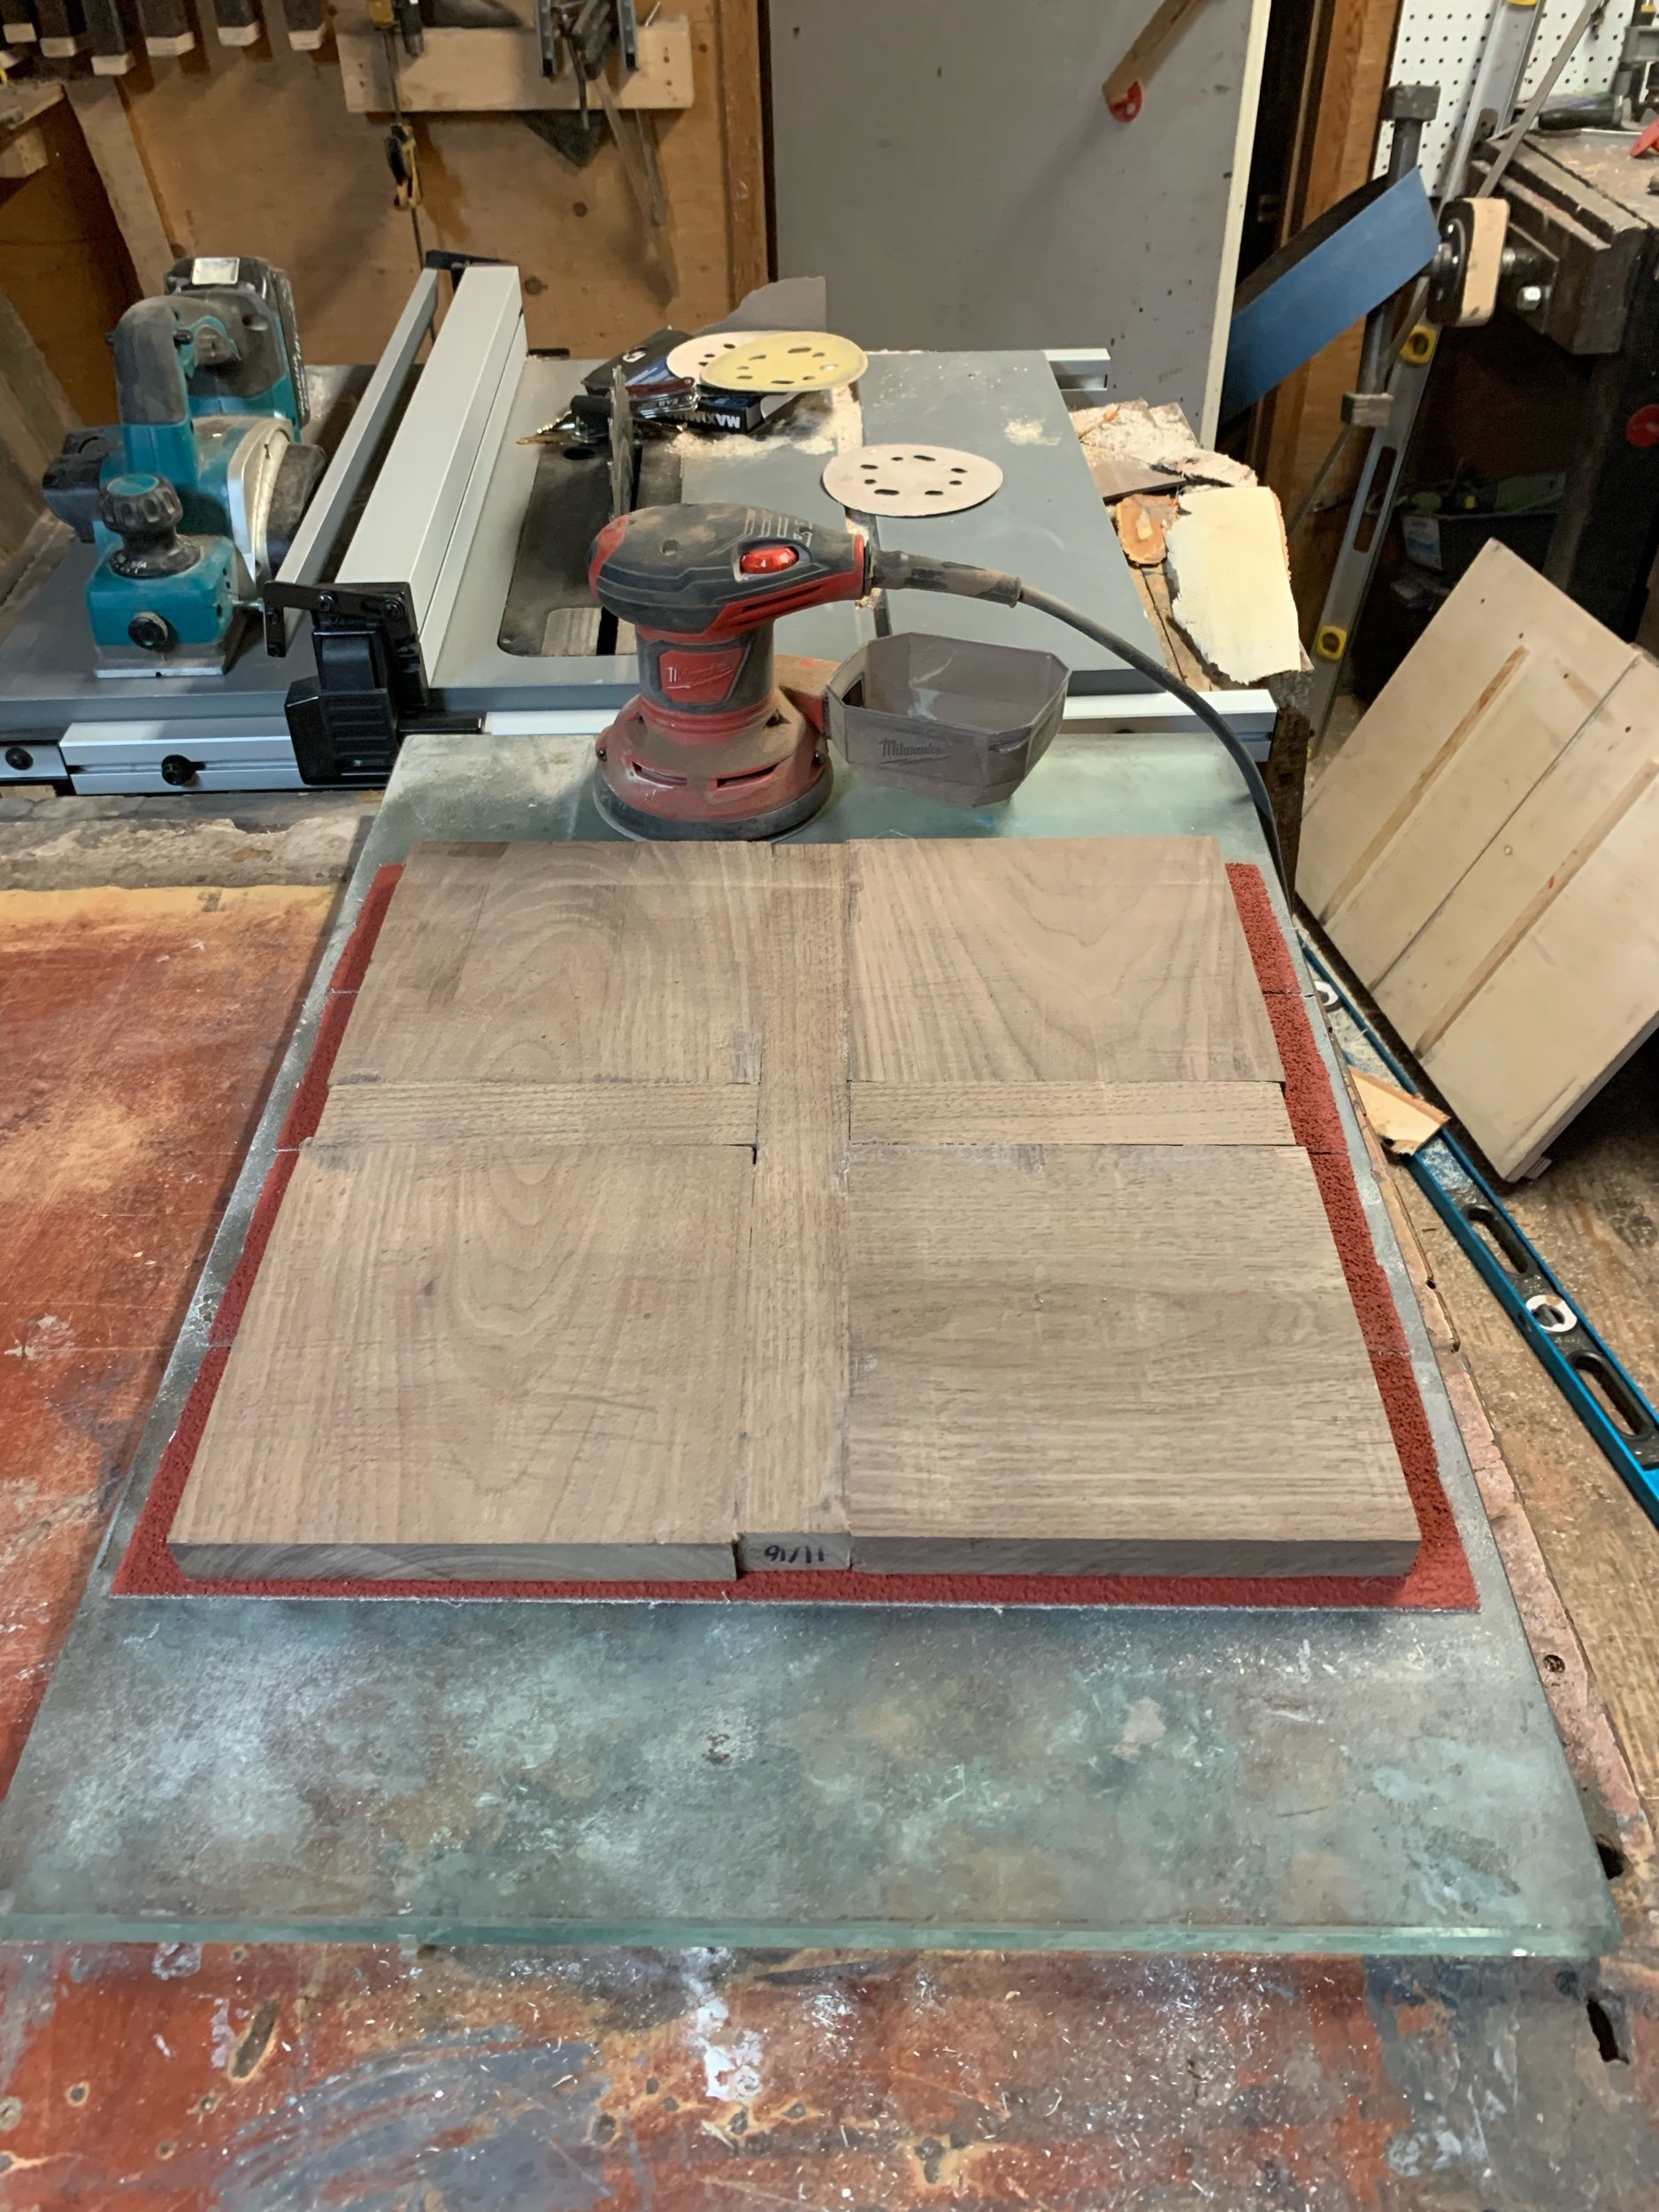
Now that my long-gestating chessboard has been done for a few weeks, I thought it would be informative and helpful to share the photos that took it from ideation to creation. It includes all the warts and some of the notions that didn’t make the final cut. It is still currently for sale at Out of Hand here in Smithers.
It is also available for purchase directly from me. So please let me know if you’re interested and I can go get it for you (this way saves me the commission fee at the store).
Price: $450
FIRST SET OF PHOTOS

my initial plans for the project

making large slabs out of small pieces

rough-cut project pieces

rough-cut chess pieces


baking half the pieces in the oven to test how I might darken them

filling holes in the box walls with epoxy means I need to create dams on the opposite sides of the holes

ebonizing half the pieces with an iron acetate solution

household bleach will lighten the other half the pieces


finished pieces with a final coat of oil and shellac

rough-cut partition pieces for the box interior

dry-fit of box walls and interior partitions


cutting the checker pieces

checkers that have been ebonized and lightened

bags of iron-acetate and bleach

slabs glued together

flattening the slabs with 36 grit ceramic sandpaper on a tempered glass base
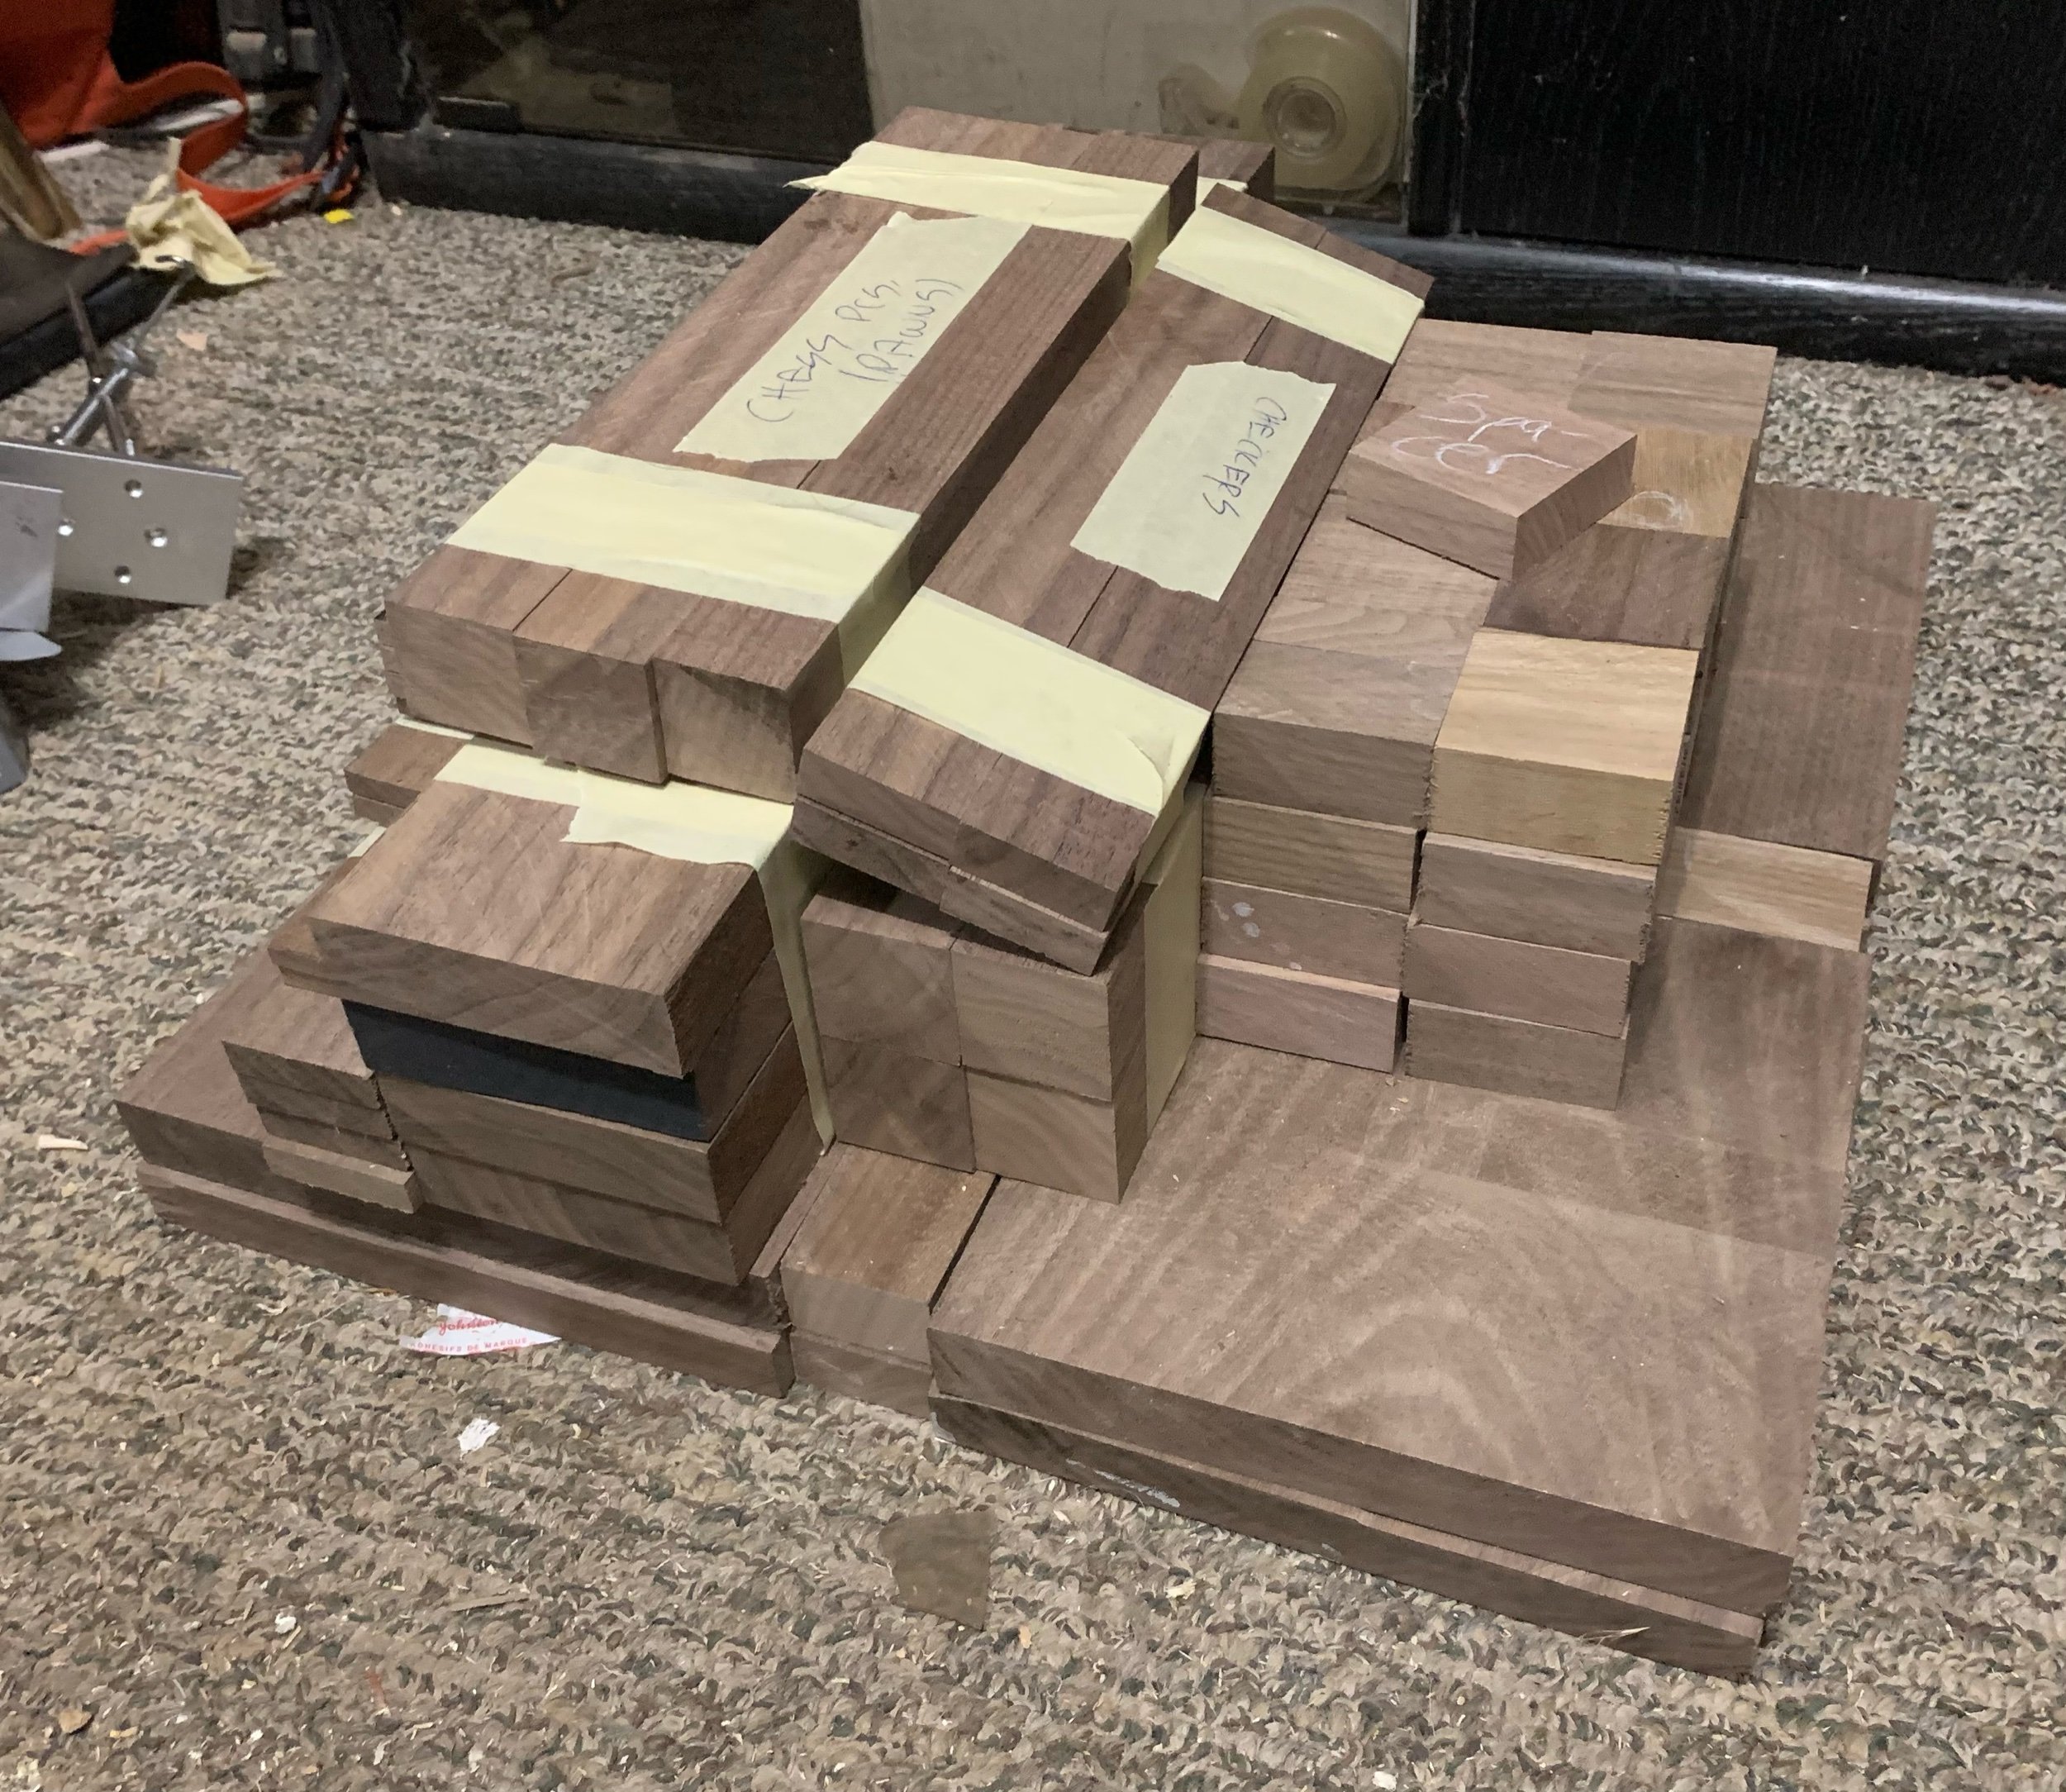
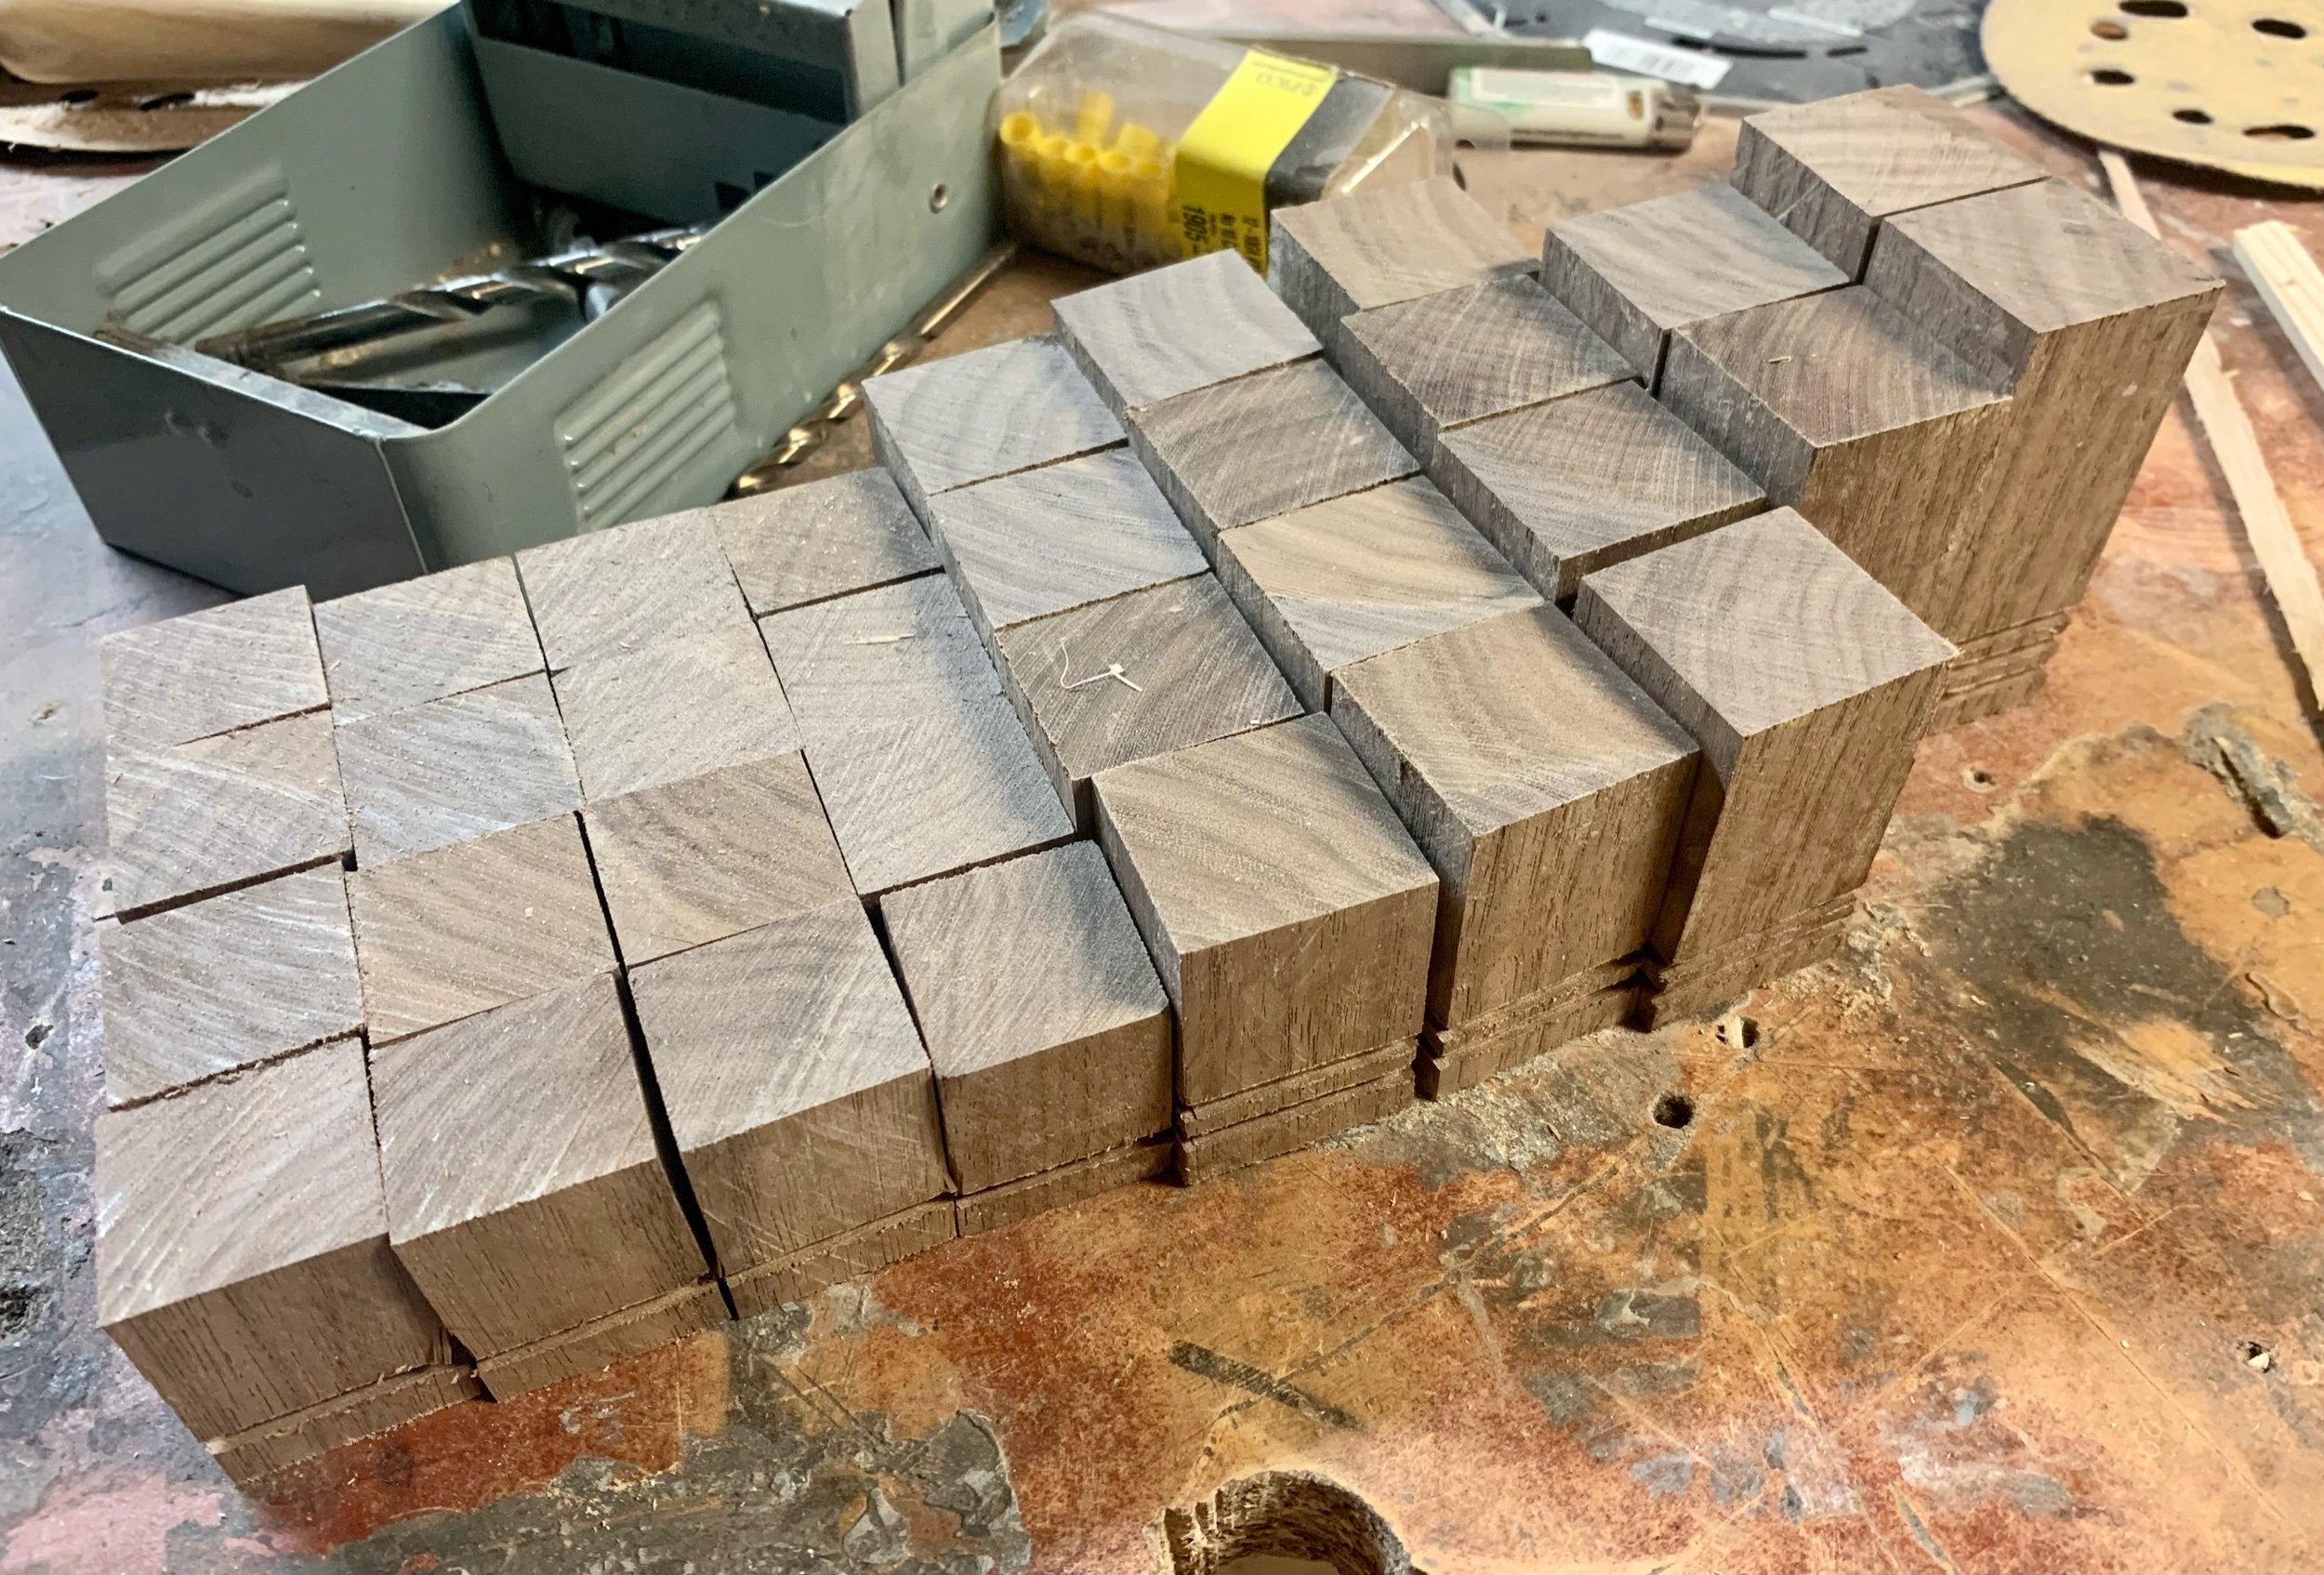
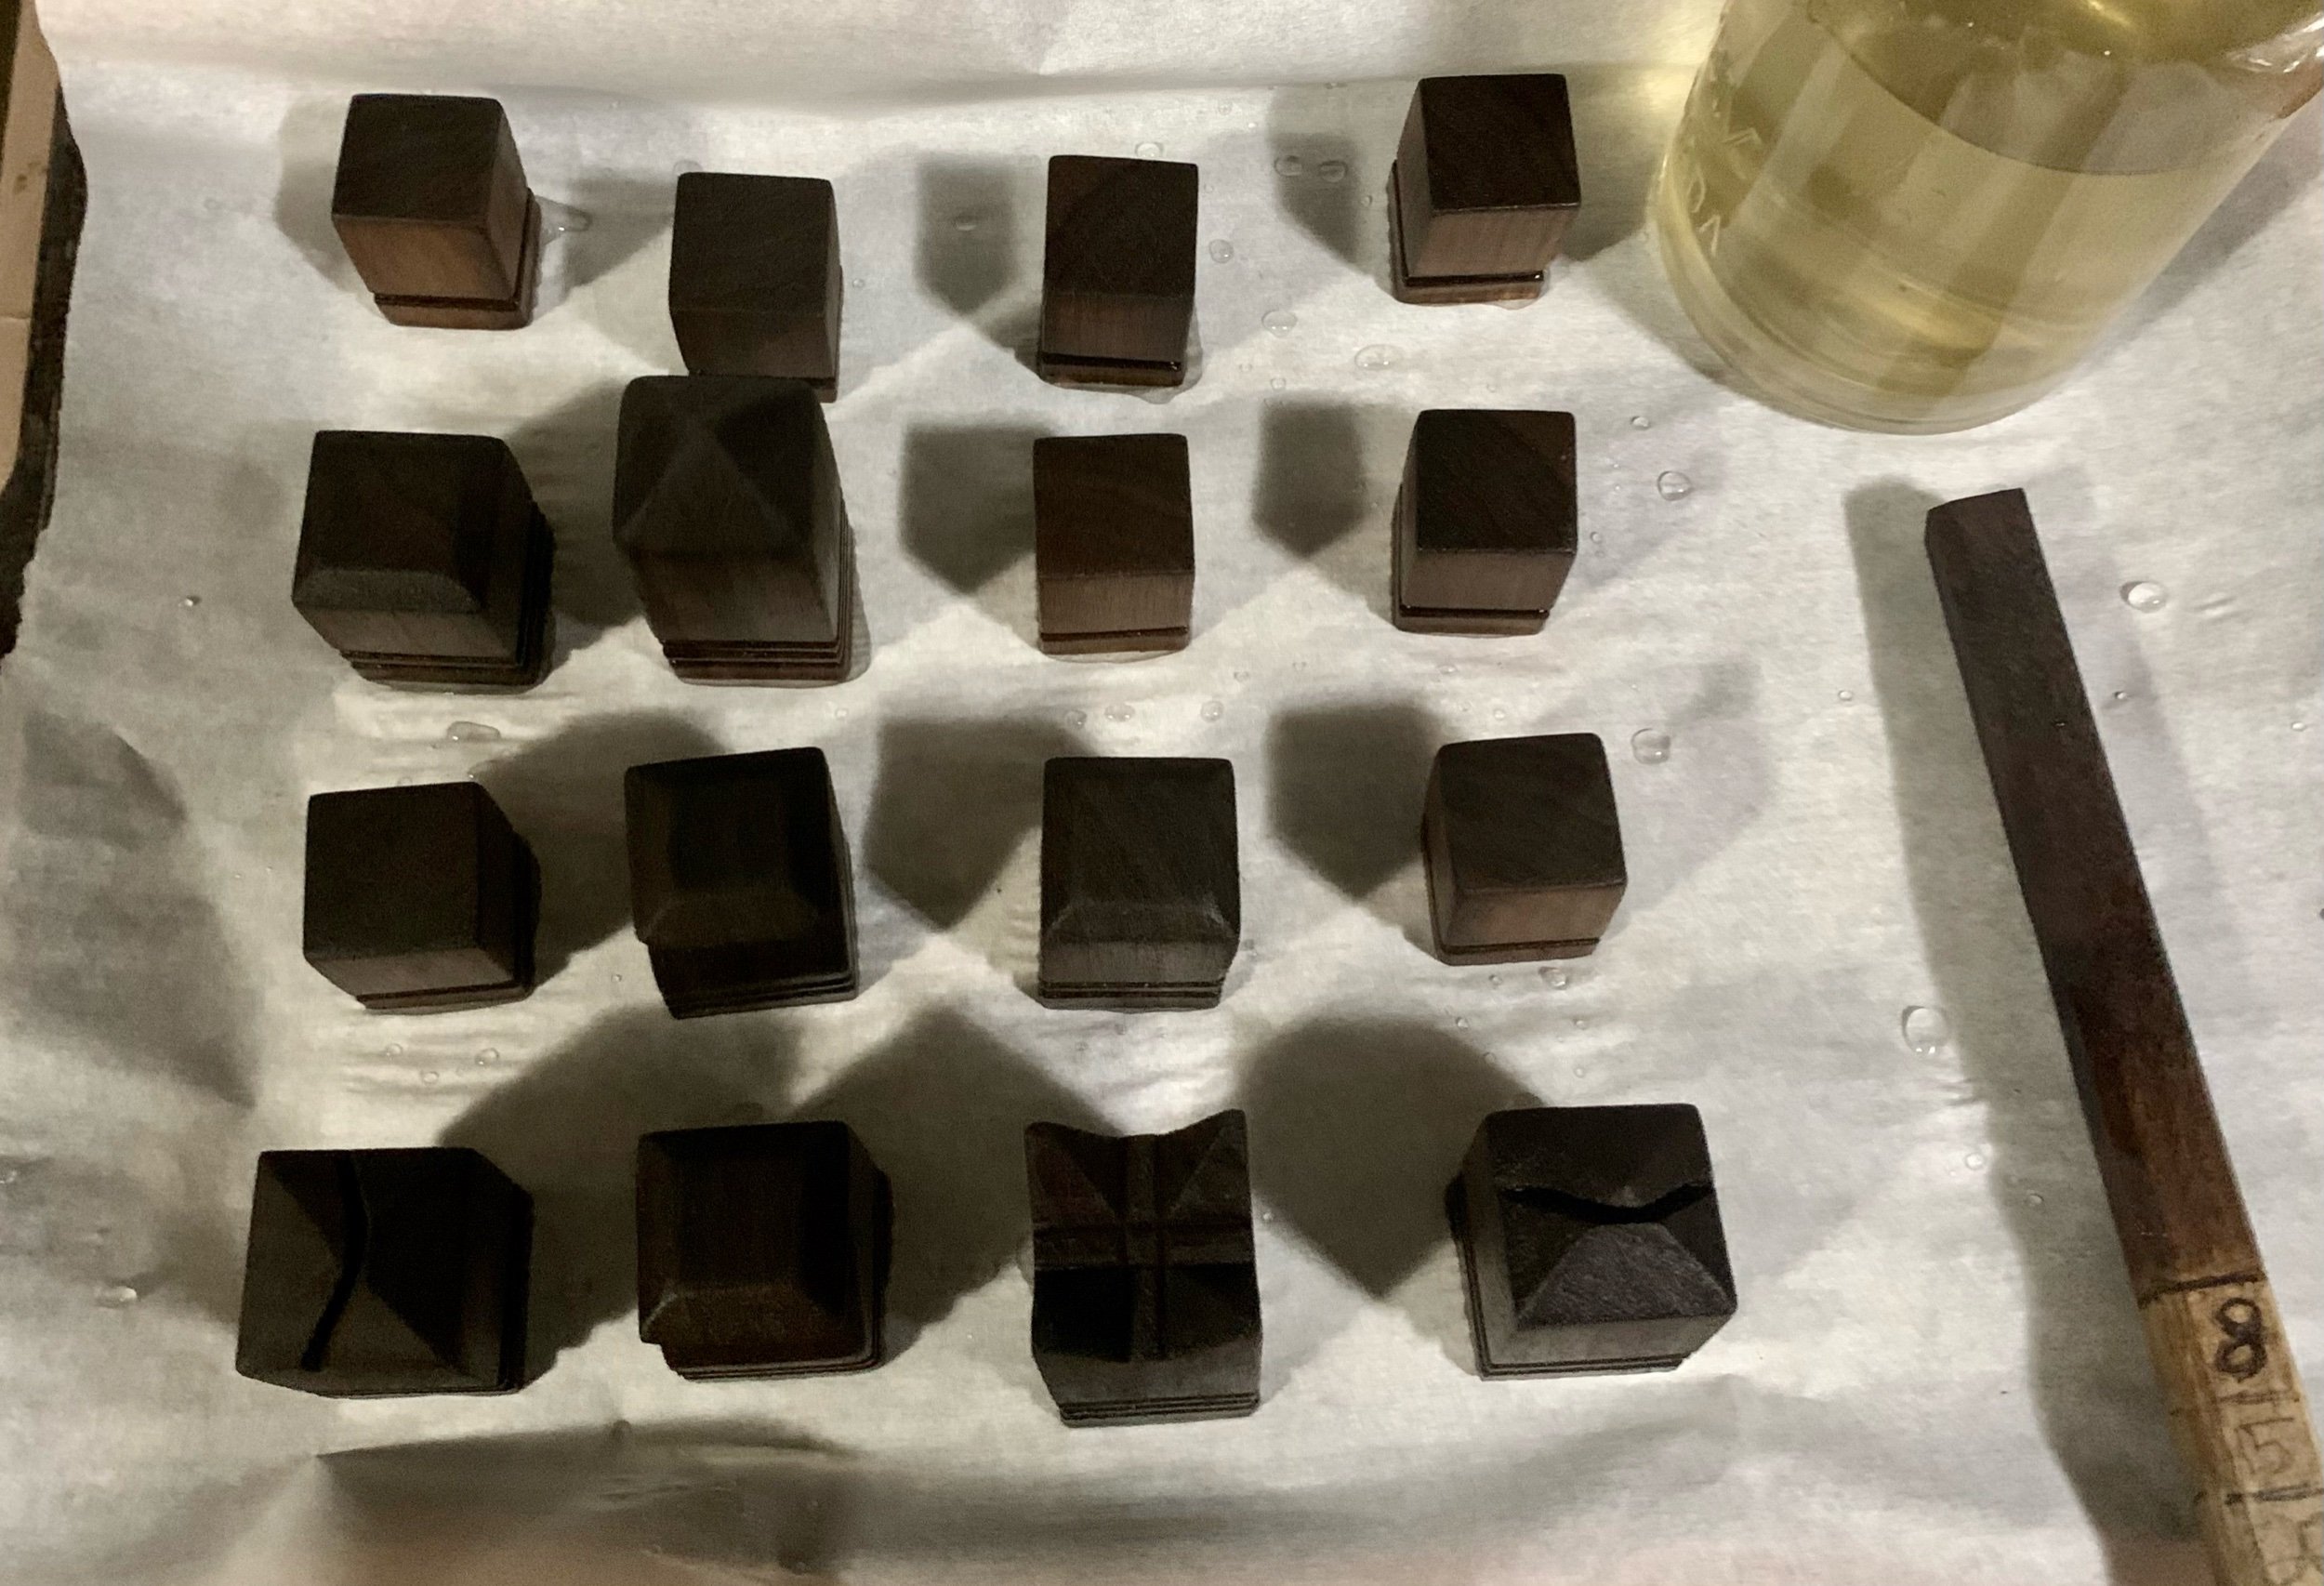
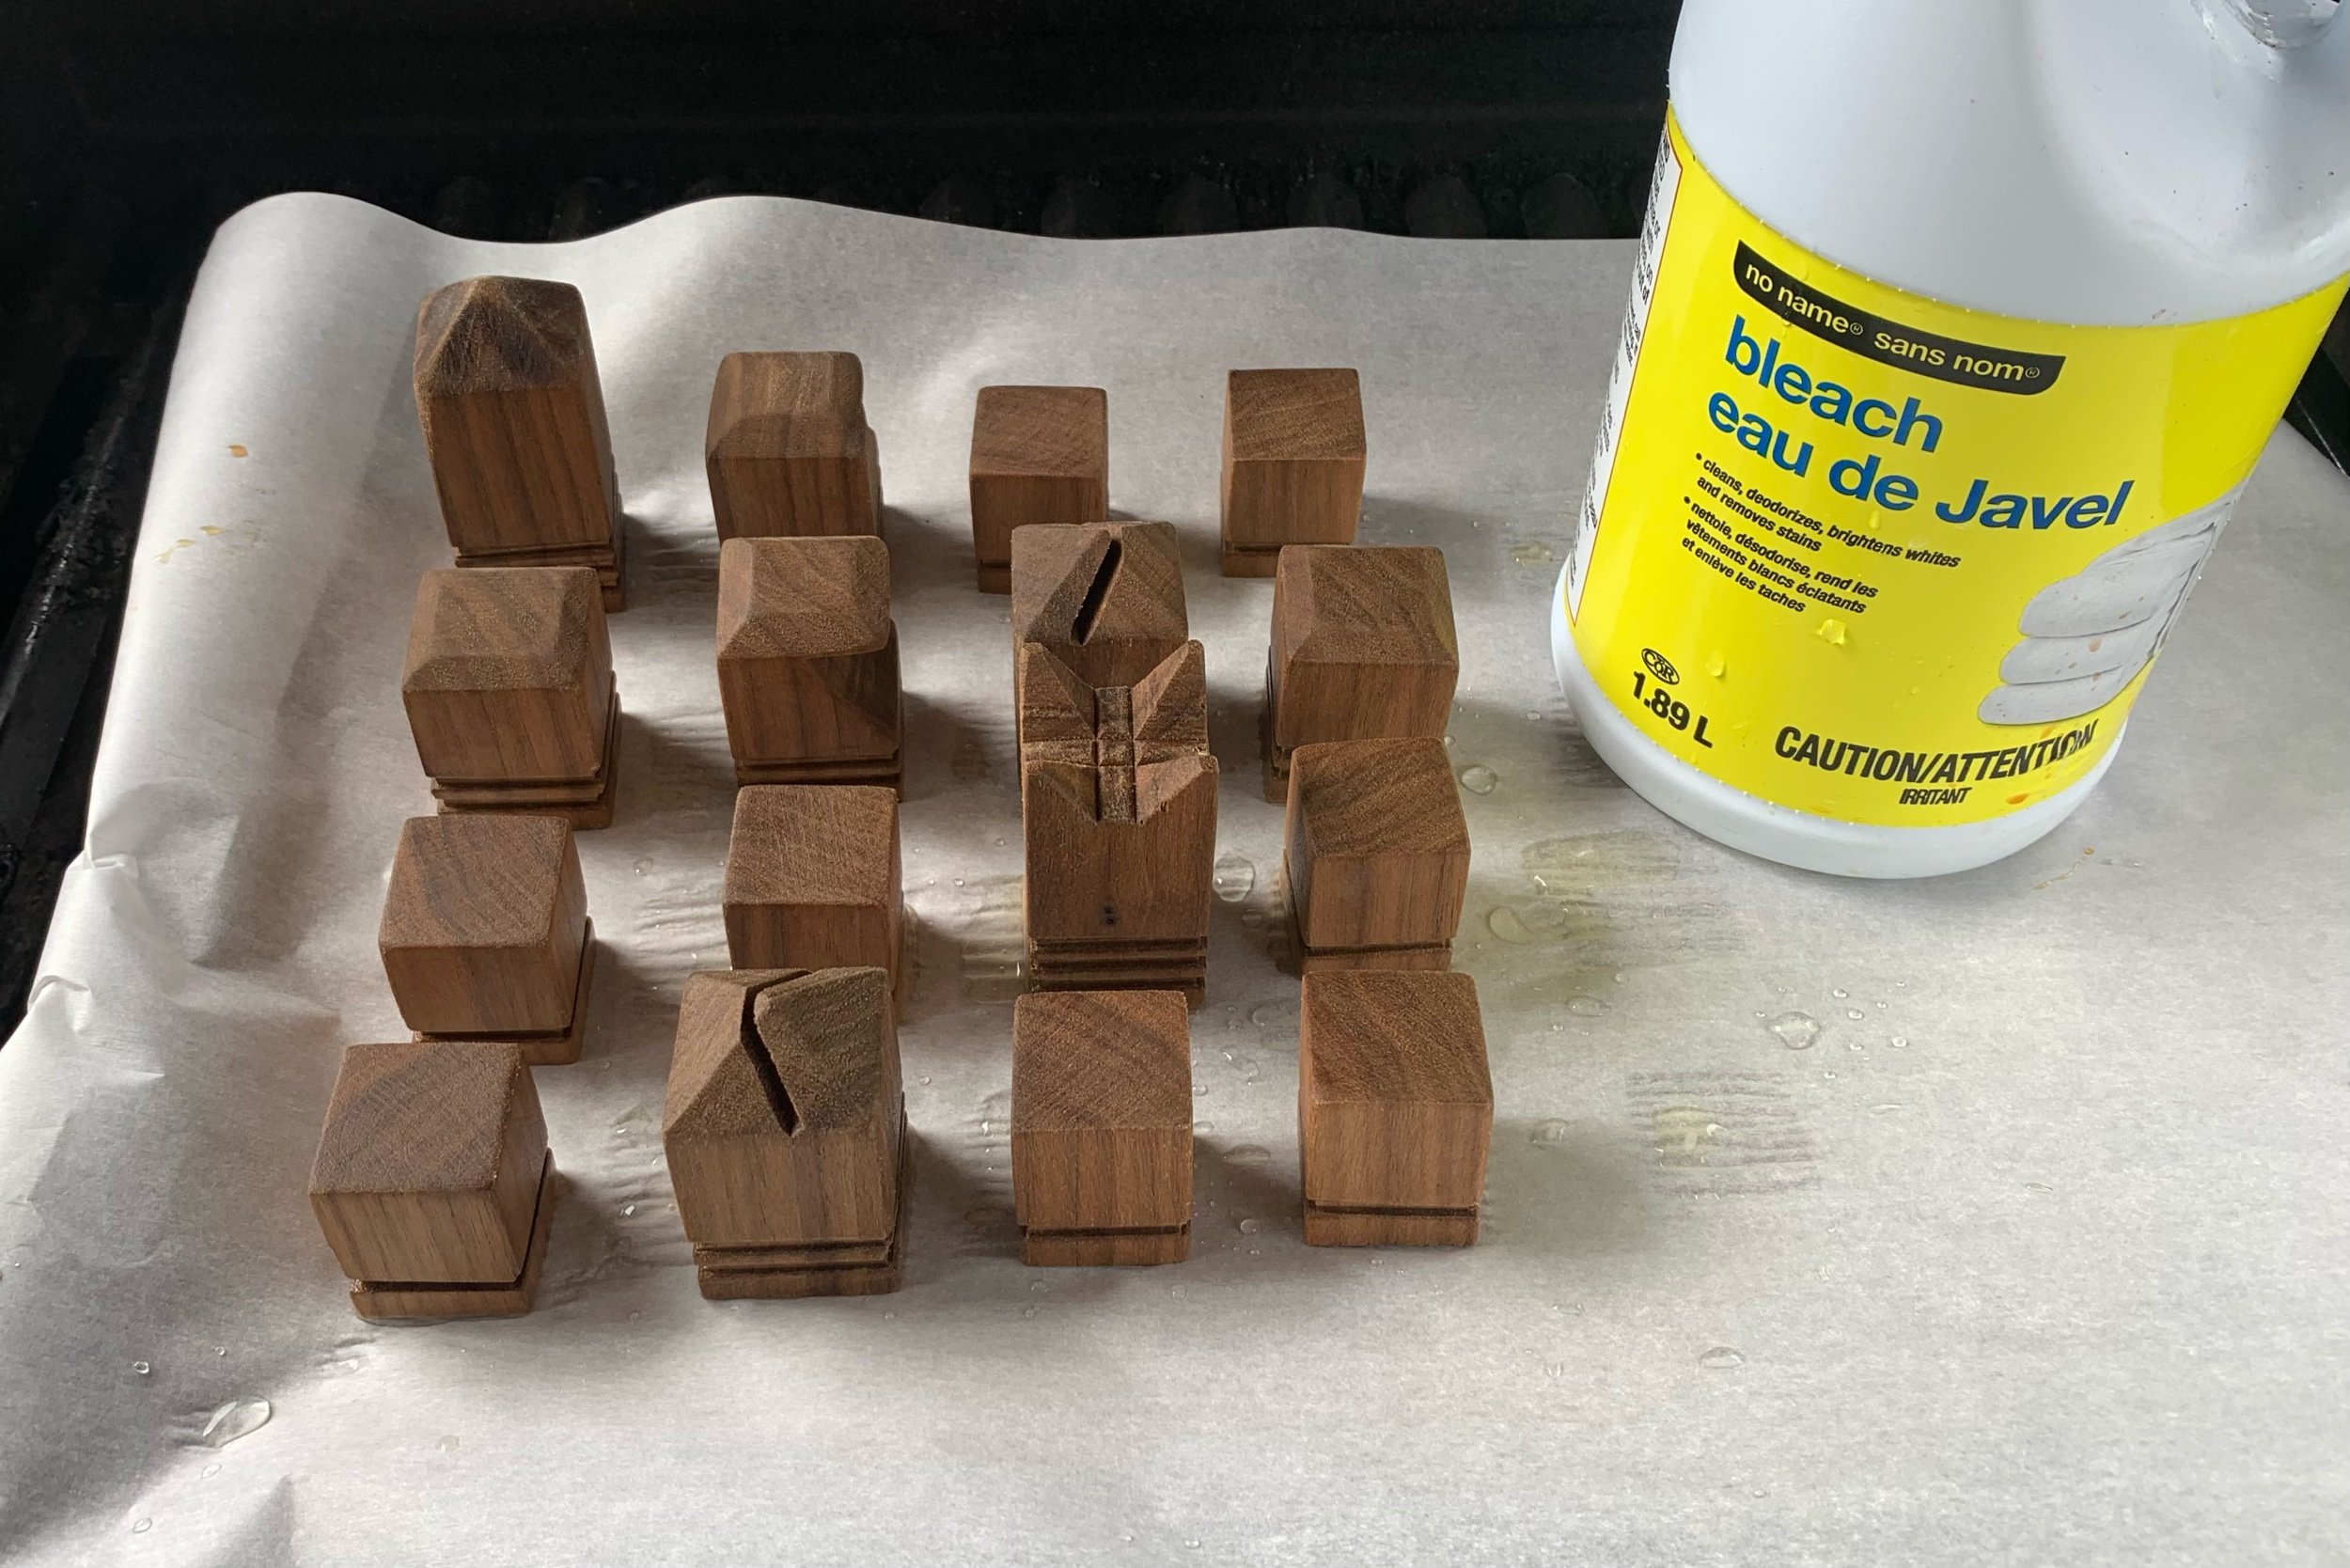
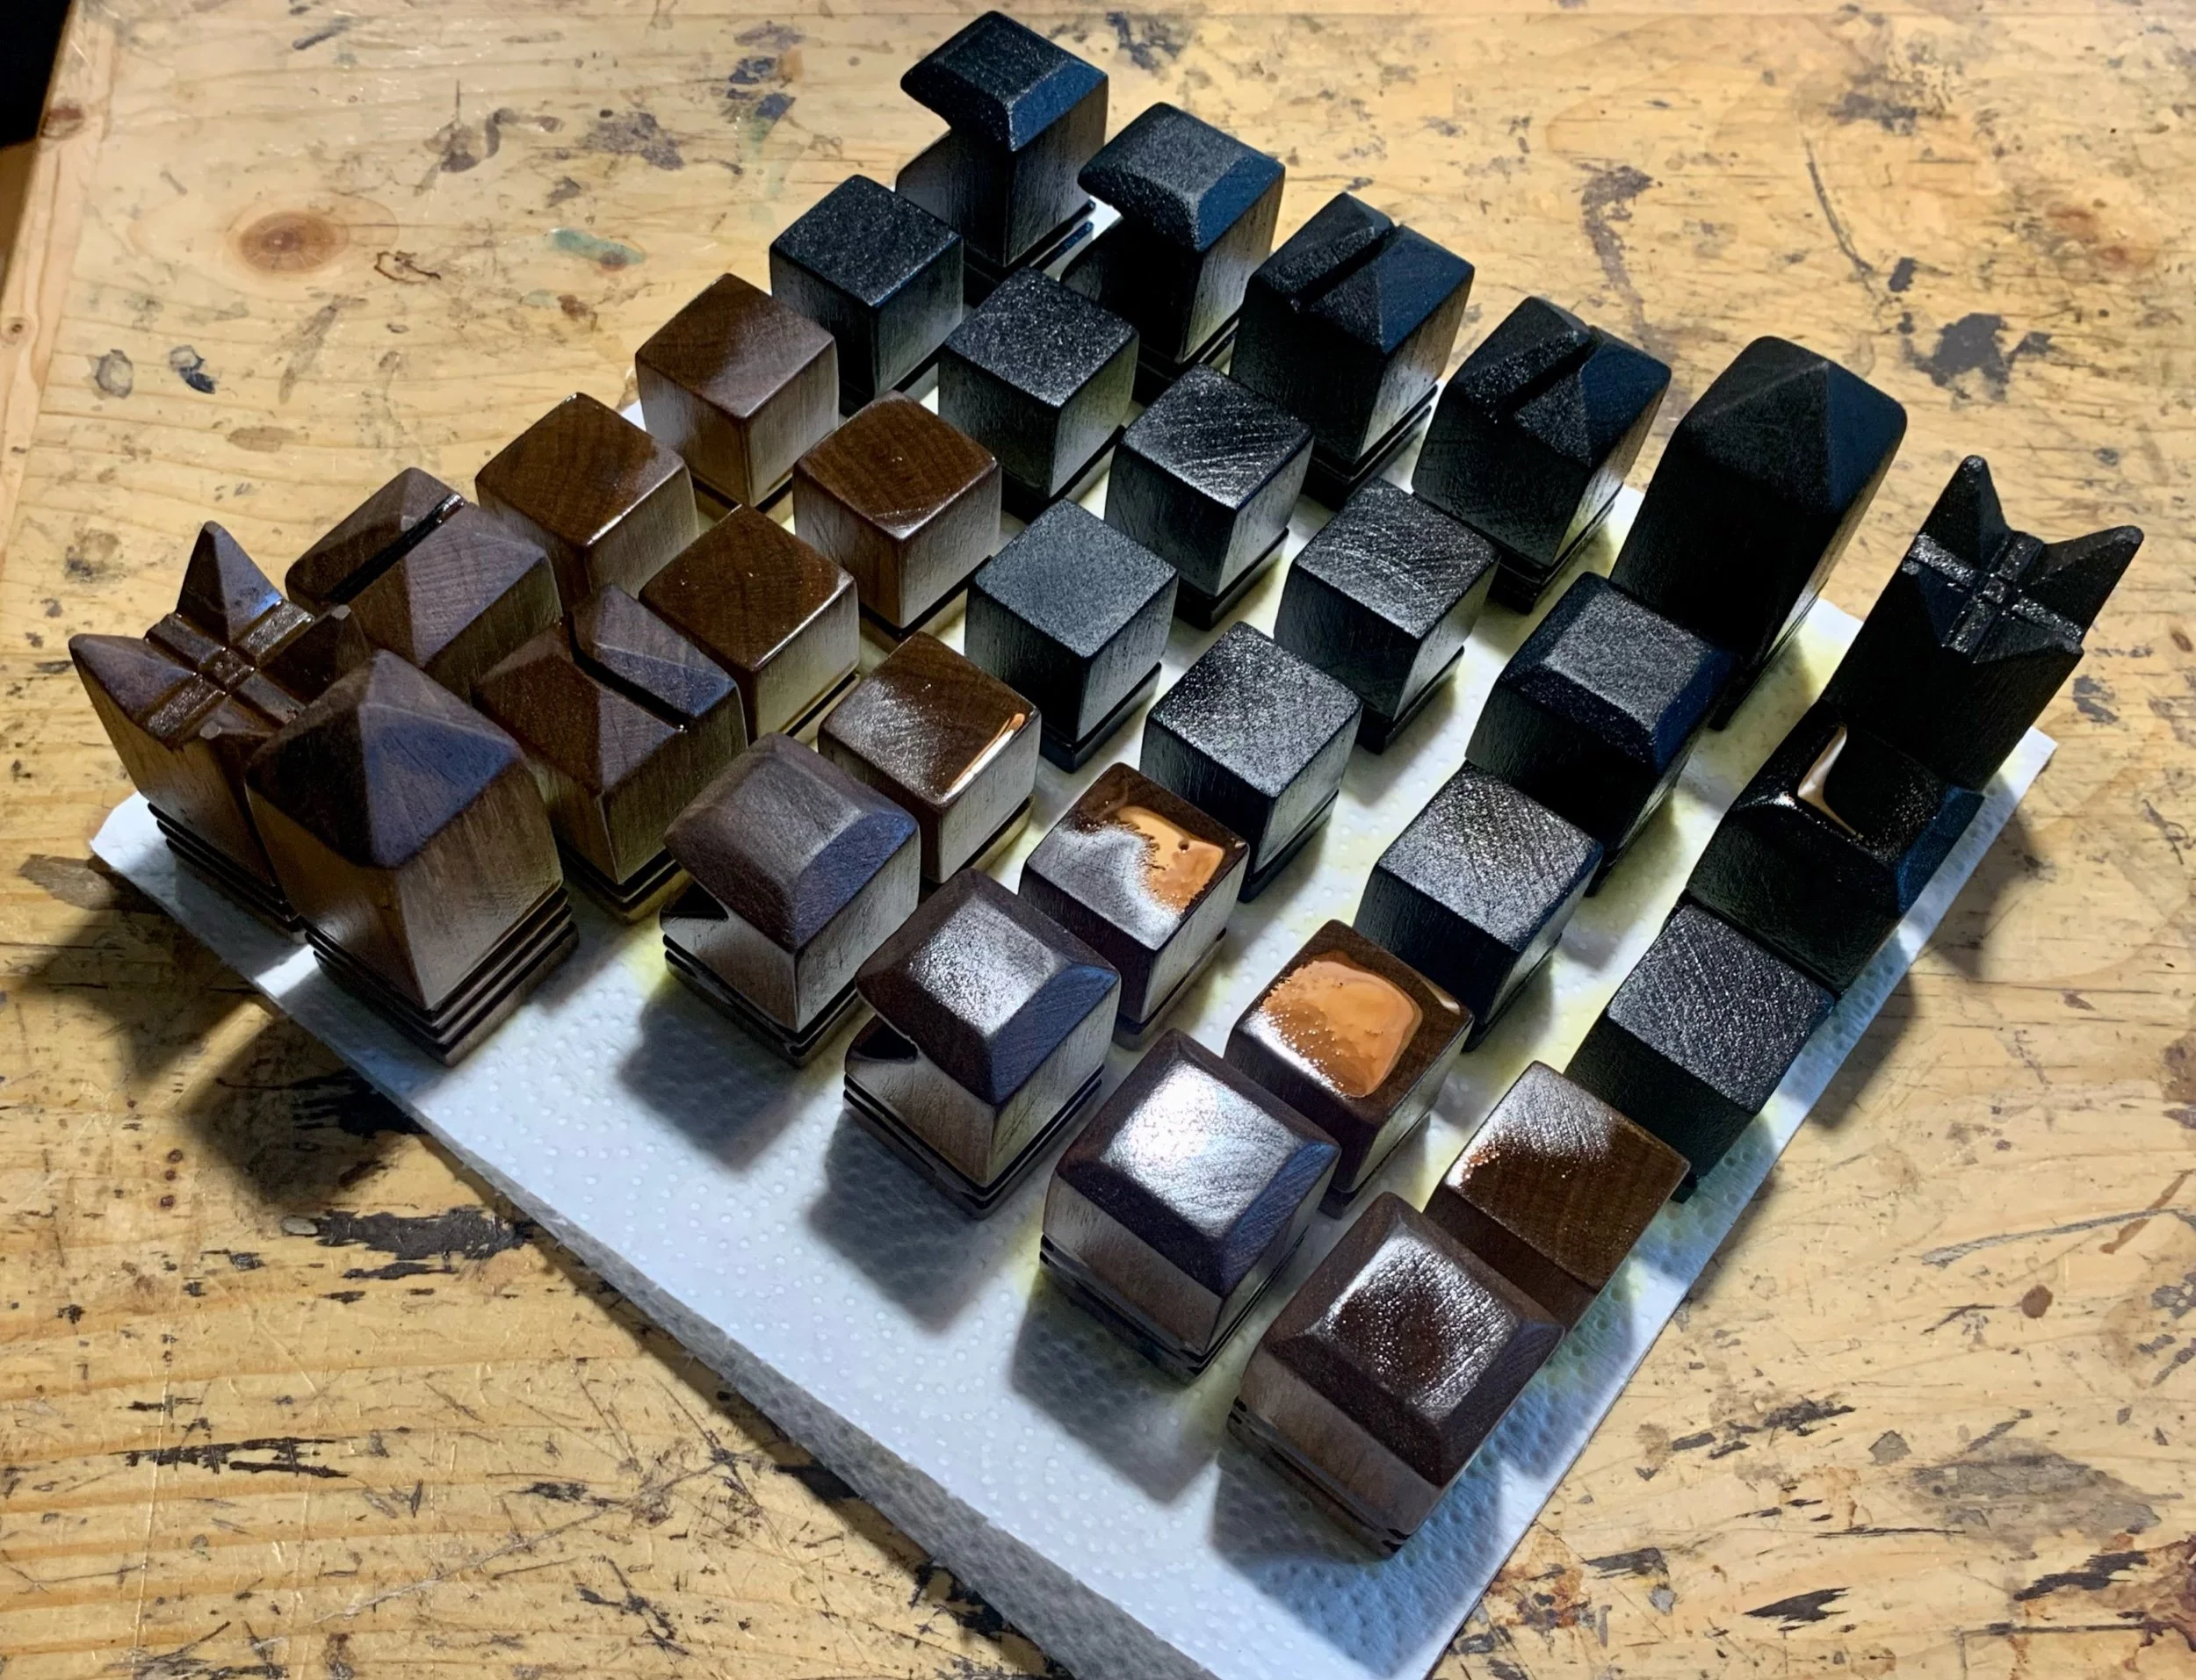
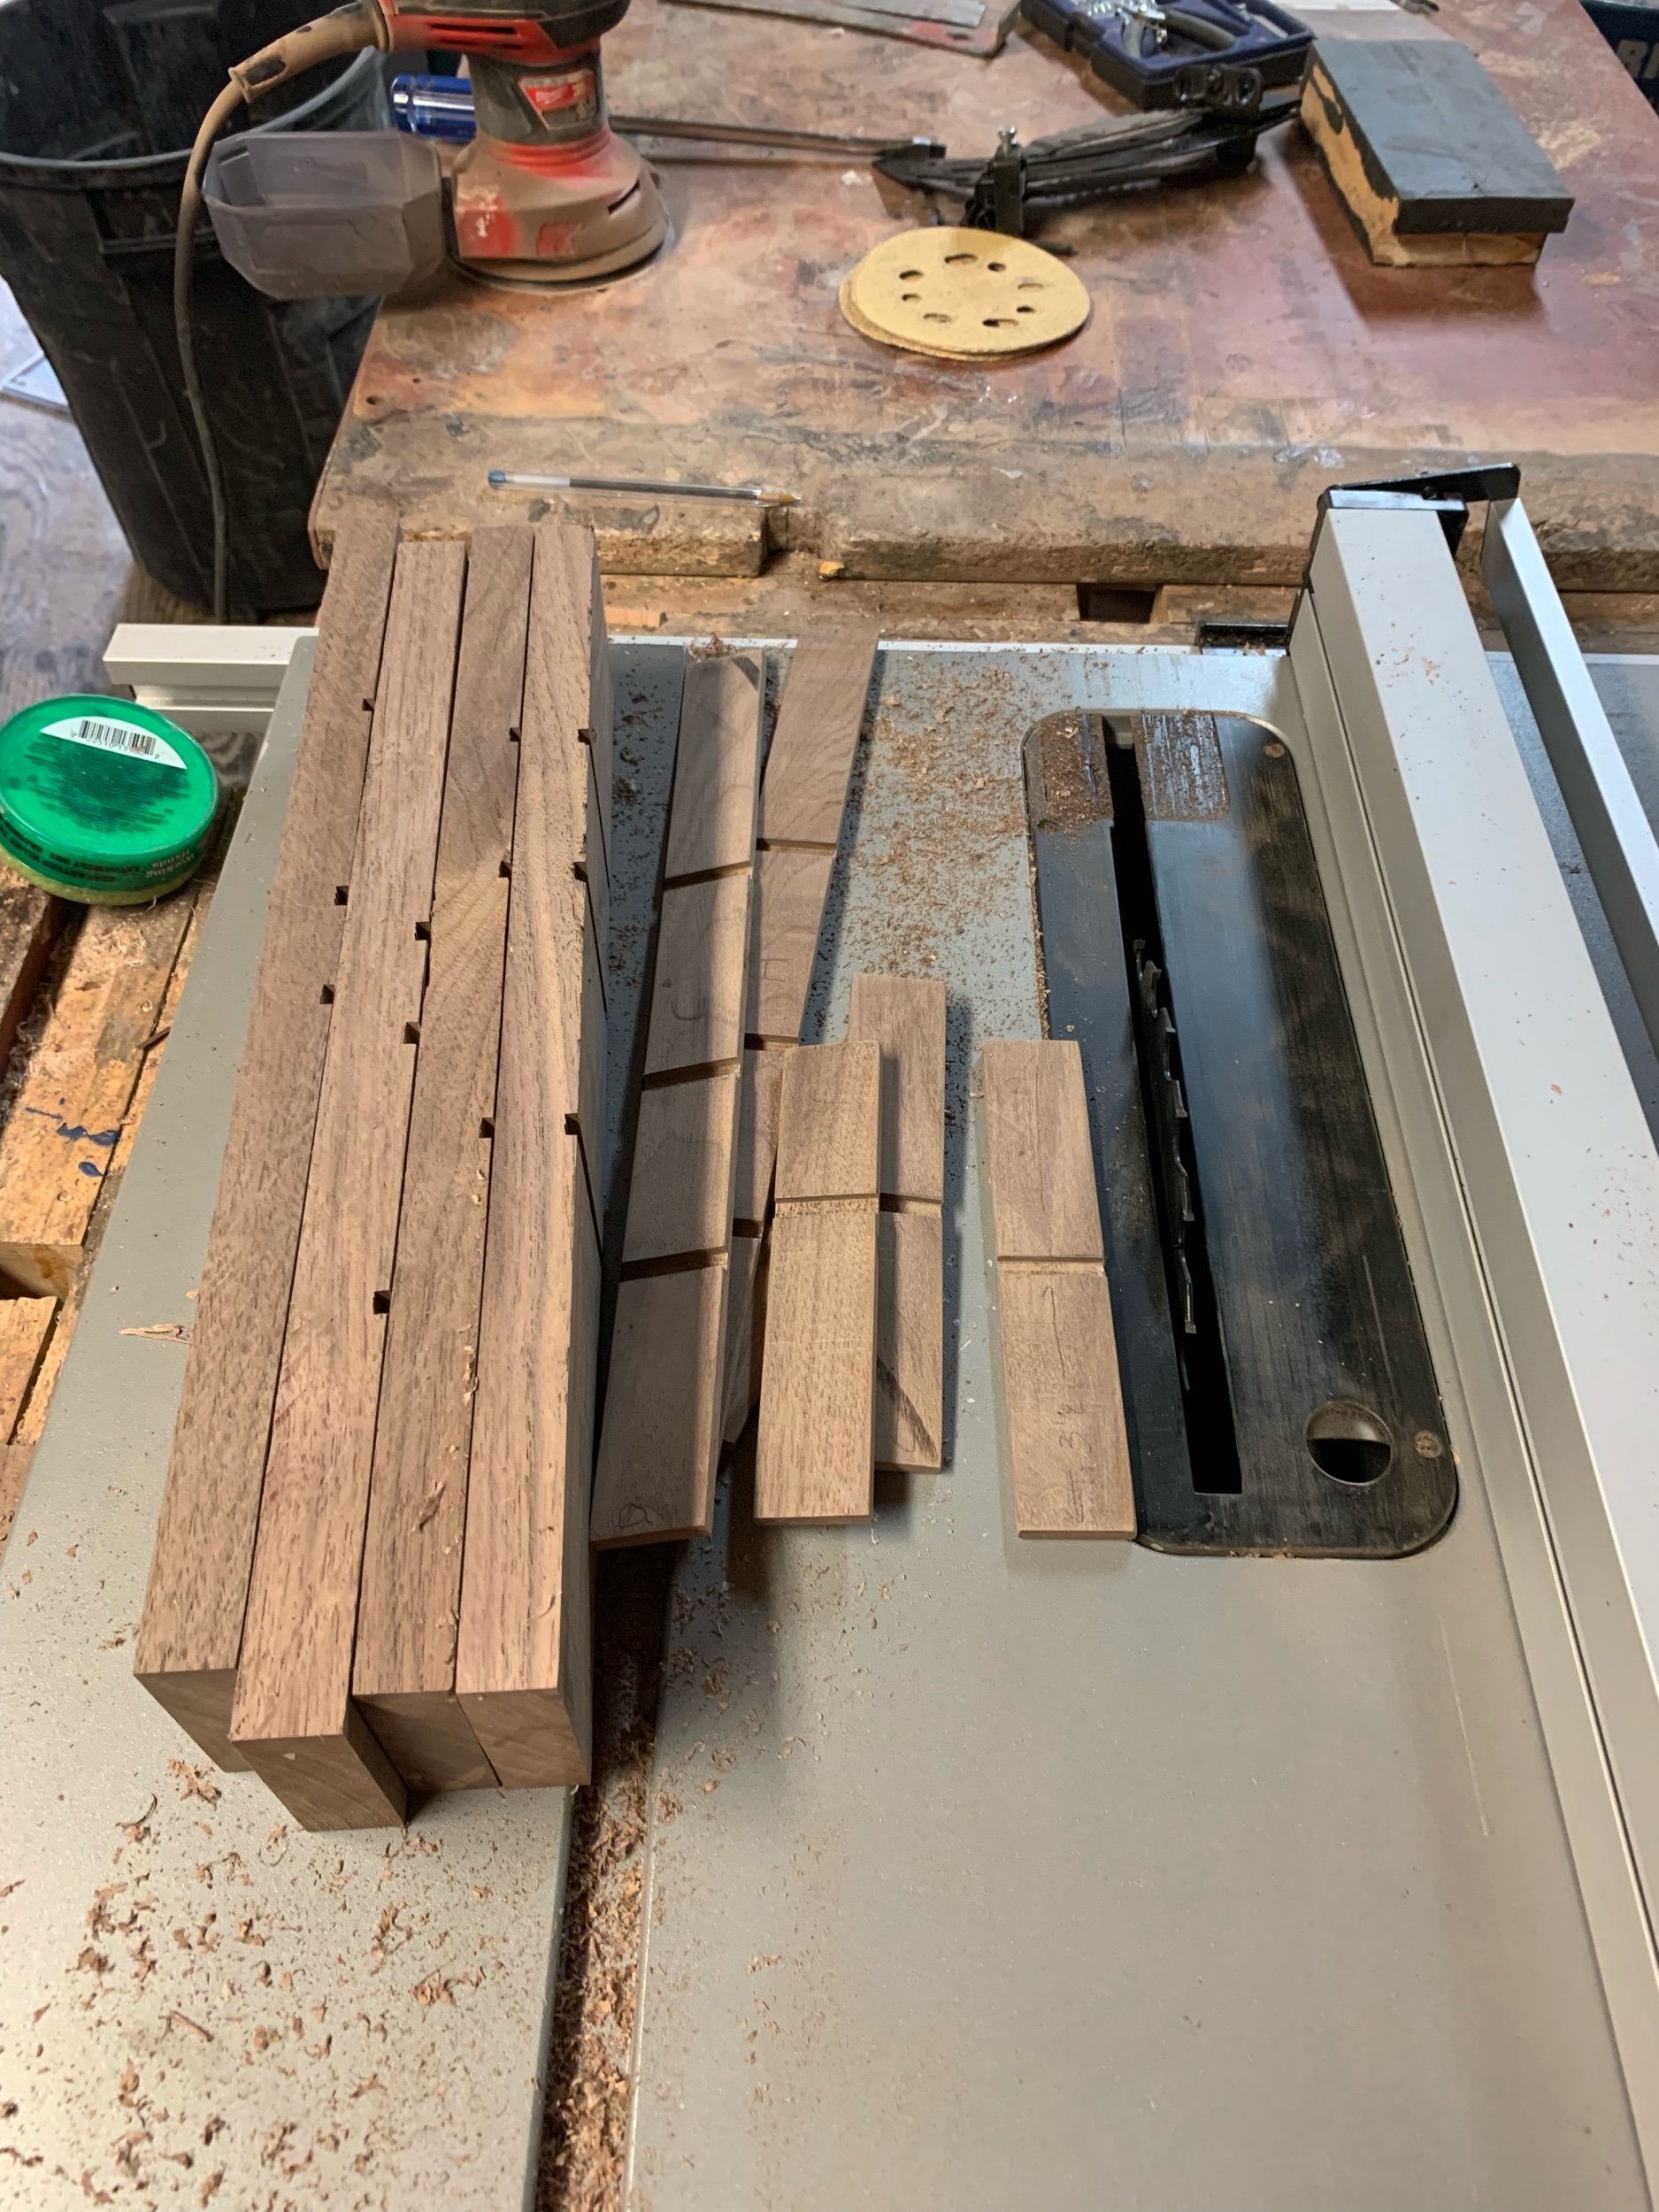
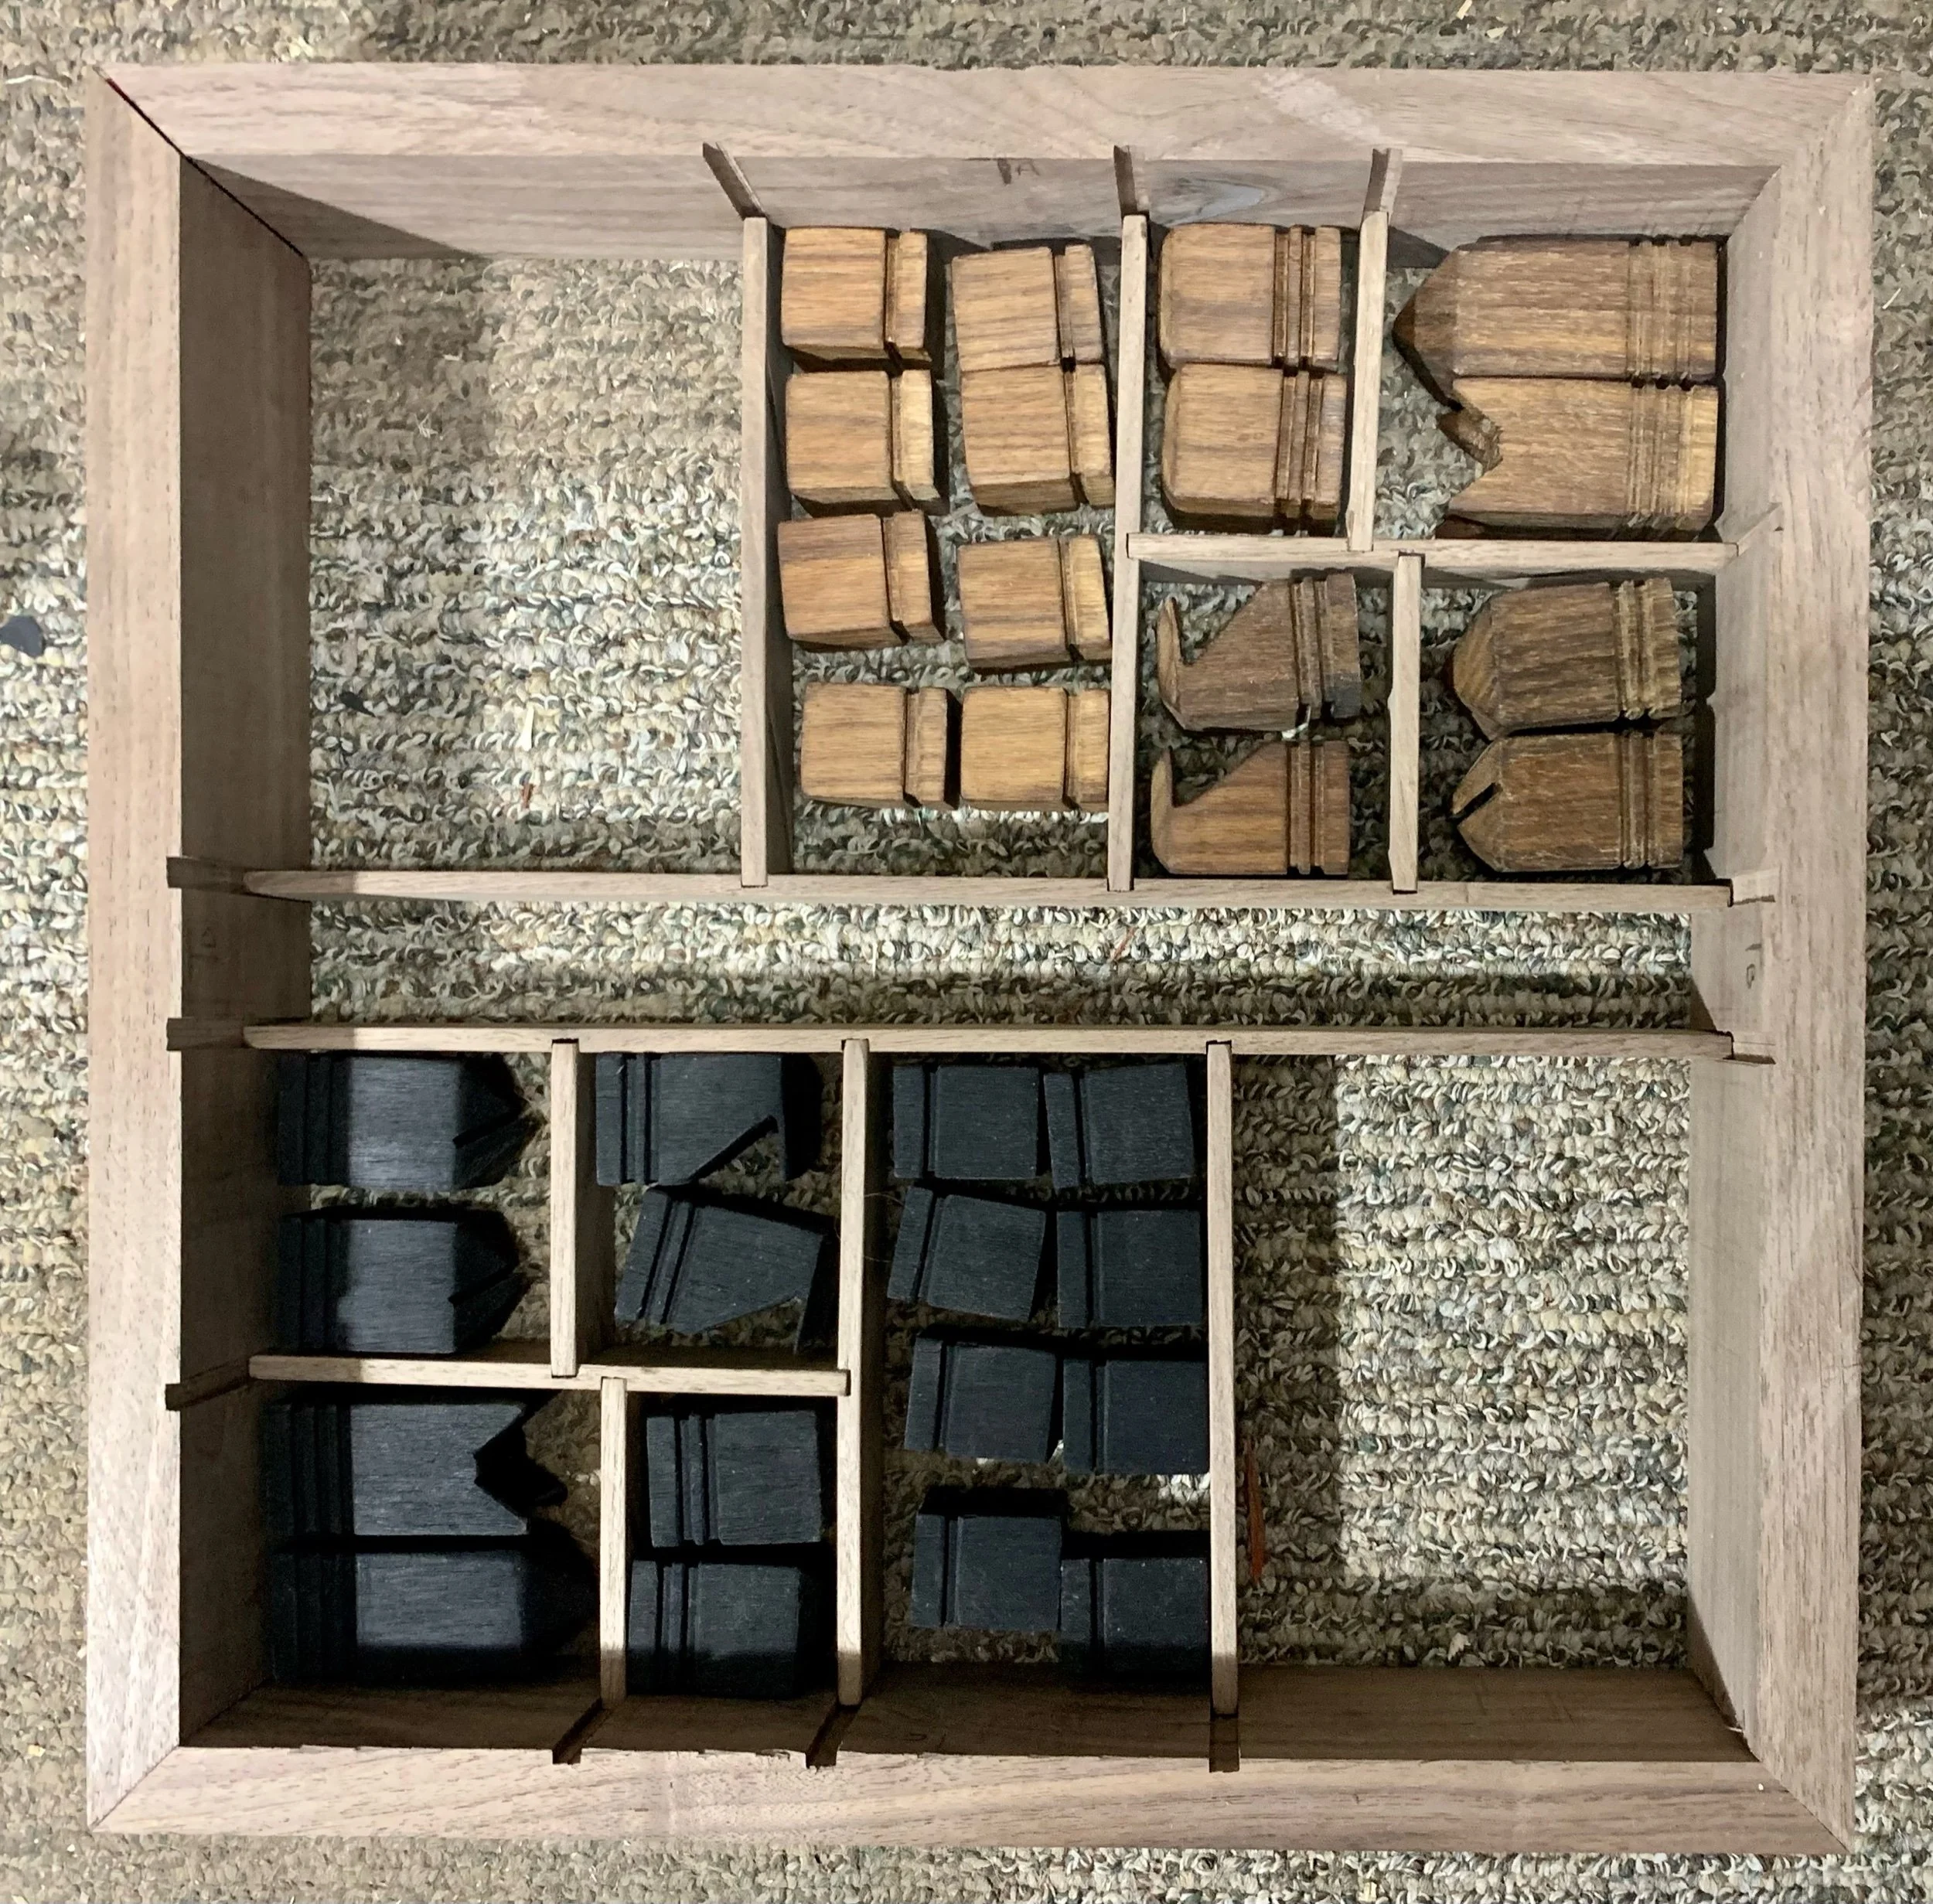
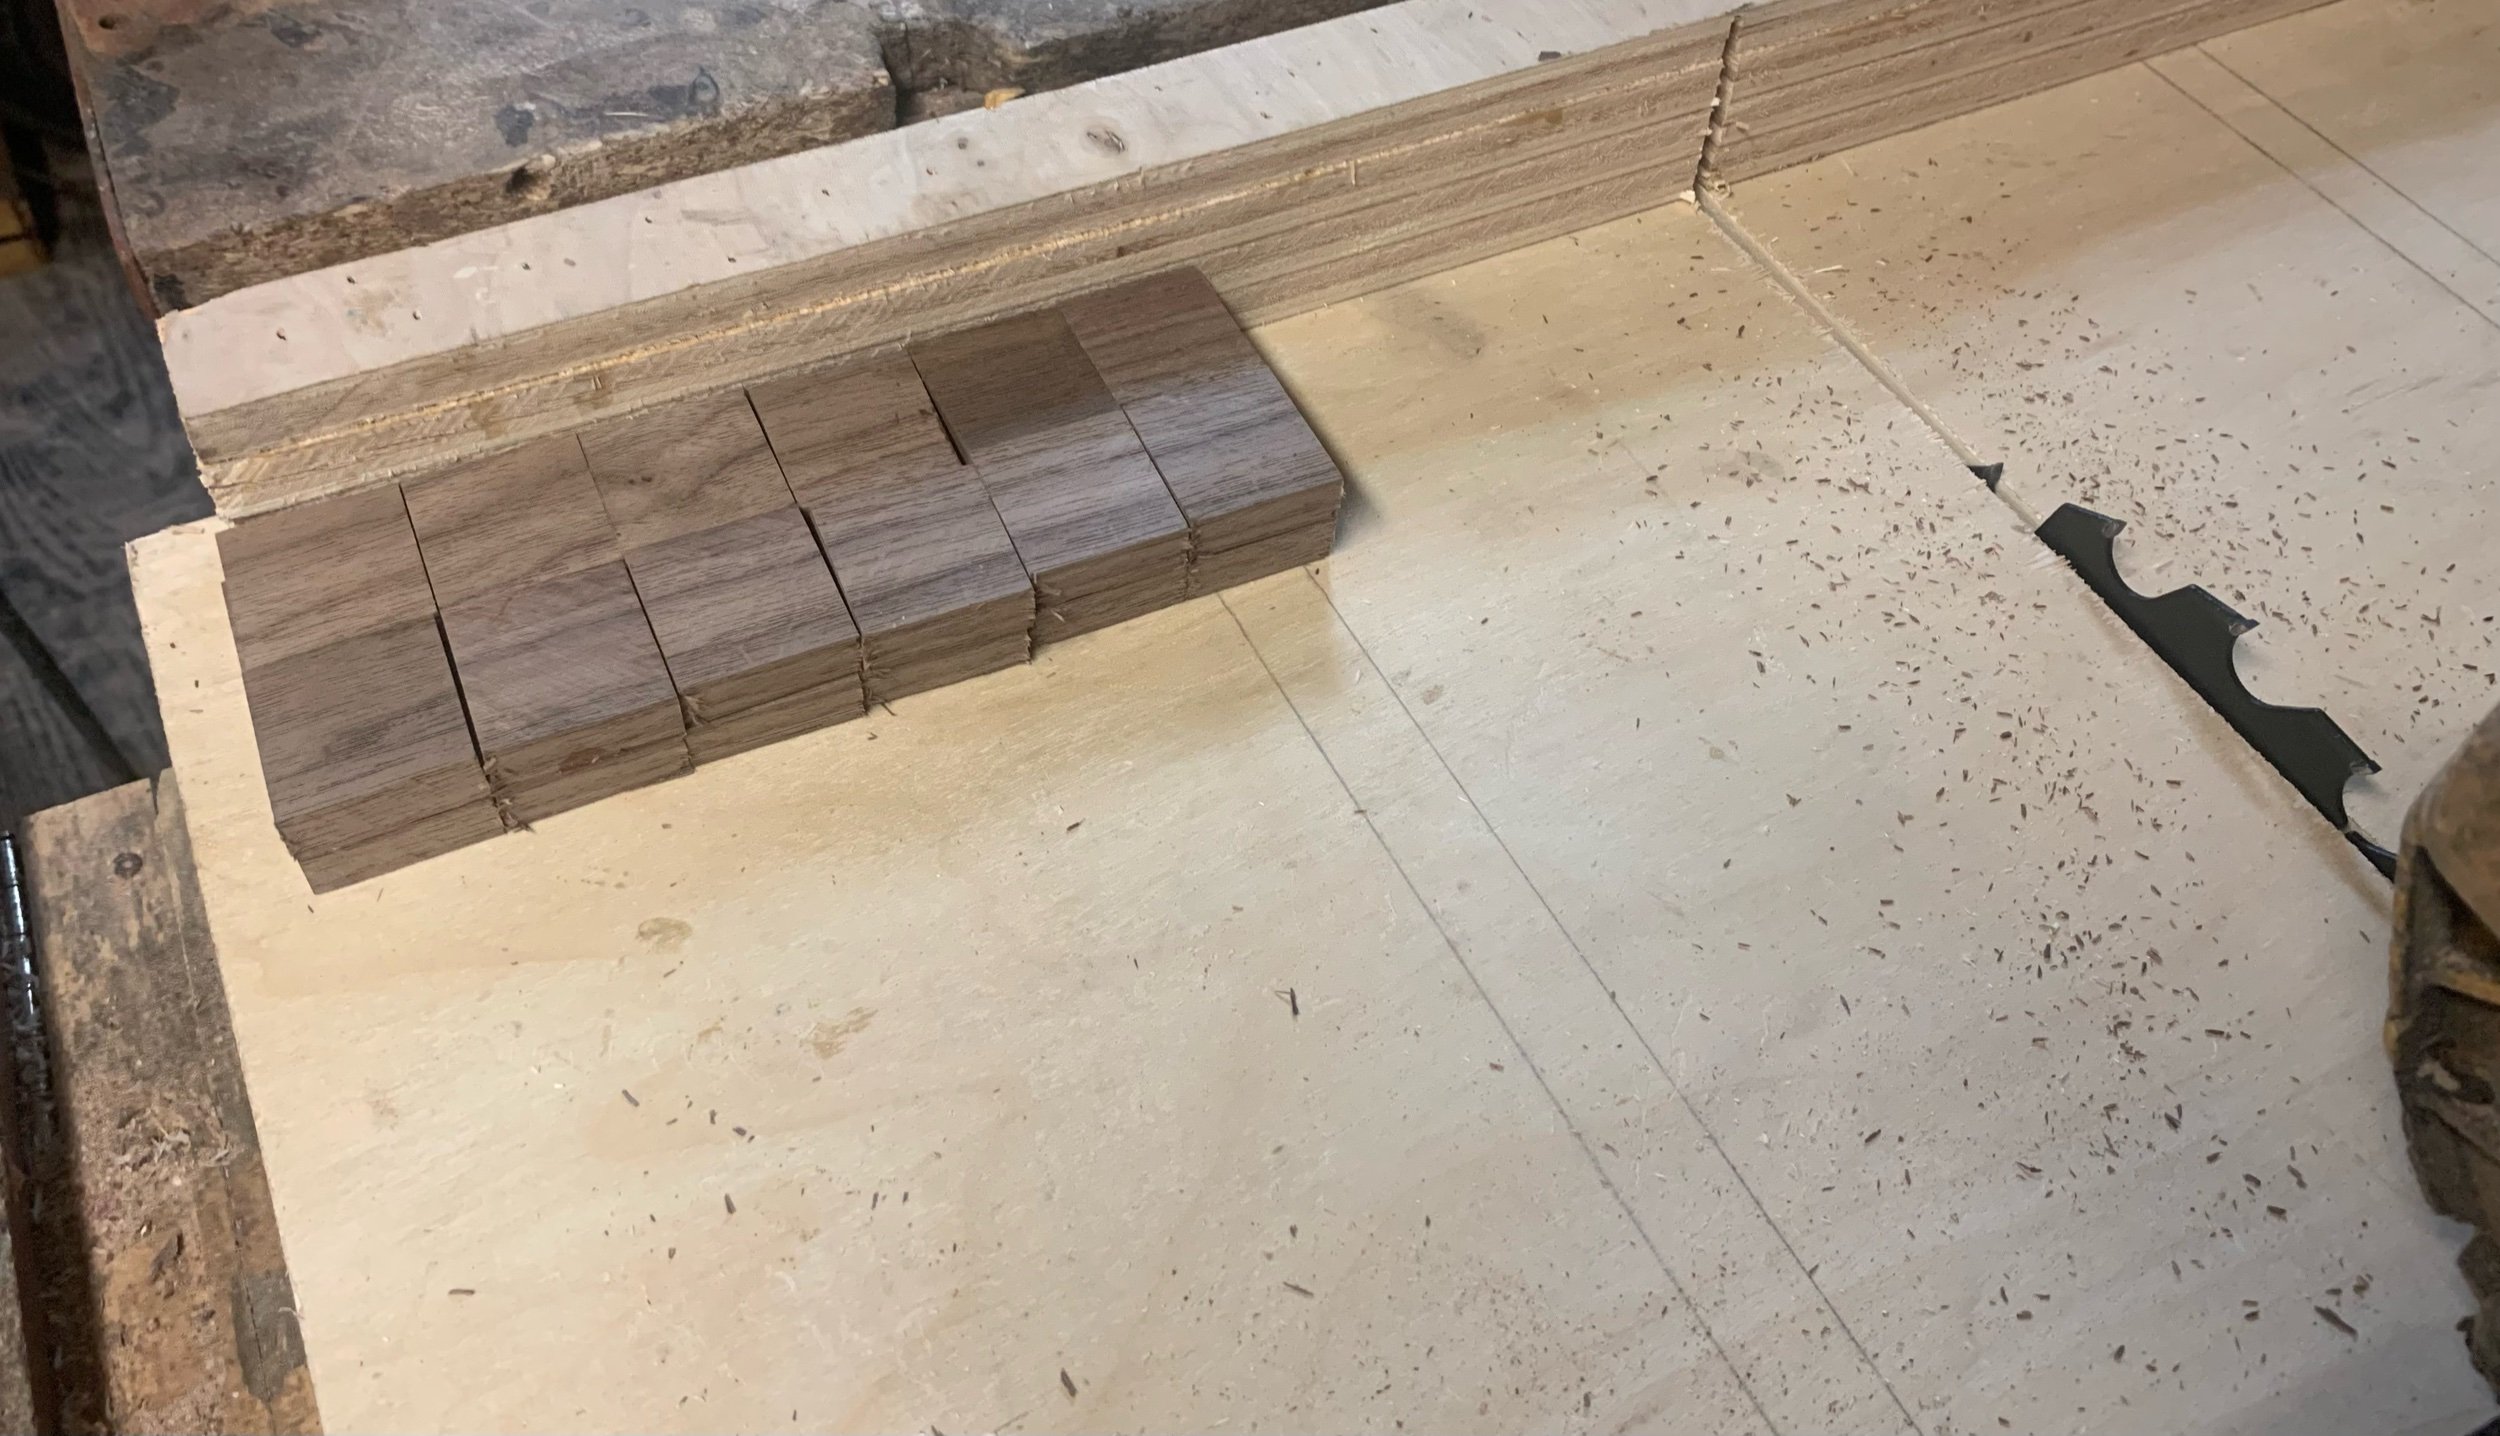
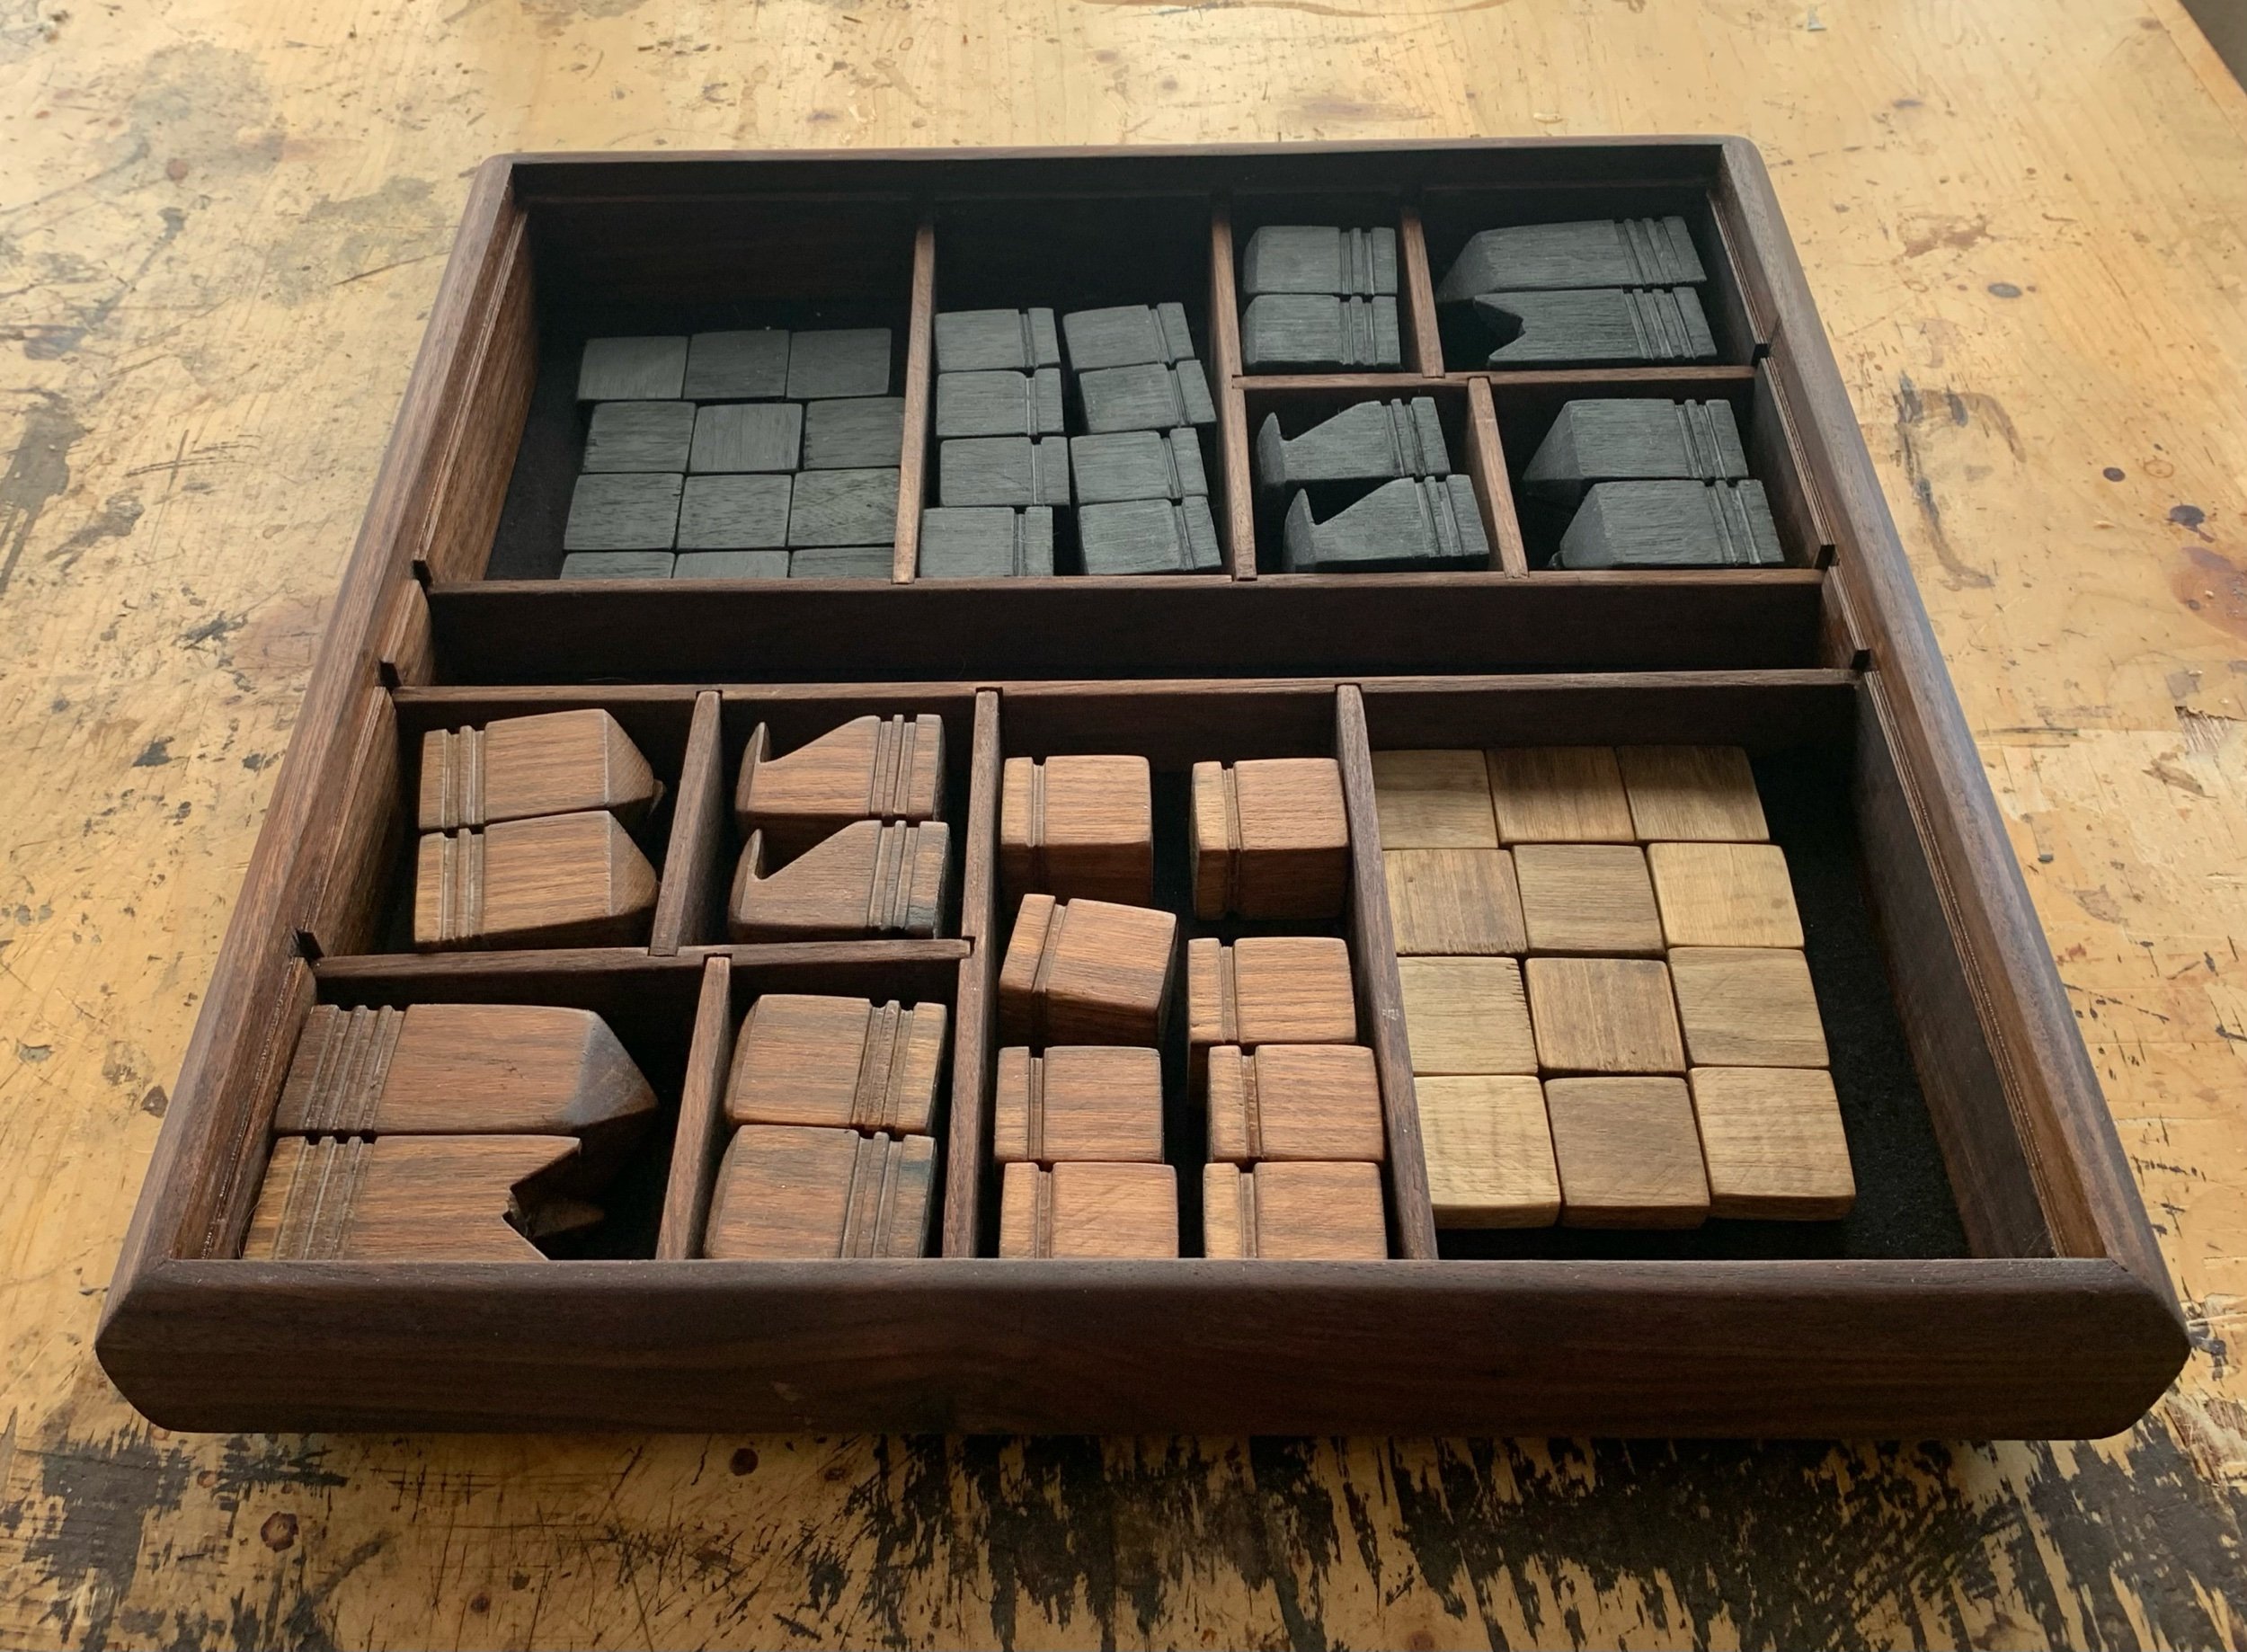
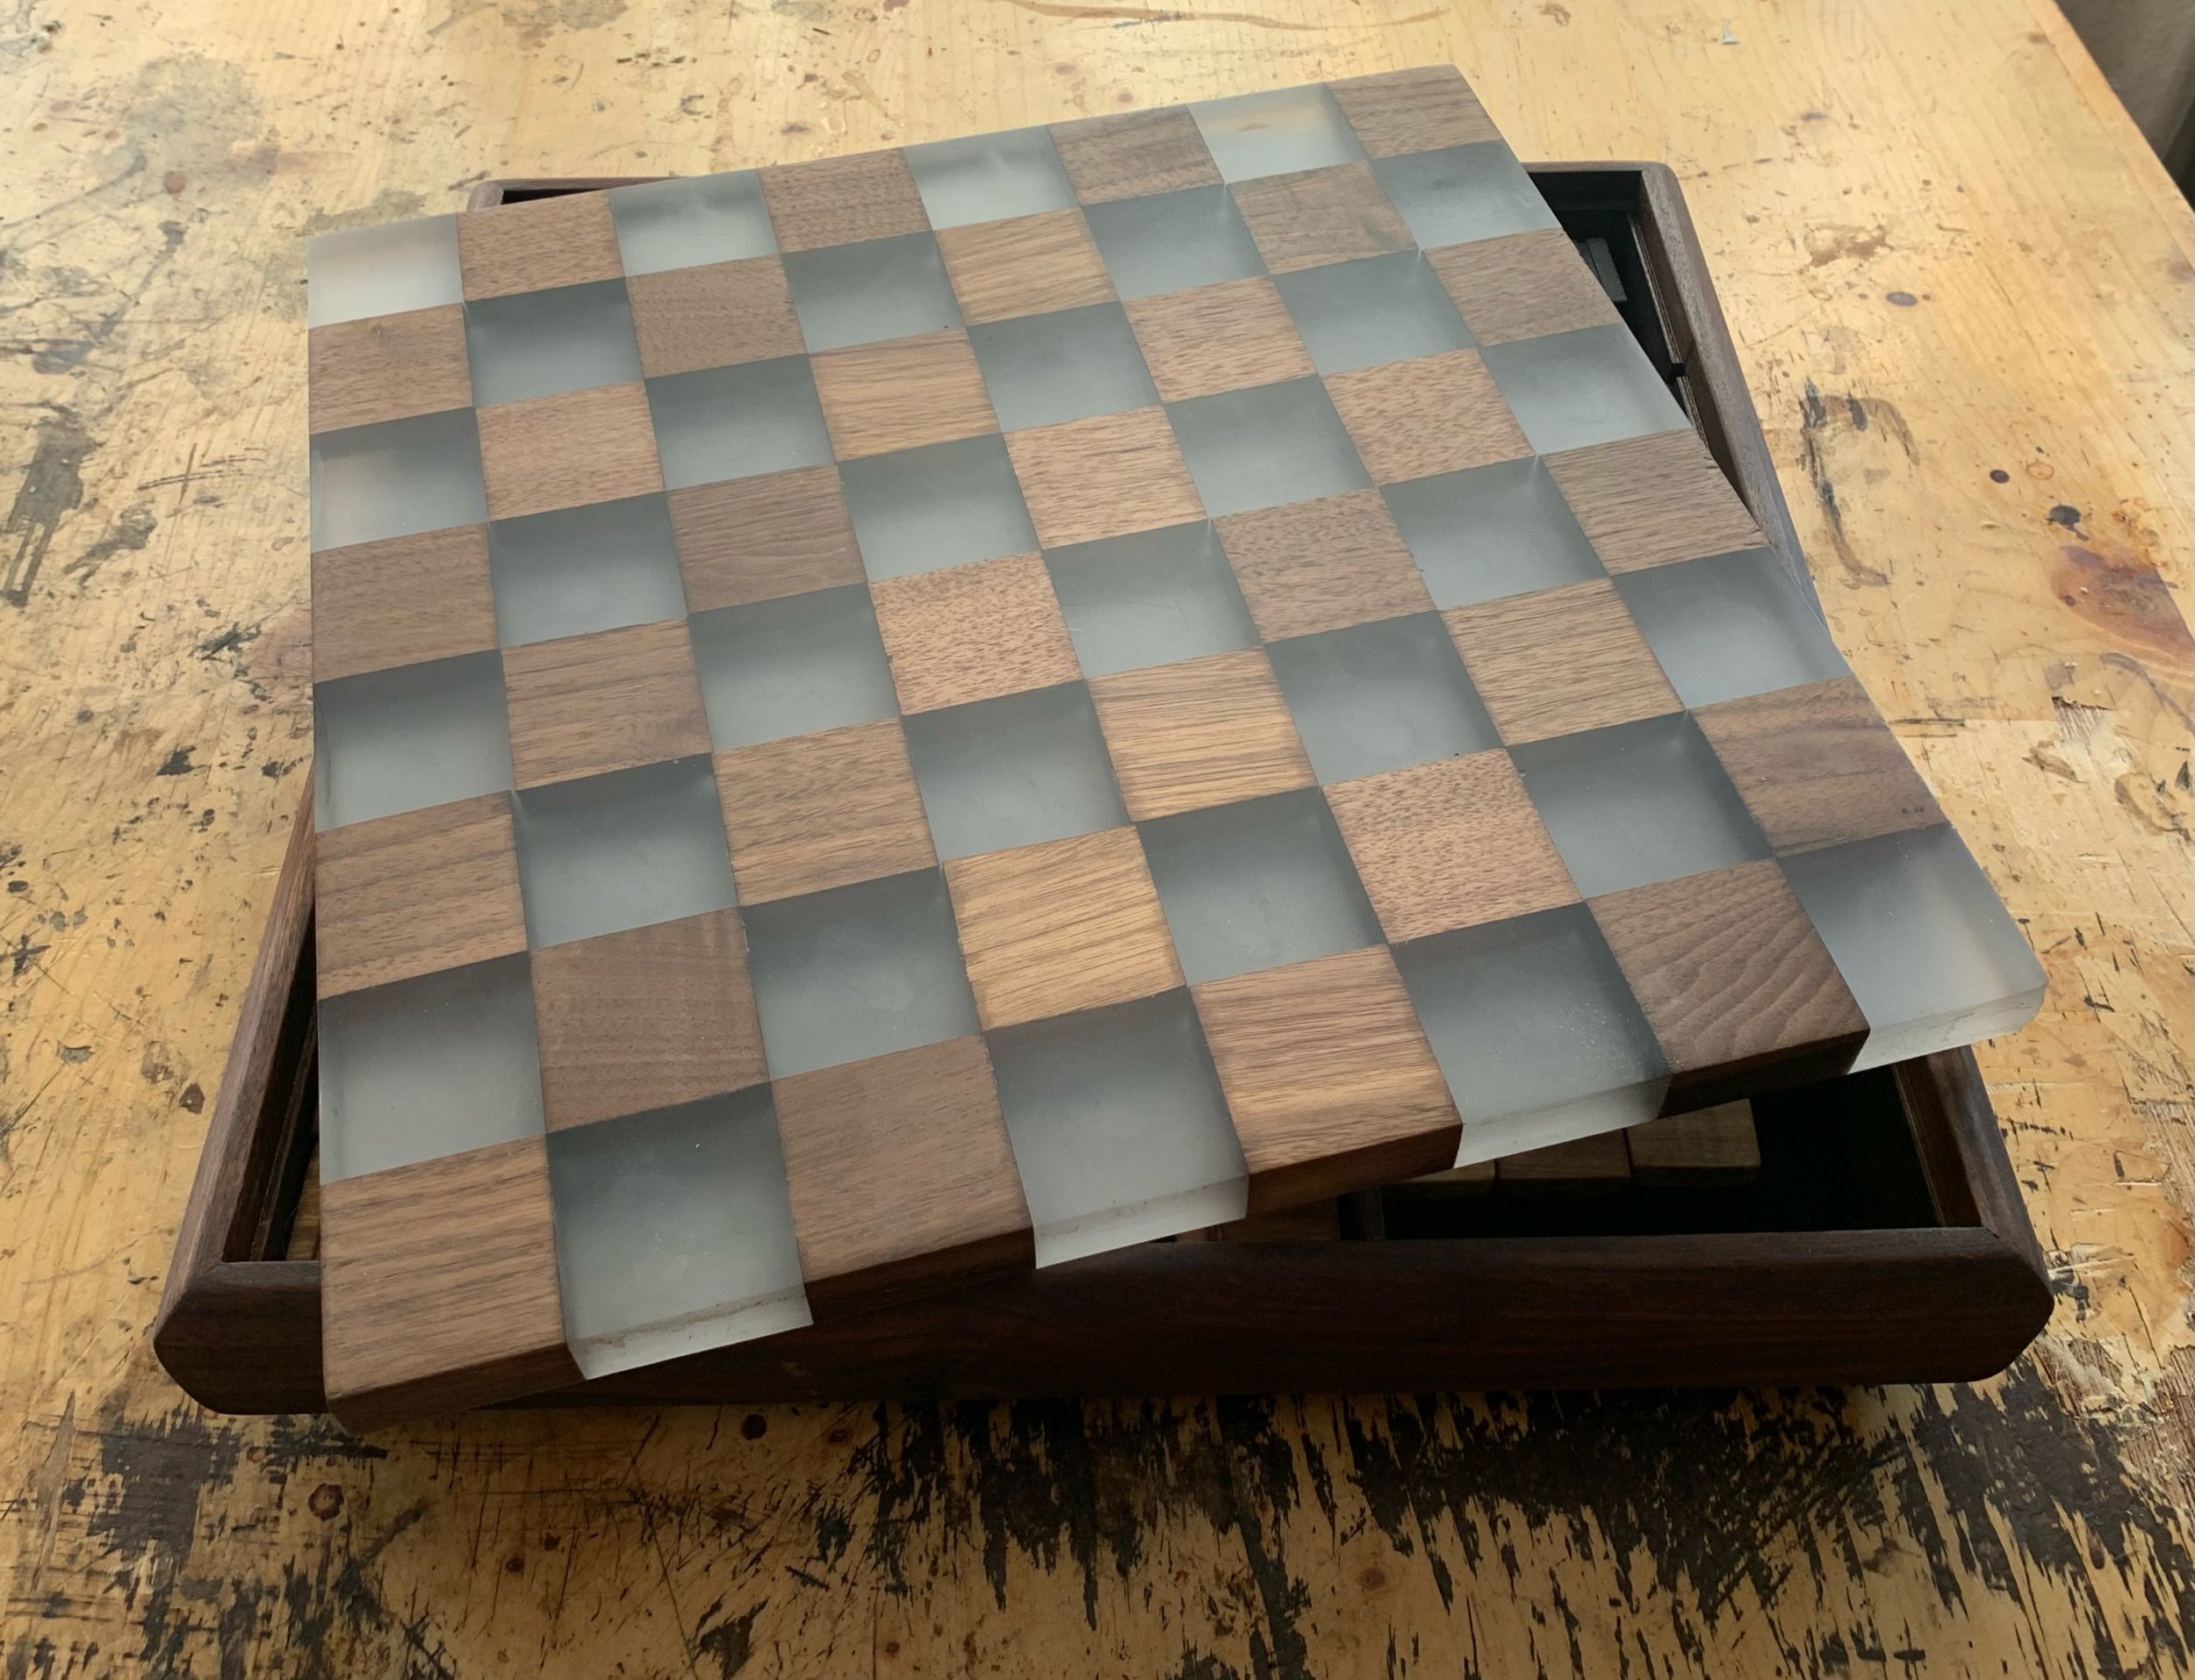
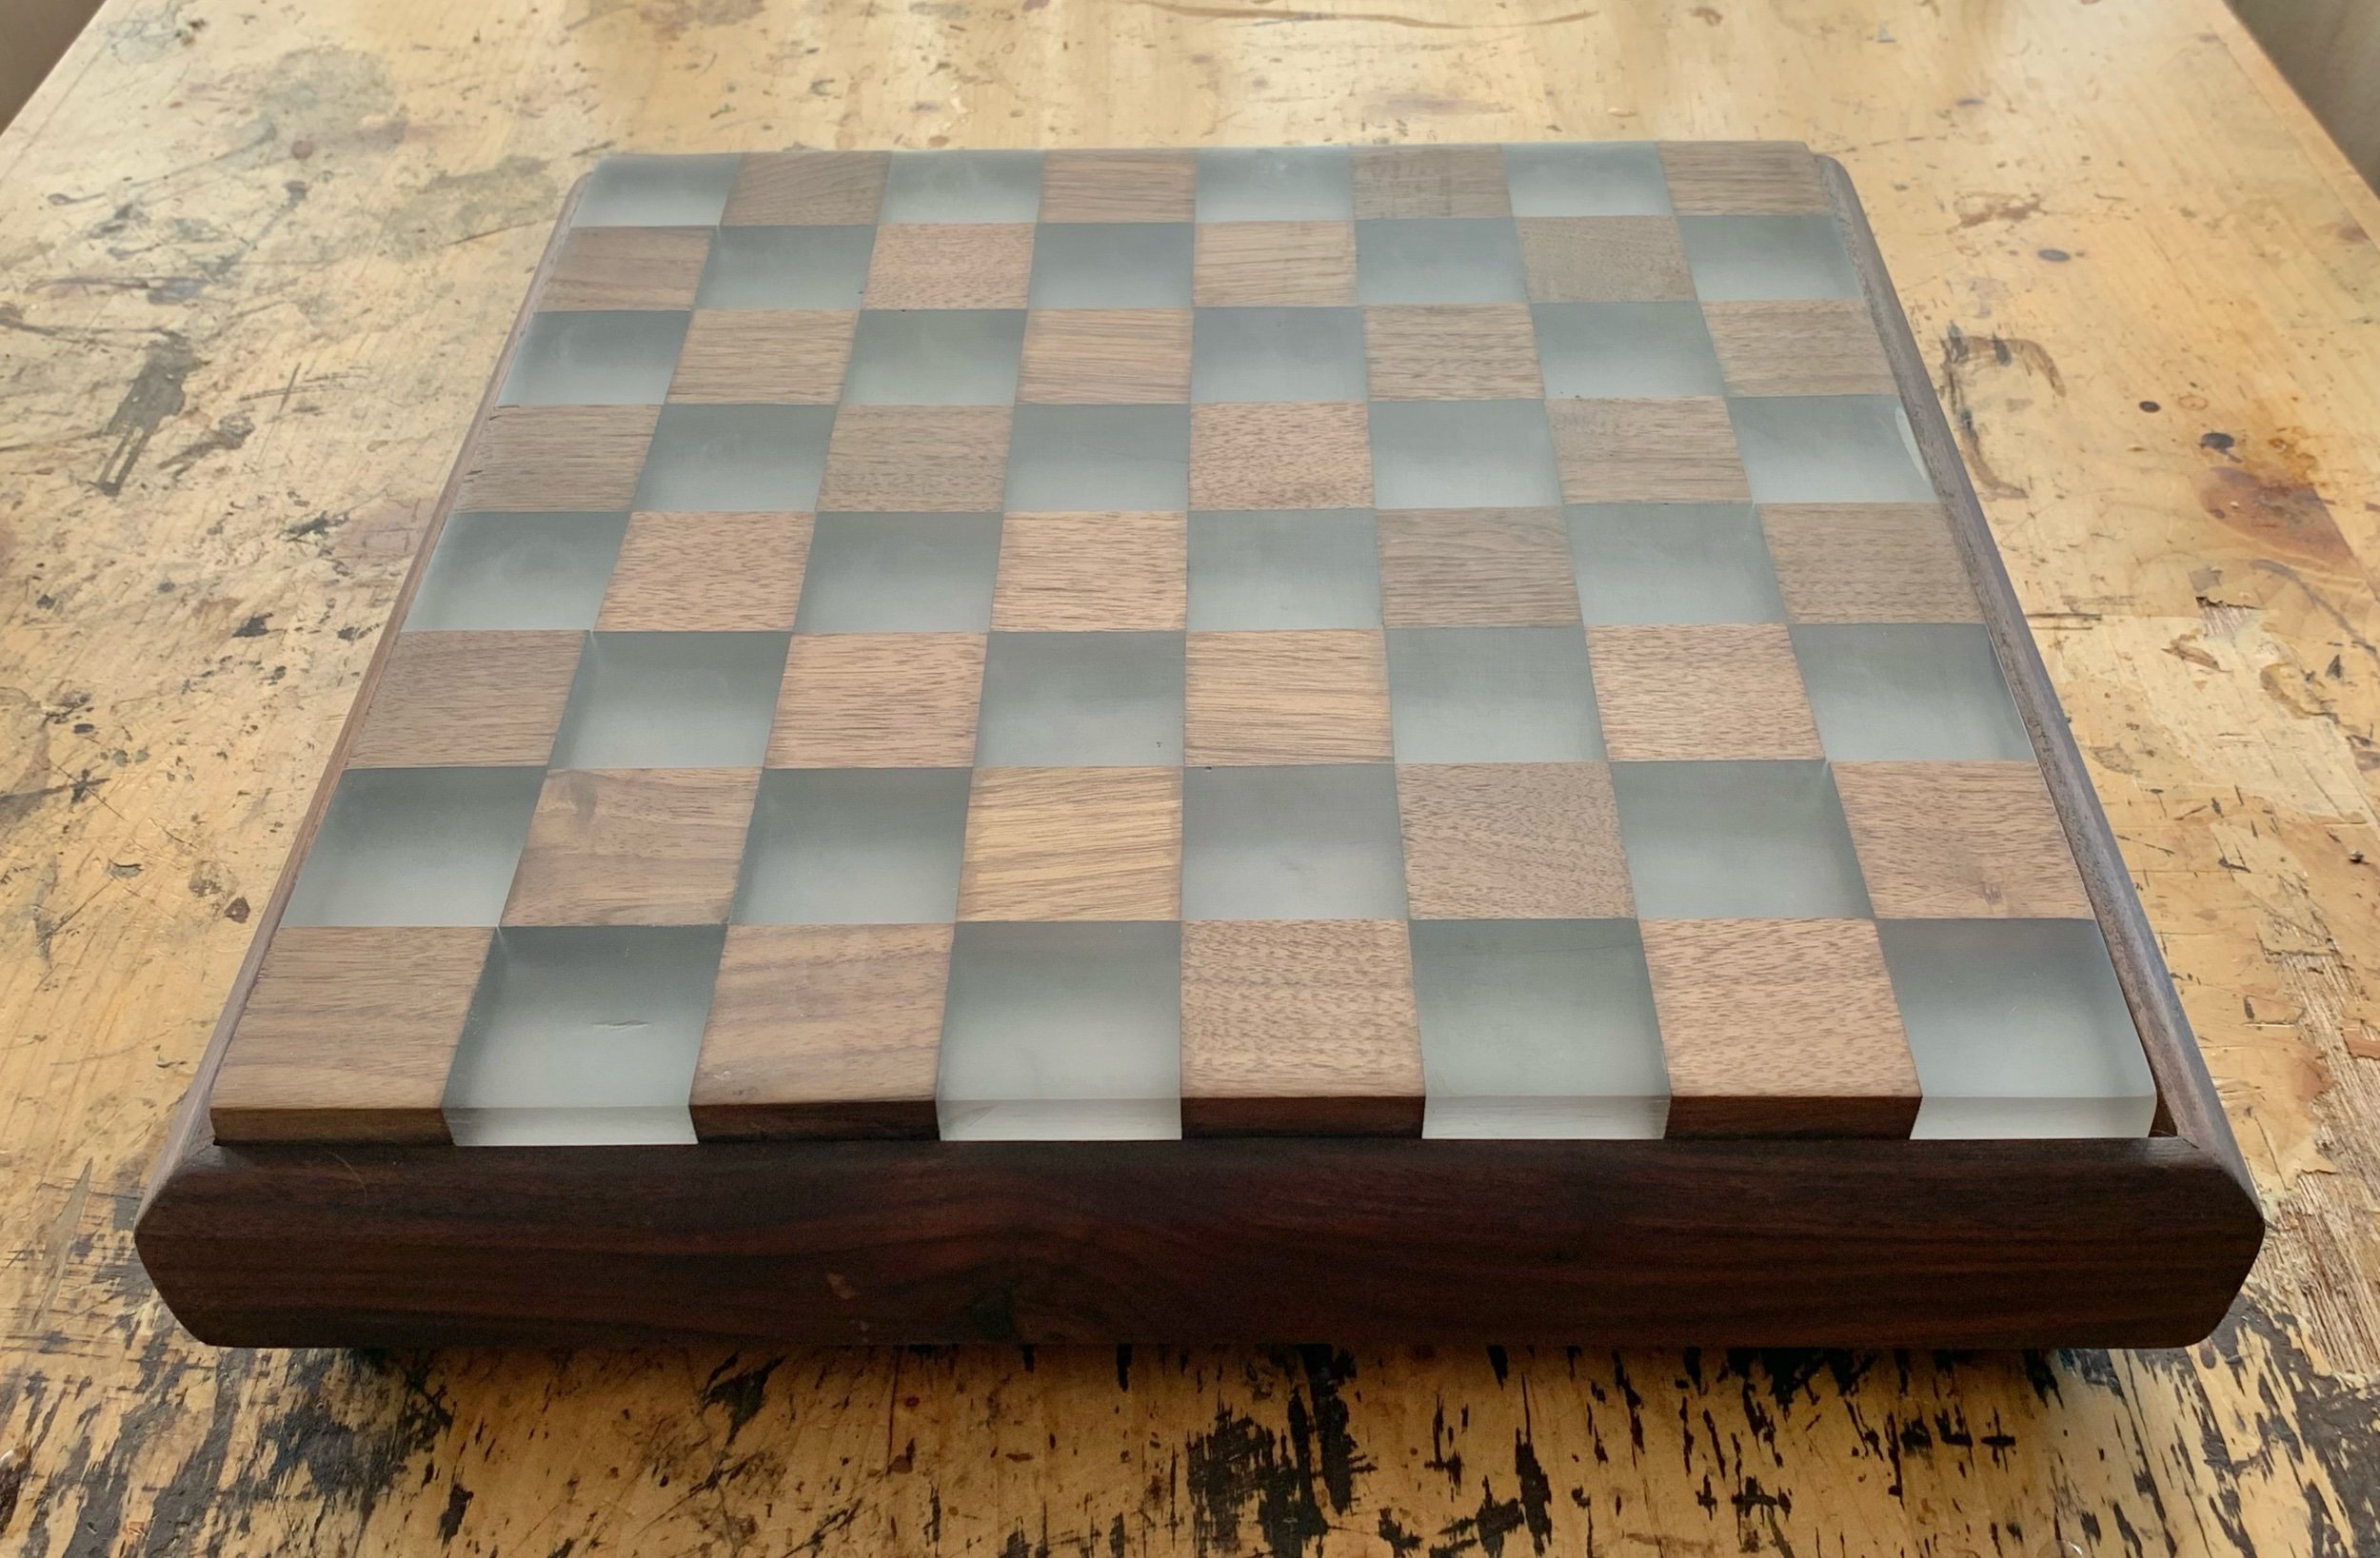
SECOND SET OF PHOTOS

walnut pieces spaced with walls in preparation for the epoxy pour

initial pour of the epoxy


slab laying on the chess squares to keep them from floating in the epoxy


once the epoxy has cured, the walls of the dam can come off

squaring up the edges of the board

dry-fitting the board into the box walls before the walls, partitions and base can get glued together

trying to fit some LED lights into the walls and base of the board (the idea ultimately didn’t work out)

the finished box and pieces

the finished board and box

voila! it’s all done